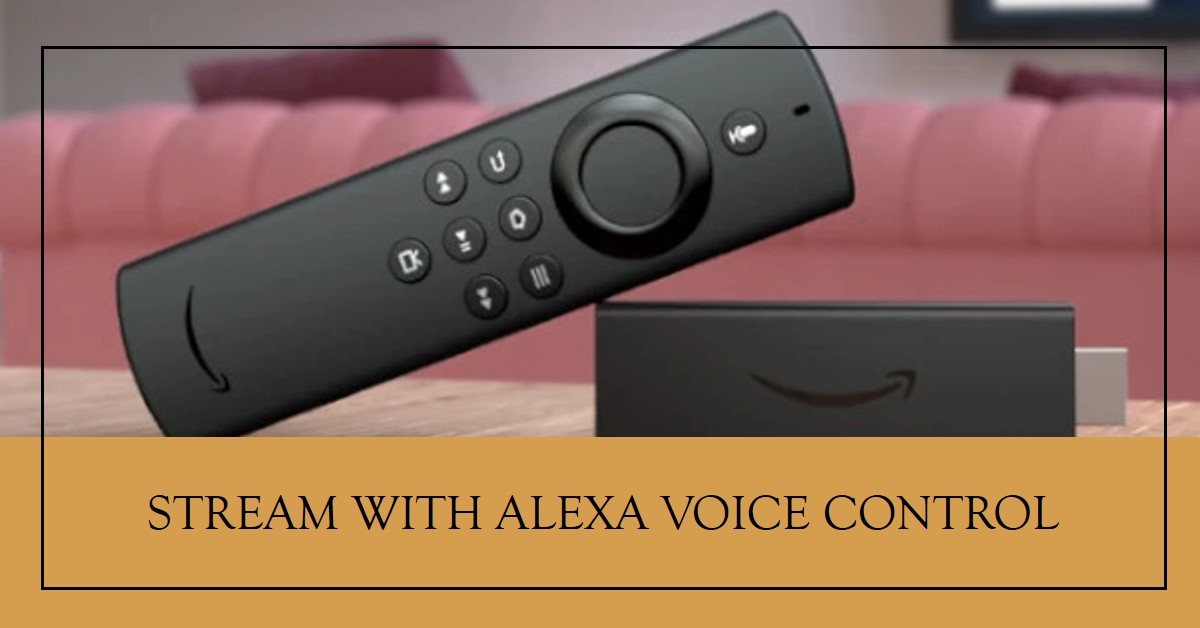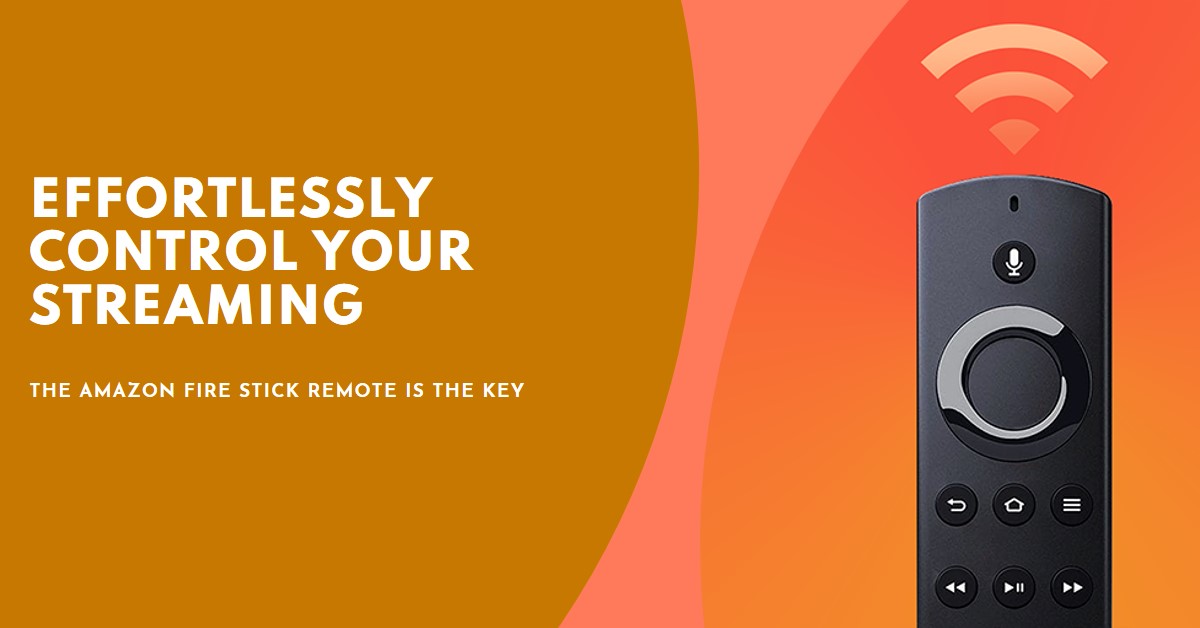
Streaming has become an essential part of how we consume content, and the Amazon Fire Stick Remote plays a pivotal role in making the experience seamless. In this guide, I will break down why this remote is the perfect companion for any Fire Stick user, offering features like Alexa voice integration, universal TV control, and even smartphone app compatibility.

Whether you’re streaming your favorite shows or navigating your apps, the Amazon Fire Stick Remote ensures everything is just a click—or a voice command—away.
Introduction to Amazon Fire Stick Remote
The Amazon Fire Stick Remote is not just an ordinary remote. It’s designed to enhance your streaming experience by offering more than just basic navigation.
Whether you own the standard Fire TV Stick or the Fire Stick 4K Max, the remote’s features are integrated to work flawlessly with your Amazon Fire TV device.
With its user-friendly design and cutting-edge technology, you can control not only your Fire TV but also your TV’s power, volume, and input—all with just one remote.
What makes this remote stand out, however, is its Alexa Voice Control feature. Imagine asking Alexa to find the latest blockbuster movie or to pause your favorite series without having to lift a finger. This kind of hands-free control elevates the way we interact with our TVs, making it an effortless experience.
Features of the Amazon Fire Stick Remote
Below are the features:
Alexa Voice Integration
Perhaps the most appealing feature of the Amazon Fire Stick Remote is its Alexa Voice Control. With this feature, you can simply press the microphone button and ask Alexa to search for content, open apps, check the weather, or control smart home devices.
This removes the need for tedious scrolling and clicking, allowing you to enjoy a truly hands-free experience.
One of the coolest things about Alexa integration is that it’s not just limited to your Fire Stick. For example, you can ask Alexa to dim your smart lights or adjust your thermostat while watching a movie, without having to leave the couch.
Here’s a breakdown of some Alexa voice commands you can use:
- “Alexa, play The Witcher on Netflix.”
- “Alexa, what’s the weather today?”
- “Alexa, open Disney+.”
- “Alexa, turn off the lights.”
Sleek and Ergonomic Design
The Amazon Fire Stick Remote is sleek, lightweight, and fits comfortably in your hand. Its ergonomic design makes it easy to hold and use for extended periods, a bonus for those long binge-watching sessions. The buttons are well-spaced, ensuring you won’t hit the wrong button while navigating through apps or shows.
Dedicated Buttons for streaming apps like Netflix, Prime Video, and Disney+ make accessing your favorite content even quicker. No need to navigate through the interface—just press the button, and you’re immediately taken to the app.
Bluetooth and Infrared Capabilities
The remote operates through Bluetooth, which means you don’t need a direct line of sight to the Fire Stick for it to work. This is perfect for situations where your TV setup might obscure the Fire Stick, making it hard for traditional remotes to communicate.
The latest models of the remote also have infrared capabilities that allow you to control the volume and power of your TV. This eliminates the need for a second remote and simplifies your overall setup.
Setting Up Your Amazon Fire Stick Remote
Setting up the Amazon Fire Stick Remote is quick and easy. Whether it’s a new remote or a replacement, here’s how you can get started:
Automatic Pairing
When you first insert the batteries into the remote, it will automatically pair with your Fire Stick device. In most cases, this happens instantly. You’ll see a message on the TV screen confirming the successful connection.
Manual Pairing
If automatic pairing doesn’t work, you can manually pair your remote by following these steps:
- Hold down the Home button on the remote for 10 seconds.
- The Fire Stick will detect the remote and complete the pairing process.
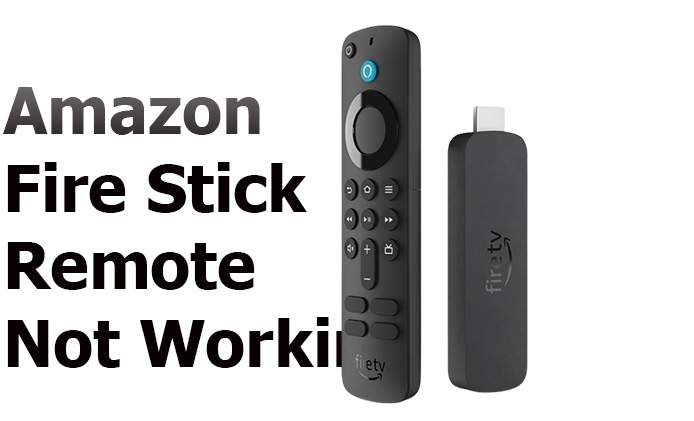
Troubleshooting Common Issues
While setting up is generally easy, there are times when you might run into some hiccups. Common issues include:
- Dead Batteries: Ensure you’re using new, high-quality batteries.
- Interference: Remove any obstructions between the Fire Stick and the remote.
- Resetting the Remote: Hold down the Back, Menu, and Left buttons for 10 seconds to reset the remote.
Using Your Smartphone as a Fire Stick Remote
Did you know that you can use your smartphone as a Fire Stick remote? This can be a lifesaver if you lose the physical remote or need additional control features. Simply download the Fire TV App from the Google Play Store or Apple App Store and follow these steps:
- Install the Fire TV App: Download and install the app on your smartphone.
- Connect the App to Your Fire Stick: Once the app is installed, open it, and it will search for available Fire Stick devices in the vicinity.
- Pair the App: Select your device and enter the pairing code shown on your TV screen.
The app mimics the physical remote with all its functions, including the Alexa Voice Control button. Additionally, the app provides a virtual keyboard for easy text input, which is incredibly handy when searching for shows or entering login credentials.
Replacing or Upgrading Your Amazon Fire Stick Remote
If your Fire Stick remote is lost or broken, Amazon offers several options for replacement or upgrade. For those who want to enhance their setup, upgrading to the latest Alexa Voice Remote (3rd generation) is a great choice. Here’s how to replace your remote:
- Go to Settings on your Fire TV device.
- Select Controllers & Bluetooth Devices.
- Click on Amazon Fire TV Remotes and select Add New Remote.
- Follow the on-screen instructions to pair your new remote.
Pro Tip: Always keep spare batteries handy, as frequent use of voice commands can drain the remote faster.
Additional Tips for Enhancing Your Fire Stick Remote Experience
Here are some tips to get the most out of your Amazon Fire Stick Remote:
- Create Alexa Shortcuts: Set up routines for commonly used actions, such as turning on the TV and dimming the lights simultaneously.
- Control TV Power and Volume: Make sure your remote is set up to control your TV, soundbar, or AV receiver for a more unified experience.
- Enable HDMI-CEC: If your TV supports HDMI-CEC, you can use your Fire Stick remote to control other devices like your Blu-ray player.
In conclusion, the Amazon Fire Stick Remote is designed to provide effortless control over your streaming experience. From Alexa integration to the option of using a smartphone app, the remote offers flexibility and convenience that makes it an essential part of any Fire Stick setup.
Whether you’re binging the latest Netflix series or controlling smart home devices, the Fire Stick remote is truly the key to unlocking a seamless streaming experience.
Also Check: