Author: Martin Goodnews

  • How to Update Software on Google Pixel 7 Pro

    How to Update Software on Google Pixel 7 Pro

    The Google Pixel 7 Pro is a powerhouse phone, and keeping its software up-to-date is crucial to ensure you have the latest features, security patches, and bug fixes.

    Update Software on Google Pixel 7 Pro

    Thankfully, updating your Pixel 7 Pro’s software is a straightforward process. This guide will walk you through the methods for updating your device. So, read and follow the procedures carefully.

    Why Update Pixel 7 Pro Software?

    There are several compelling reasons to keep your Pixel 7 Pro’s software updated:

    • Enhanced Features

    Software updates often introduce new features and functionalities to your Pixel 7 Pro, expanding its capabilities and user experience.

    • Improved Performance

    Updates can optimize your phone’s performance, potentially leading to smoother operation, faster app loading times, and better battery life.

    • Security Patches

    These updates address vulnerabilities in the software that could leave your phone susceptible to malware or hacking attempts. Keeping your Pixel 7 Pro updated is essential for maintaining a strong security posture.

    • Bug Fixes

    Software updates often resolve bugs and glitches that you might have encountered while using your phone.

    How to Update Software on Google Pixel 7 Pro

    Here are the two primary methods for updating your Pixel 7 Pro’s software:

    Using Settings App (Recommended)

    • Open the Settings app on your Pixel 7 Pro.
    • Scroll down and tap on System.
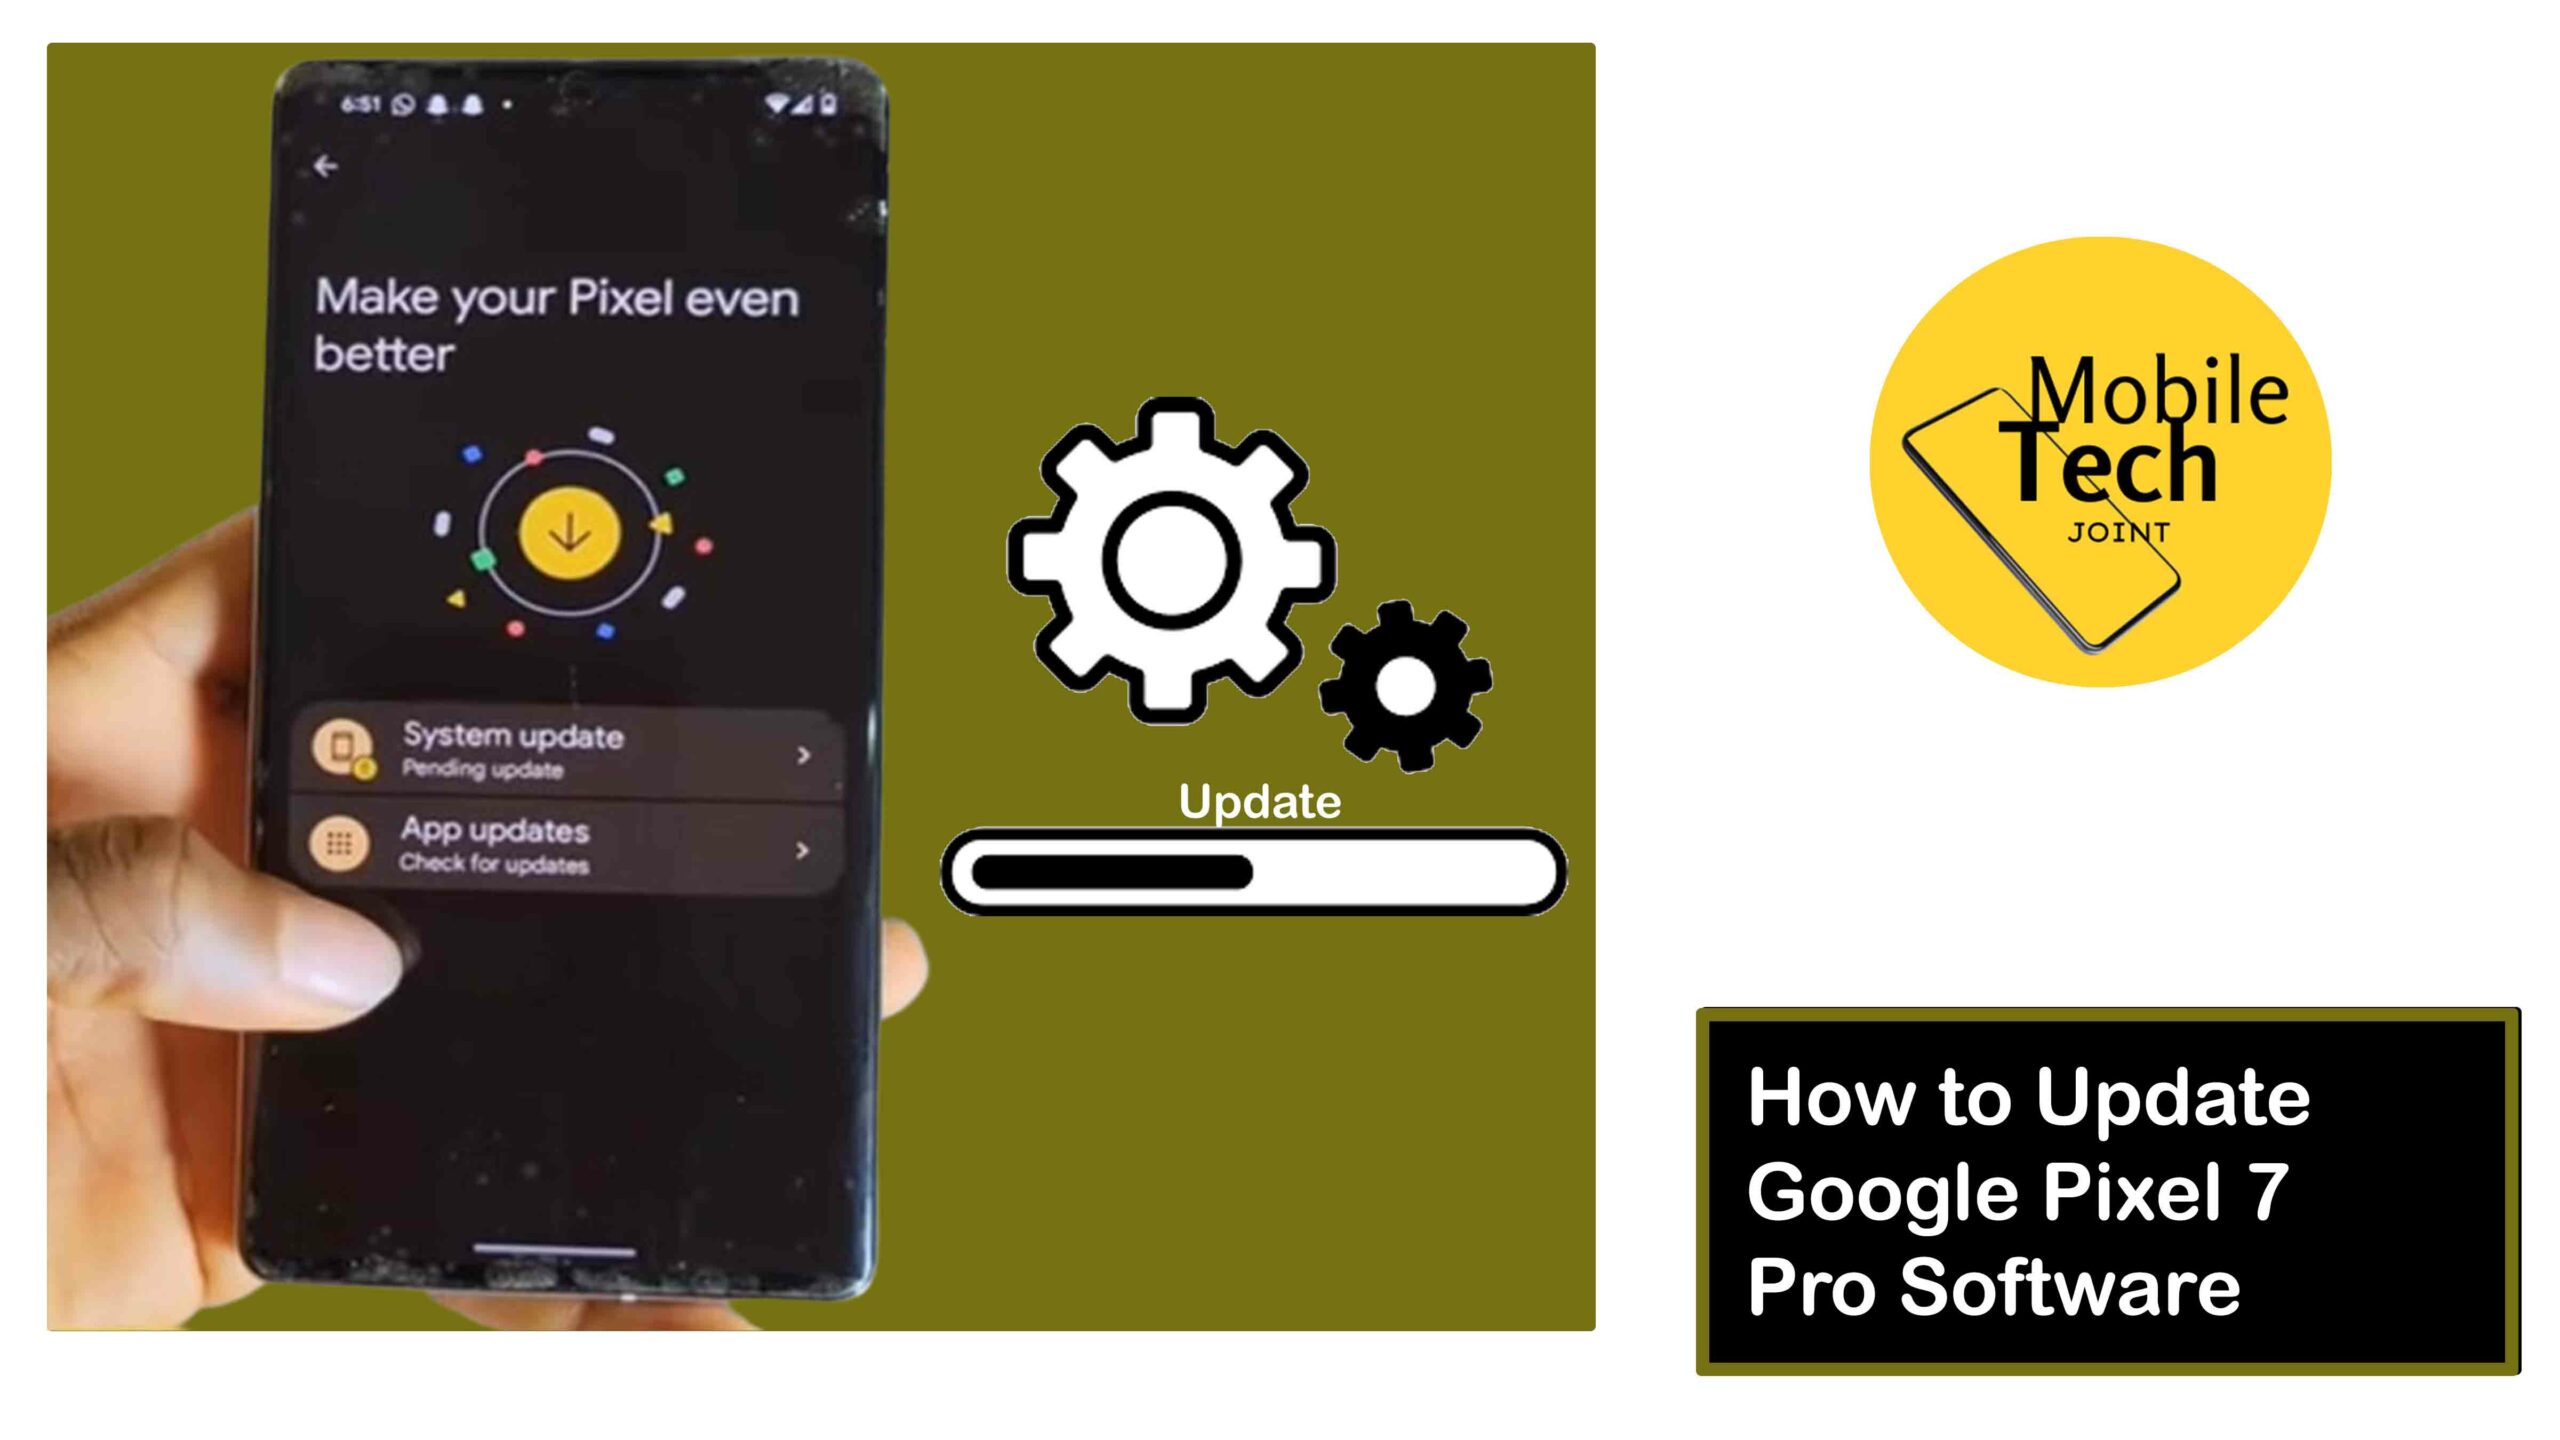
    • Locate System Update and tap on it.
    • Select Software Update again.
    • Your Pixel 7 Pro will now check for available updates. This process might take a few seconds.
    • If an update is available, you’ll see the details of the update, including the version number and a brief description of what’s included.
    • Tap on Download and install to begin downloading the update.
    • Your Pixel 7 Pro might display an on-screen message while downloading the update. It’s recommended to keep your phone connected to Wi-Fi for faster download speeds.
    • Once the download is complete, you’ll see a notification prompting you to restart your phone to install the update.
    • Tap on Restart Now to complete the update process. Your Pixel 7 Pro will restart, and the update will be installed.

    Using Notification Bar (When Update Available)

    • Sometimes, you might receive a notification in the notification bar informing you that a software update is available for your Pixel 7 Pro.
    • Swipe down from the top of your screen to access the notification panel.
    • Locate the notification about the software update and tap on it.
    • This will take you directly to the System Update menu within the Settings app (refer to steps 5-9 from Method 1 for the remaining process).

    Related: How to Enable Focus Mode on Google Pixel 7 Pro

    Important Considerations Before Updating

    Here are some things to keep in mind before updating your Pixel 7 Pro software:

    • Battery Level

    Ensure your Pixel 7 Pro has at least 50% battery life before starting the update process. It’s recommended to connect your phone to a charger during the update for uninterrupted installation.

    • Wi-Fi Connection

    While cellular data might work, using a Wi-Fi connection for software updates is highly recommended. Wi-Fi offers faster download speeds and helps conserve your mobile data allowance.

    • Backup

    It’s always a good practice to back up your important data (photos, contacts, etc.) before performing a software update. This ensures you have a copy of your data in case of any unforeseen issues during the update process.

    Conclusion

    By following the simple steps outlined in this guide, you can effortlessly update your Google Pixel 7 Pro’s software and ensure you’re always running the latest version.

    Remember, staying updated provides you with the newest features, improved performance, enhanced security, and a bug-free user experience. Keep your Pixel 7 Pro updated and enjoy its full potential!

    What Happens if my Phone Restarts During the Update and Doesn’t Turn On?

    In rare cases, an update might cause unexpected issues during installation.  If your Pixel 7 Pro restarts during the update and doesn’t turn back on normally, don’t panic.

    Try connecting your phone to its charger and holding down the power button for about 30 seconds. This might trigger a forced restart and complete the update installation.

    If this doesn’t work, you might need to consult official Google support resources for further troubleshooting steps.

    Can I Roll Back to a Previous Software Version After Updating my Device?

    Unfortunately, Google Pixel phones don’t offer a built-in option to directly roll back to a previous software version.

    However, depending on the specific update and any potential issues you encounter, you might find solutions or workarounds through Google’s support resources or online communities.

    Will Updating my Software Erase my Data?

    Software updates typically don’t erase your data. However, it’s always a good practice to back up your important data (photos, contacts, etc.) before performing any software updates.

    This ensures you have a copy of your information in case of any unforeseen circumstances during the update process.

    For more insights on this article, check out these video tips across our social platforms:
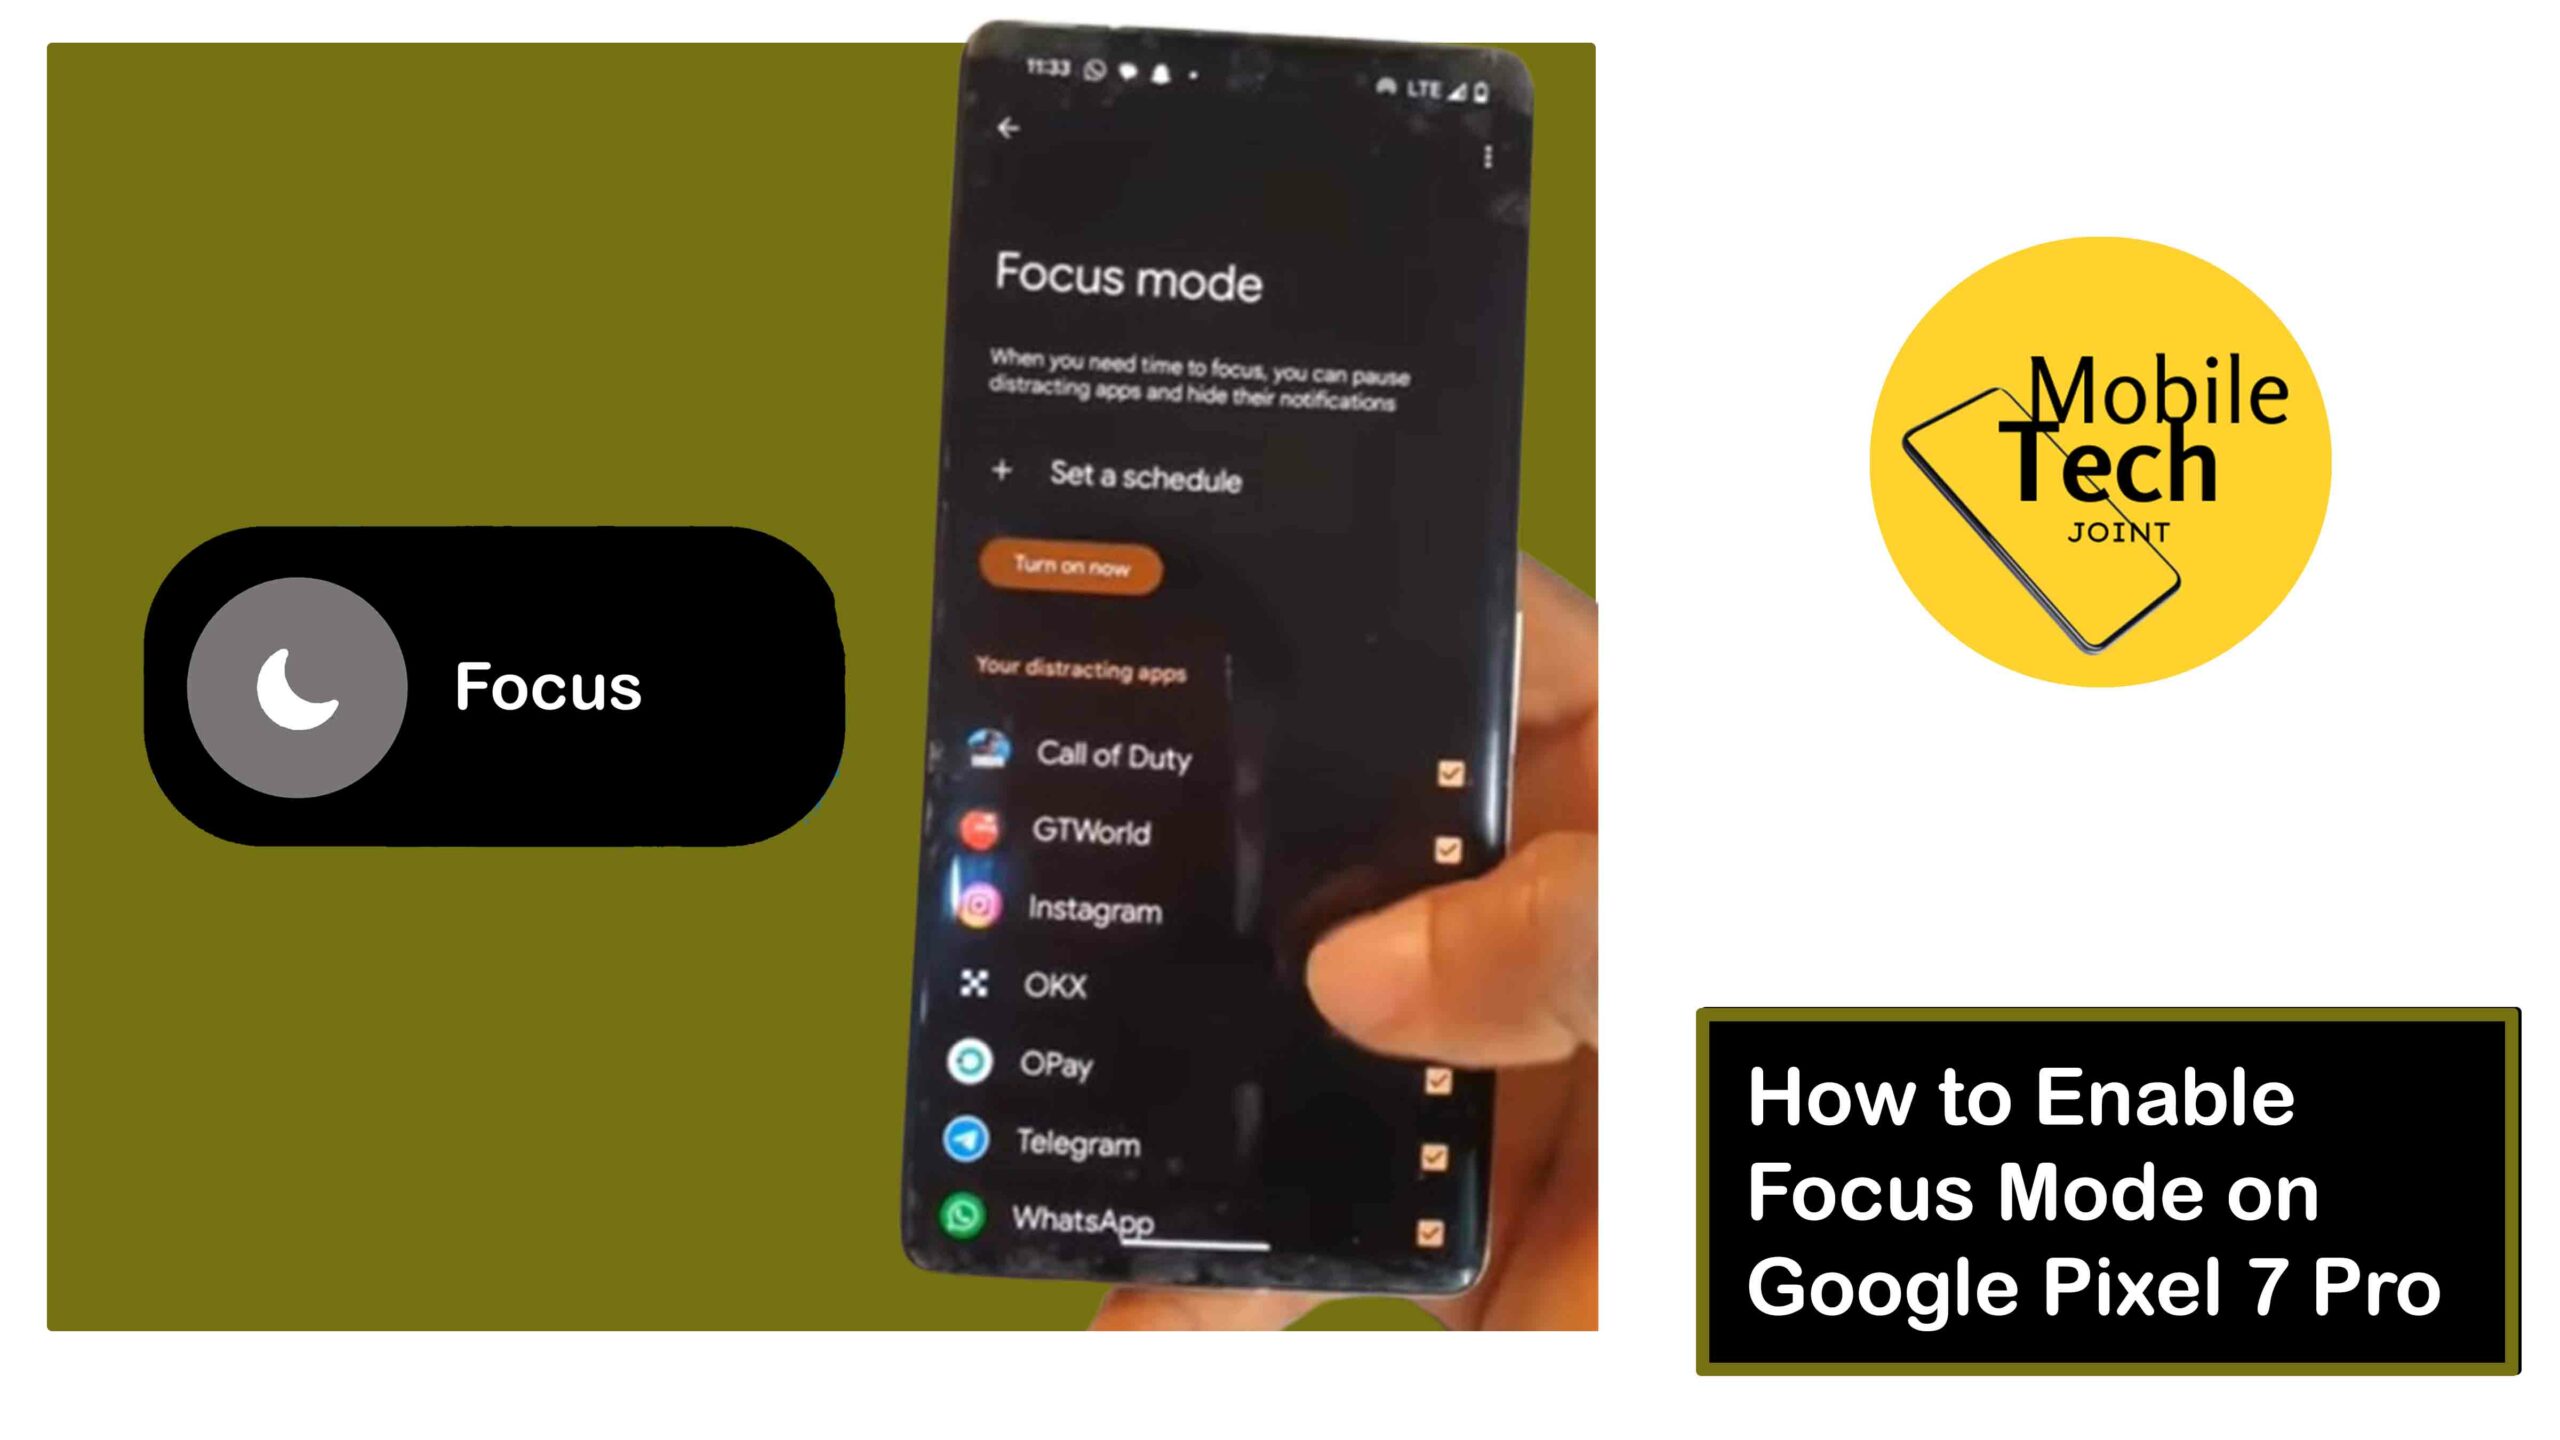
  • How to Enable Focus Mode on Google Pixel 7 Pro

    How to Enable Focus Mode on Google Pixel 7 Pro

    The Google Pixel 7 Pro comes to the rescue with Focus Mode, a valuable tool that helps you minimize distractions and stay on track with your tasks.

    Enable Focus Mode on Google Pixel 7 Pro

    By enabling Focus Mode, you can temporarily silence specific apps and notifications, allowing you to concentrate on work, studies, or simply enjoy uninterrupted personal time.

    This comprehensive blog will explore everything you need to know about enabling and using Focus Mode on your Google Pixel 7 Pro.

    Benefits of Enabling Focus Mode

    Focus Mode offers several key benefits  for Pixel 7 Pro users:

    • Reduced Distractions

    By silencing notifications from chosen apps, Focus Mode minimizes distractions that might otherwise disrupt your workflow or concentration.

    • Increased Productivity

    Minimizing distractions can significantly enhance your focus and efficiency when tackling tasks that require concentration.

    • Improved Well-being

    Focus Mode can contribute to a sense of digital well-being by encouraging you to take breaks from the constant influx of notifications.

    • Customizable Control

    You have the flexibility to choose which apps to silence during Focus Mode, ensuring it caters to your specific needs.

    How to Enable Focus Mode on Pixel 7 Pro

    There are two primary ways to enable Focus Mode on your Google Pixel 7 Pro:

    Using Quick Settings Panel (Fast Access)

    • Swipe down twice from the top of your Pixel 7 Pro screen to fully expand the Quick Settings panel.
    • Locate the Focus Mode tile. It might resemble a bell icon with a slash through it.
    • Tap the Focus mode tile to activate it.
    • You’ll see a pop-up message with a timer allowing you to choose the duration of Focus Mode (from 30 minutes to 2 hours) or select a custom duration.
    • Tap your preferred duration to activate Focus Mode. Silenced notifications from chosen apps will be displayed for your reference.

    Using Digital Wellbeing App (More Control & Scheduling)

    • Open the Digital Wellbeing app on your Pixel 7 Pro.  You can usually find it within the app drawer or go to Settings app and locate it.
    • Scroll down to where it says Focus Mode and tap on it.
    • Within the Focus Mode settings, you’ll see options to:
    • Turn Focus Mode on or off using the toggle switch.
    • Customize which apps to silence during Focus Mode by tapping on Select Apps and choosing the desired apps from the list.

    Schedule Focus Mode: Tap on Schedule to set specific times or recurring schedules for Focus Mode to automatically activate.

    Once you’ve customized your settings, tap the Turn on now button to activate Focus Mode.

    Advanced Focus Mode Features on Pixel 7 Pro

    Beyond basic activation, Pixel 7 Pro offers some additional Focus Mode features:

    • Breaks

    While in Focus Mode, you can take short breaks to check your phone without completely disabling it.

    Simply tap on the notification for “Focus Mode is on” and choose “Take a break.” You’ll have a set amount of time to access your phone before Focus Mode automatically resumes.

    • Allowed Notifications

    Focus Mode allows you to whitelist specific apps or notification categories (e.g., calls) to ensure important notifications still come through even when Focus Mode is active.

    Access this option within the Digital Wellbeing app’s Focus Mode settings.

    Related: How to Enable Dark Theme on Google Pixel 7

    Maximize Your Focus Mode Experience

    Here are some tips to get the most out of Focus Mode on your Pixel 7 Pro:

    • Personalize Your Focus Mode

    Choose the apps you want to silence based on your needs. Consider creating different Focus Mode profiles for different scenarios (e.g., “Work Focus” or “Study Time”).

    • Schedule Focus Mode

    Utilize scheduling to automatically activate Focus Mode during specific times when you typically need to concentrate.

    • Minimize Distractions Before Activating

    For optimal focus, consider silencing notifications or putting your phone on silent mode before activating Focus Mode.

    Conclusion

    Focus Mode on Google Pixel 7 Pro assists you to take control of your digital well-being and enhance your productivity.

    By understanding its benefits, activating it using the methods described, and exploring the advanced features, you can leverage Focus Mode to create distraction-free pockets of time and achieve your goals with greater focus.

    So, silence the distractions, embrace the power of Focus Mode, and unlock a world of focused productivity on your Pixel 7 Pro.

    What Happens to my Silenced Notifications During Focus Mode?

    Notifications from silenced apps won’t appear on your screen or make any sounds while Focus Mode is active.

    However, they won’t be deleted. Once Focus Mode ends, you’ll see notification icons for the silenced apps on your lock screen, and you can then view the notification details.

    Can I Still Access Silenced Apps while Focus Mode is on?

    Yes, even though notifications are silenced, you can still access the apps you’ve chosen to silence during Focus Mode.

    They won’t be hidden or disabled. You can simply launch them from your app drawer like usual. This allows you to check those apps if needed without getting bombarded by notifications, but it also helps you stay mindful of your focus goals.

    For more insights on this article, check out these video tips across our social platforms:
  • How to Use Live Caption on Google Pixel 7

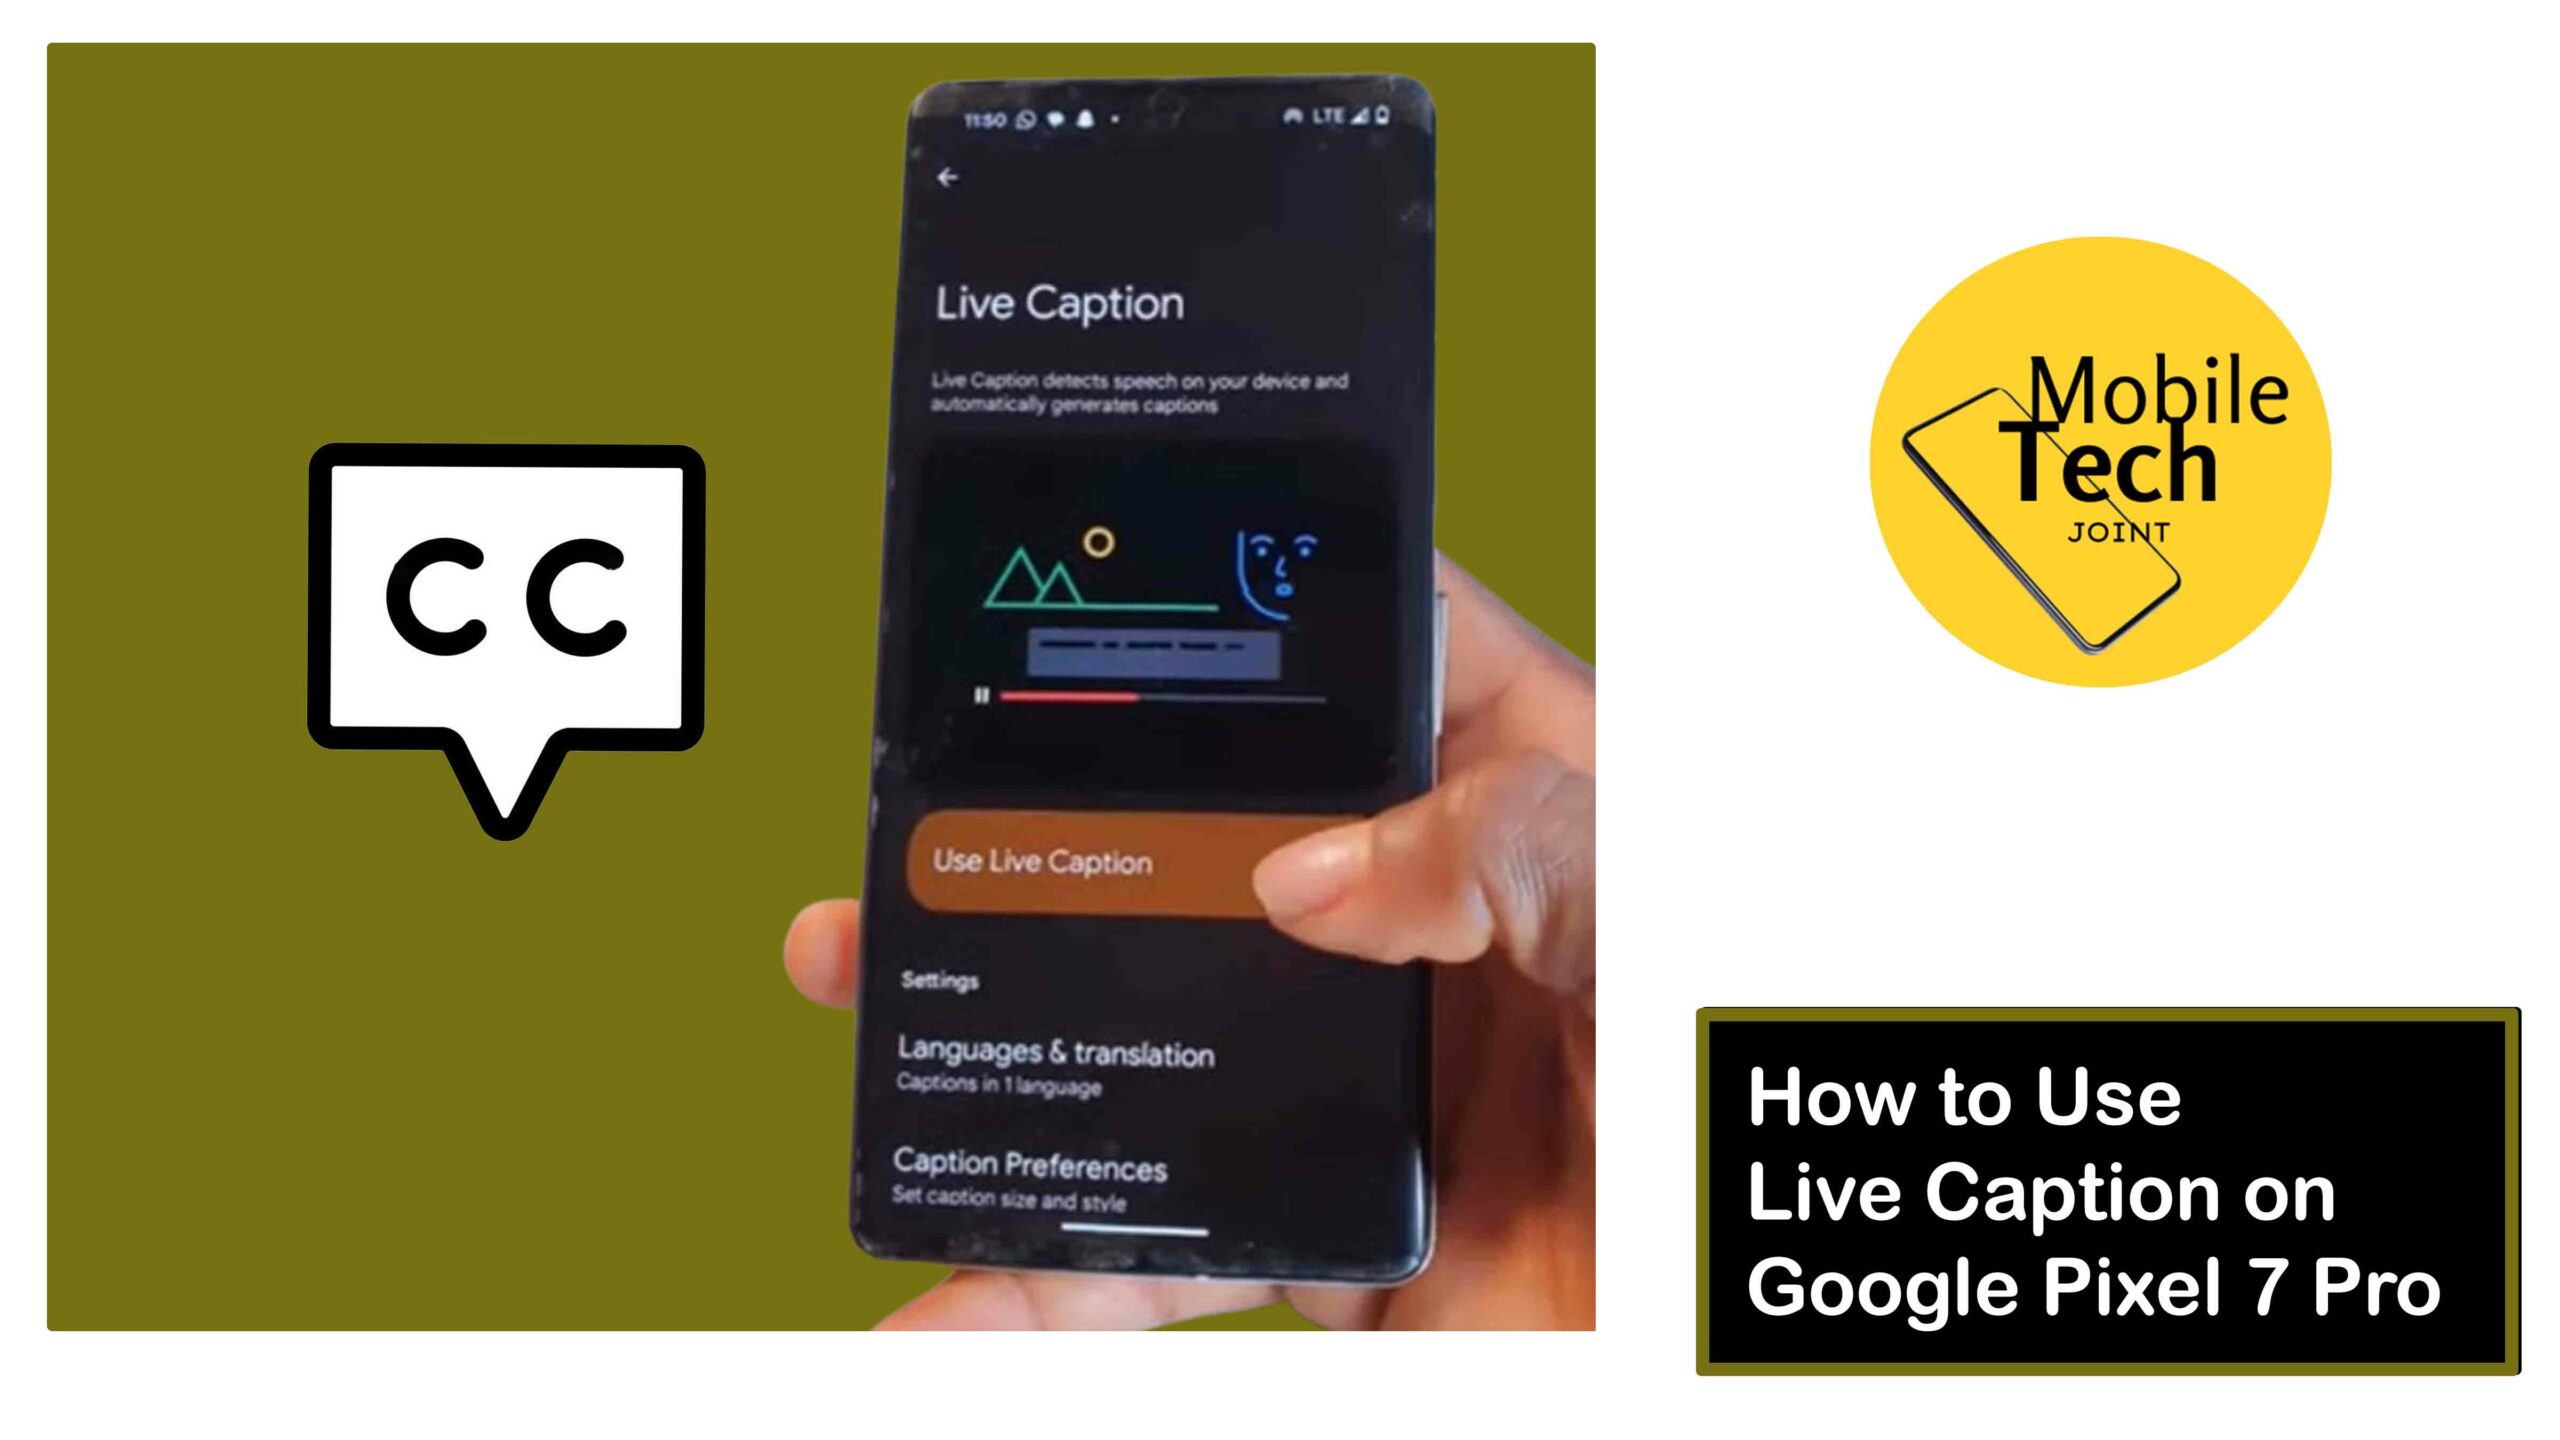
    How to Use Live Caption on Google Pixel 7

    The Google Pixel 7 takes accessibility to a whole new level with Live Caption, a powerful feature that transcribes speech from videos, podcasts, phone calls, and even real-time conversations in surrounding environments  directly on your phone’s screen.

    Live Caption on Google Pixel 7 Pro

    This real-time captioning can be a game-changer for those who are hard of hearing, in noisy environments, or simply want to follow along with a conversation without needing headphones.

    This comprehensive guide will delve into everything you need to know about using Live Caption on your Google Pixel 7.

    About Live Caption

    Live Caption utilizes Google’s automatic speech recognition (ASR) technology to convert spoken audio into captions.

    These captions appear as an overlay on your screen, making it easier to understand the dialogue. Here are some key points to remember about Live Caption:

    • Offline Functionality (Limited)

    While an internet connection generally enhances accuracy, Live Caption can function partially offline for certain media like downloaded videos or recorded audio messages. However, the accuracy and language options might be limited in offline mode.

    • Supported Languages

    Live Caption currently supports a wide range of languages, with more being added regularly. You can check the latest supported languages within your Pixel 7 settings.

    • Focus on Clarity

    Live Caption prioritizes clarity over verbatim transcription. While it aims to be accurate, it might not capture every single word perfectly, especially in fast-paced conversations or strong accents.

    How to Enable Live Caption on Pixel 7 Pro

    There are two primary ways to activate Live Caption on your Google Pixel 7:

    Using Volume Button

    • Play any media that contains speech, such as a video, podcast, or phone call.
    • Press one of the volume buttons on the side of your Pixel 7 to access the volume control slider.
    • Click on the Three Dots displayed below the volume bar and select Settings from the button left corner of the screen.
    • Look for the Use Live Caption icon and click on it.
    • Now that you have enabled it, go to any media and play it then you’ll see captions appear on your screen, transcribing the speech in real-time.

    Using Settings App (More Control)

    • Open the Settings app on your Pixel 7.
    • Scroll down and tap on Sound & Vibration.
    • Locate Live Caption and click on it.
    • Within the Live Caption Settings, you’ll find a toggle to turn Use Live Caption on or off.

    Additionally, you can explore other settings within Live Caption, such as:

    • Show Profanity Blocking to filter out explicit language from the captions.
    • Show Sound Labels to display captions for non-speech sounds like laughter, applause, or music.
    • Download for Offline Use (limited functionality, see above).

    Those are the required methods to successfully enable the live caption on the Google Pixel 7 Pro, follow the process carefully.

    Advanced Live Caption Features on Pixel 7

    Beyond basic activation, Pixel 7 offers some advanced Live Caption features:

    Live Caption in Phone CallsPixel 7 allows you to enable captions during phone calls. This can be helpful for clarity or accessibility purposes.

    To enable Live Caption during calls, navigate to the “Sound & vibration” settings within Settings, then tap on “Live Caption” and toggle on “Caption calls.”

    • Interactive Captions (Pixel 7 Pro Only)

    The Pixel 7 Pro takes Live Caption a step further with interactive captions. This feature, exclusive to the Pro model, allows you to reply to captions during a phone call by typing a message.

    Your message will then be read aloud to the other person on the call.

    Related: How to Modify Navigation Mode on Google Pixel 7 Pro

    Maximizing Your Live Caption Experience

    Here are some tips to get the most out of Live Caption on your Pixel 7:

    • Ensure a Clear Audio Source

    The accuracy of Live Caption relies on clear audio quality. If the audio is muffled, distorted, or in a very noisy environment, it might affect the accuracy of the captions.

    • Adjust Caption Placement

    Live Caption captions appear as an overlay on your screen. You can often drag the caption box slightly to position it for optimal viewing without obstructing other content.

    • Customize Settings

    Explore the settings within “Live Caption” (Settings > Sound & vibration > Live Caption) to personalize your experience. You can enable profanity blocking, show sound labels, or download for limited offline functionality.

    Conclusion

    Live Caption on Google Pixel 7 is a powerful accessibility tool that can enhance your phone experience in various ways.

    By understanding its functionalities, activating it using the methods described, and exploring the advanced features, you can leverage Live Caption to suit your needs and wants.

    Is Live Caption Accurate?

    Live Caption prioritizes clarity over verbatim transcription. While it’s generally accurate, it might not capture every single word perfectly, particularly in challenging situations like strong accents or rapid speech. Background noise or muffled audio can also affect accuracy.

    Will Live Caption Work when Listening to Music?

    Live Caption primarily focuses on transcribing speech. While it might detect some lyrics or singing with strong vocals, it’s not optimized for music and might not provide accurate captions for musical content.

    For more insights on this article, check out these video tips across our social platforms:
  • How to Log Out of Your Google Account on Samsung S10

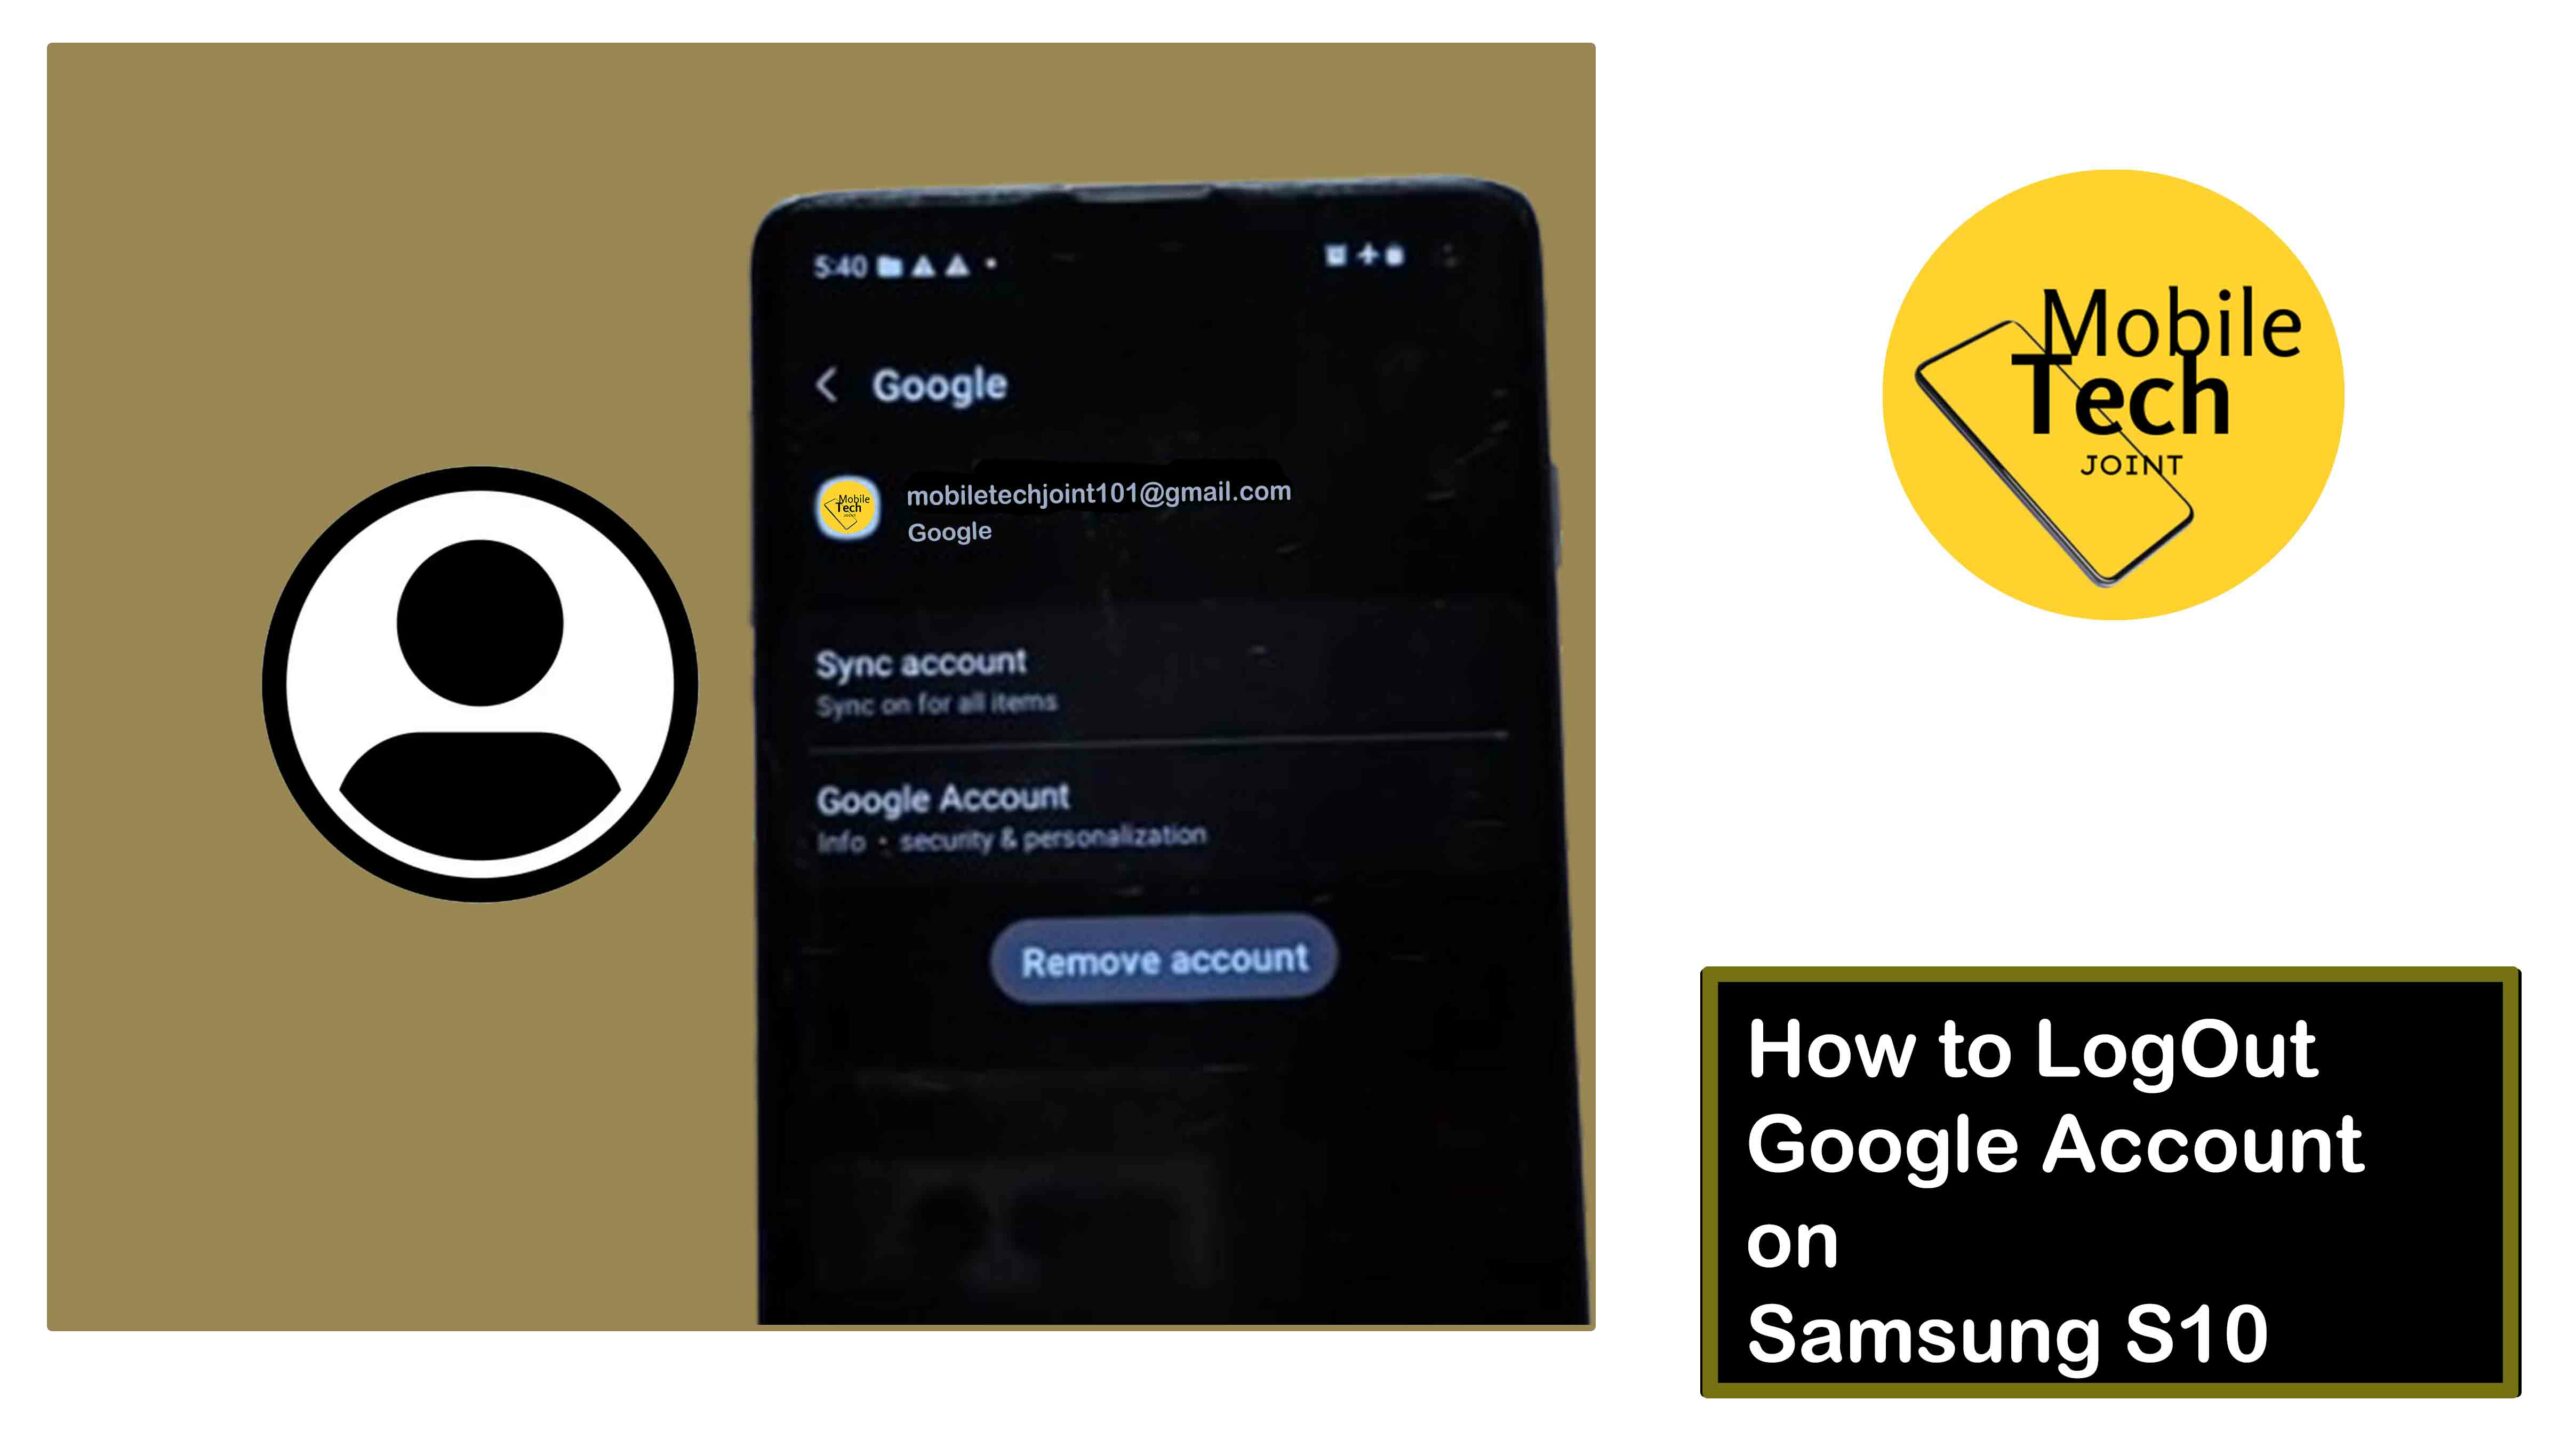
    How to Log Out of Your Google Account on Samsung S10

    The Samsung Galaxy S10 integrates with Google services, making it convenient to manage your email, contacts, calendar, and more.

    Log Out Google Account on Samsung S10

    However, there might come a time when you need to log out of your Google account on your S10. Whether you’re switching to a different account, changing your phone, or simply taking a break, logging out offers you control over your data and privacy.

    This comprehensive guide will explore the various methods for logging out of your Google account on your Samsung S10, along with some additional considerations for managing your Google account and data. So read through carefully.

    Why You Might Need to Log Out

    There are several reasons why you might want to log out of your Google account on your S10:

    • Switching Accounts

    If you’re using multiple Google accounts, you might need to switch between them for different purposes. Logging out of the current account allows you to sign in with a different one.

    • Changing Your Phone

    Before selling or giving away your S10, it’s crucial to log out of all accounts, including your Google account. This ensures your personal information and data remain secure and the new user can set up their own account.

    • Taking a Break

    Logging out can be a temporary measure if you want to take a break from syncing your Google data with your phone. This might be helpful for troubleshooting syncing issues or simply wanting a digital detox.

    How to Log Out of Google Account on Samsung S10

    There are two primary methods to log out of your Google account on your Samsung S10:

    Using Settings App (Recommended)

    This method offers a more crucial way to log out and manage your Google account settings on your S10. Here’s a step-by-step guide:

    • Open the Settings app on your Samsung S10.
    • Scroll down and tap on Accounts and Backup.
    • Locate Manage Accounts and tap on it.
    • You’ll see a list of all accounts currently linked to your S10. Find your Google account on the list.
    • Tap on your Google account.
    • On the account details page, you’ll see various options related to your Google account and synced data. Scroll down to the bottom.
    • Look for the option labeled Remove Account or  Unlink Account and click on it. The exact wording might vary slightly depending on your software version.
    • A pop-up window might appear asking you to confirm if you want to remove the account and any associated data from your device.
    • If you want to keep some data synced, you might be presented with options to choose which data types to keep (e.g., contacts, calendar events). Deselect any data you don’t want to remove.
    • If you’re sure you want to remove everything, select all data types or simply proceed with confirmation.
    • Tap on Remove Account or Unlink Account again to finalize the process.

    Using Gmail App (Limited Functionality)

    While not a complete logout solution, you can log out of your Google account specifically within the Gmail app. Here’s how to:

    • Open the Gmail App on your Samsung S10.
    • Tap on the Hamburger Menu (three horizontal lines) located in the top left corner of the screen.
    • Swipe down on the menu to locate your Google Account email address.
    • Tap on your Google account email address.
    • A pop-up menu with your account details will appear.
    • Tap on Remove Account or similar wording.

    Note: Logging out of your Google account within the Gmail app only removes your account from the Gmail app itself. It doesn’t log you out of other Google services or completely remove your account from your S10.  For a complete logout, use Method 1 (Settings App).

    Additional Considerations after Logging Out

    Once you’ve successfully logged out of your Google account, here are some additional points to consider:

    • Data Backup

    If you chose to remove synced data during the logout process, ensure you have backups of any important information you might have stored in Google services like contacts, calendar events, or photos.

    • Factory Reset

    If you’re selling your phone or want a clean slate, consider performing a factory reset after logging out of your Google account. This will erase all data from your S10, including any remaining Google account

    Conclusion

    By following the methods outlined in this guide, you can successfully log out of your Google account on your Samsung S10.

    Remember, logging out offers you control over your data and privacy,  whether you’re switching accounts, ensuring a clean slate before selling your phone, or simply taking a break from syncing.

    Make informed decisions about your Google account and data management to optimize your S10 experience.

    Is it Safe to Log out of my Google Account if I Plan to Log Back in Later?

    Yes, logging out and logging back in is perfectly safe. Your Google account and data remain secure in Google’s servers, and you can access them again by signing in with your username and password.

    Can I Log out of my Google Account Remotely if My Phone Got Stolen?

    Yes! Google offers a feature called Find My Device that allows you to remotely locate, lock, or erase data on your lost or stolen phone.

    You can also use this feature to remotely log out of your Google account to protect your data.

    For more insights on this article, check out this video tips across our social platform:

  • How to Enable Developer Options on Samsung S10

    How to Enable Developer Options on Samsung S10

    The Samsung Galaxy S10 is a powerful device, but it offers even more functionality when you unlock Developer Options.

    Enable Developer Options on Samsung S10

    This hidden menu provides access to advanced settings and features typically used by app developers and experienced users.

    This piece article will give you insights on how to enable developer options on samsung s10, read and follow through the procedures carefully and explore some of the benefits it offers.

    Why Enable Developer Options?

    Developer Options provide a variety of benefits, including:

    • Debugging Tools

    These tools assist developers in testing and troubleshooting apps. While some users might not need them directly, they can be helpful for identifying app-related issues.

    • Advanced Settings

    Developer Options offer access to hidden settings that can customize your S10’s behavior in various ways.

    For example, you can enable USB debugging for file transfer or activate features like “Stay awake” to prevent the screen from automatically turning off while charging.

    • Performance Monitoring

    Certain options allow you to monitor your S10’s performance, such as tracking CPU usage and memory allocation.

    How to Enable Developer Options on Samsung S10

    Before you could possibly enable the Developer options feature on your Samsung Galaxy S10, you will have to read and follow the procedures outlined below:

    • Open the Settings app on your Samsung S10.
    • Scroll down and tap on  the About Phone option.
    • Locate the Software Information tab and tap on it.
    • Now you have to find  the Build Number option. You might need to scroll down a bit.
    • The rapidly click on the Builder Number option 7 times and you’ll see a message on the screen indicating how many taps are left until Developer Options are unlocked.
    • Enter your PIN, Password, or Pattern to confirm your identity.
    • Once confirmed, you’ll see a popup message stating Developer mode has been turned On.

    Access Developer Options on Samsung S10

    After enabling the developer options on your Samsung device, you will then access it. In most cases, you wont see the developer option in same section where you enable it. So what you will do next to access it, is follow the steps below:

    • Navigate to Settings on the device you turned the developer options on.
    • Scroll to the least.
    • Then below you will see the Developer Options, you may click on it to access it.

    Those are the possible steps you need to enable and access the Developer options on your Samsung S10, this procedures also works for most Android devices.

    Important Cautions

    While Developer Options offer various functionalities, it’s crucial to use them with caution. Some settings can modify your S10’s behavior in ways that might impact performance or stability.

    It’s recommended to only enable options you understand and avoid modifying settings unless you’re confident about the potential consequences.

    Conclusion

    By enabling Developer Options on your Samsung S10, you unlock an array of hidden features and settings.

    Explore this menu responsibly, and you might discover valuable tools for troubleshooting, performance monitoring, or even customizing your S10’s user experience in unforeseen ways.

    Remember, a little knowledge goes a long way, so  be cautious while venturing into these advanced settings. Happy exploring!

    What if I Enable a Setting I Don’t Understand my Phone?

    Most Developer Options can be disabled and reset to their default settings.  If you encounter an issue, navigate back to the specific setting you modified and toggle it back to the off position.

    Are there Any Risks in Enabling Developer Options?

    While unlikely, some settings within Developer Options have the potential to alter your S10’s behavior in unforeseen ways.  It’s always best to research any setting before enabling it, especially if you’re unsure about its function.

    Is it Okay to Keep Developer Options Enabled all the Time?

    For most users, keeping Developer Options disabled is perfectly acceptable.

    You can enable them only when needed for troubleshooting or specific purposes and then disable them again afterward.

    For more insights on this article, check out this video tips across our social platform:

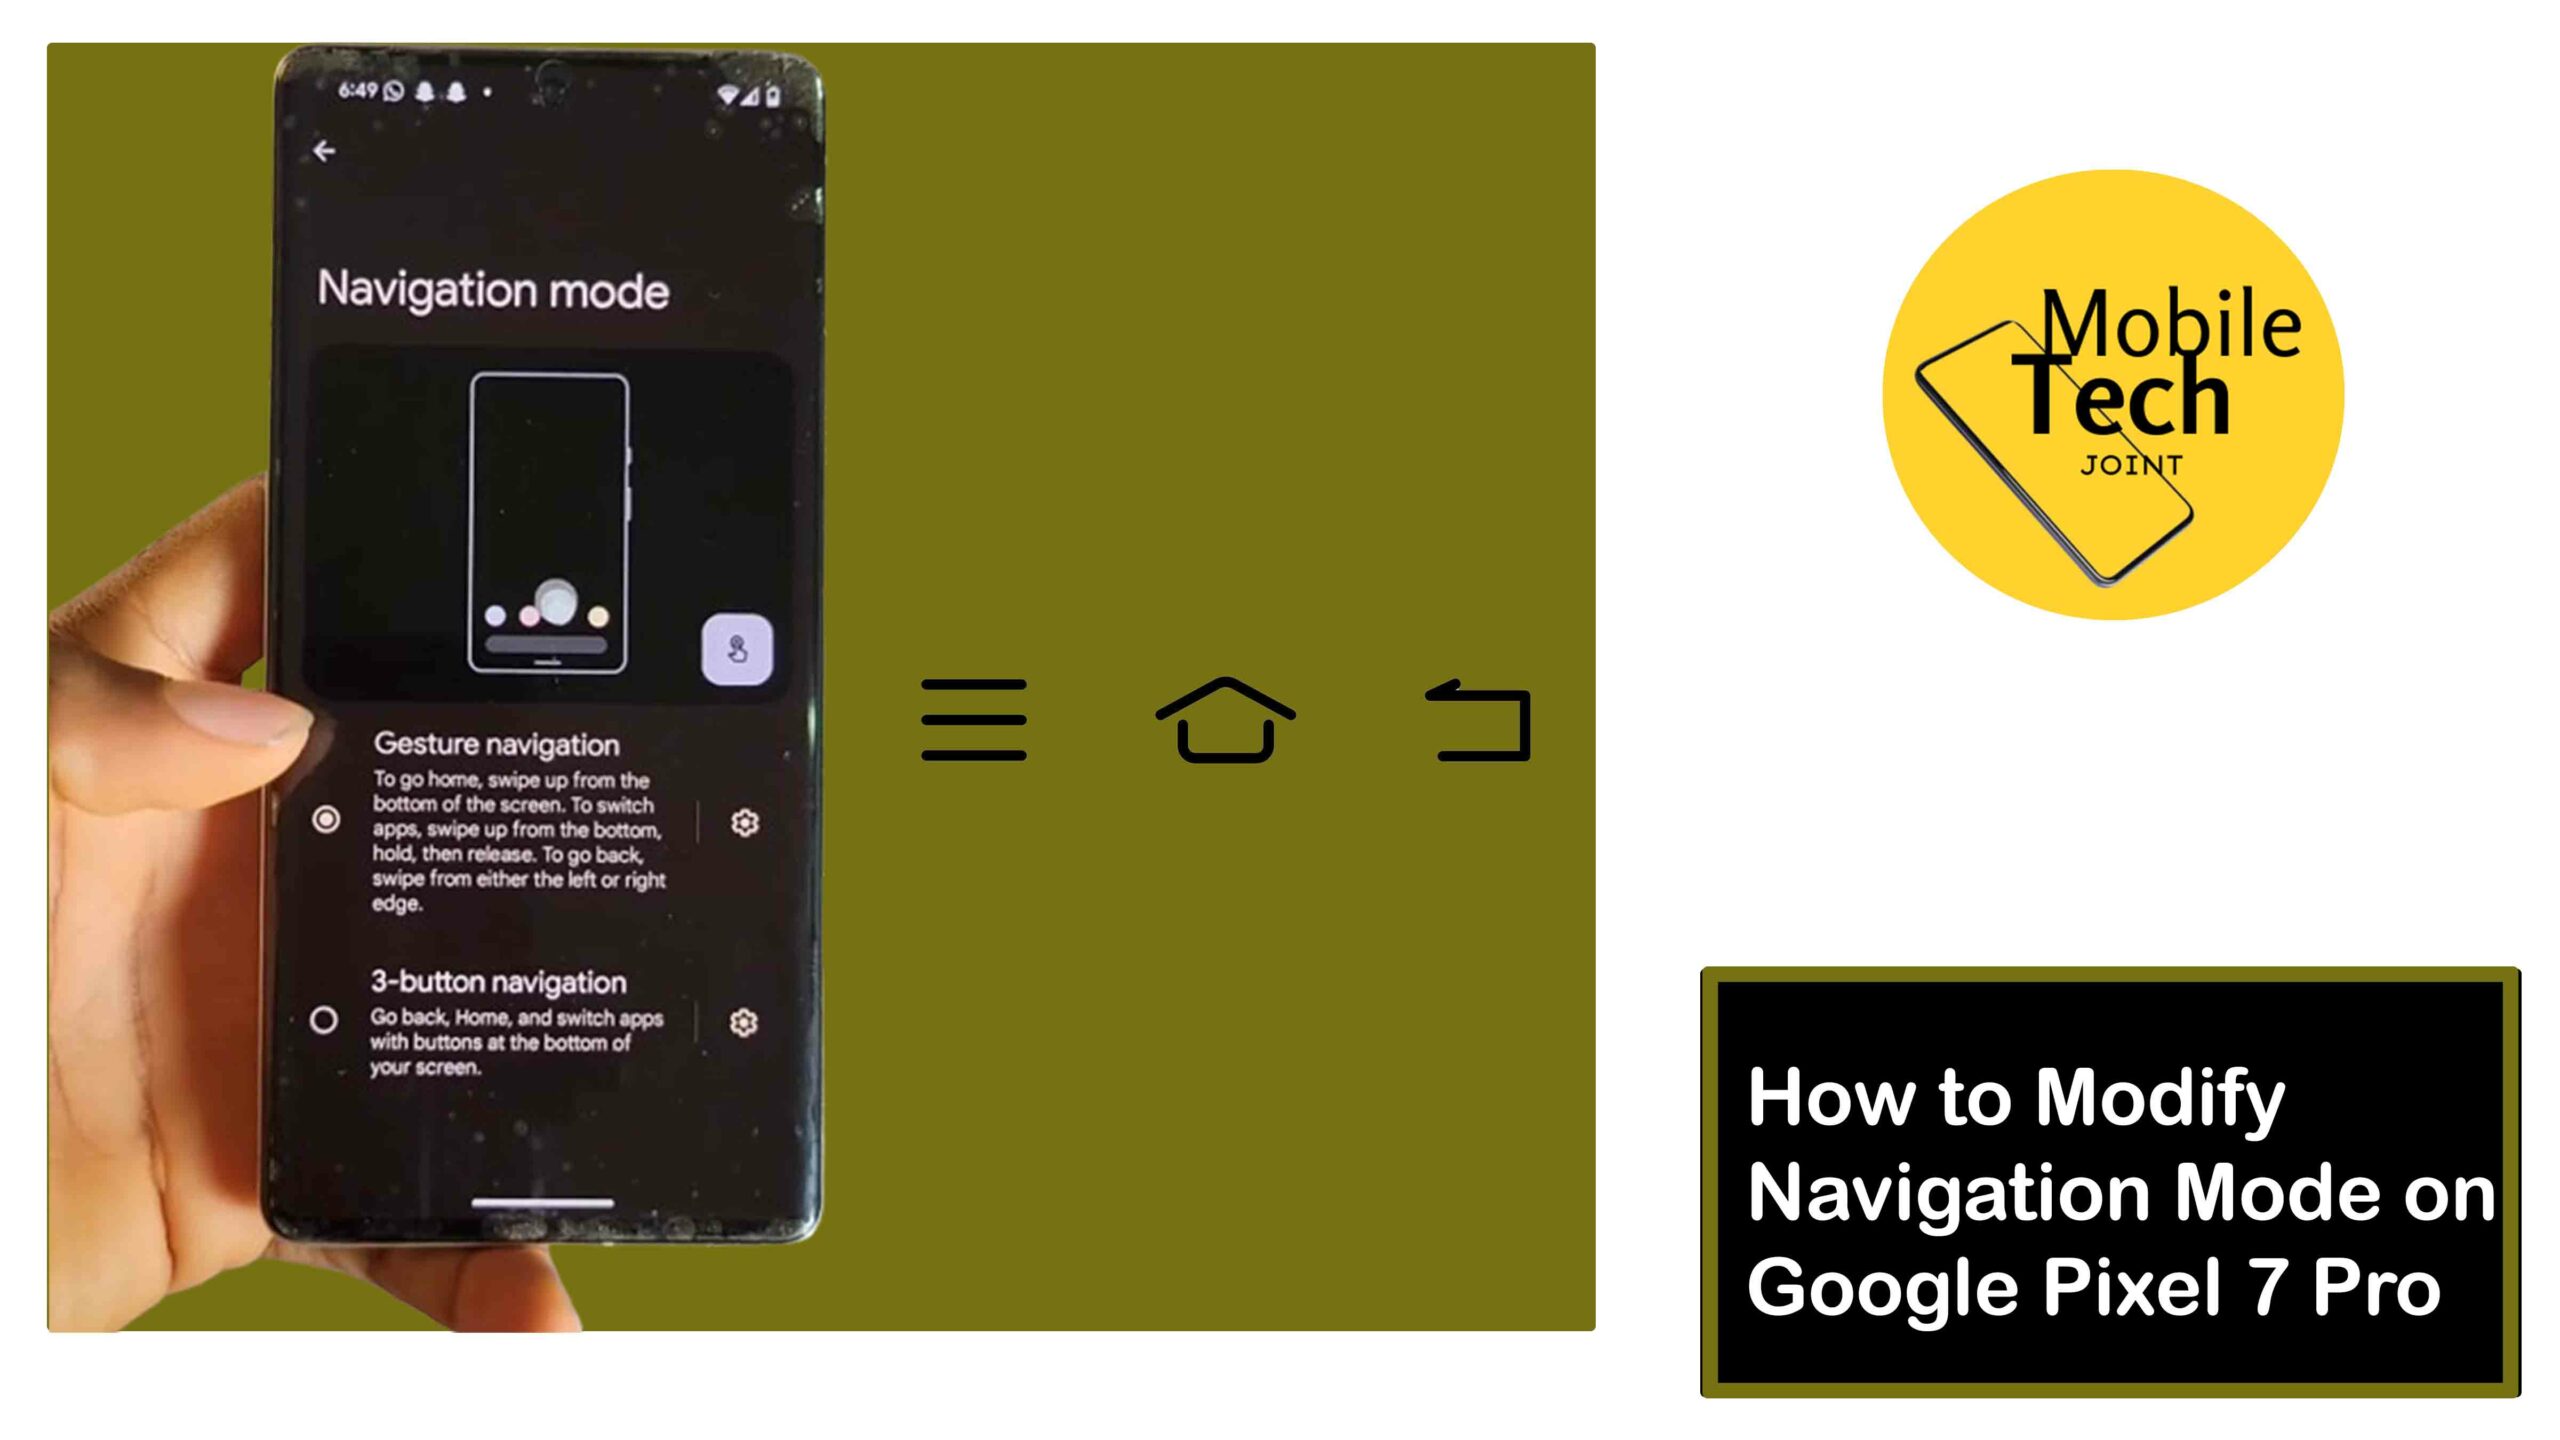
  • How to Modify Navigation Mode on Google Pixel 7 Pro

    How to Modify Navigation Mode on Google Pixel 7 Pro

    The Google Pixel 7 Pro offers a smooth and intuitive user experience, with navigation playing a crucial role.

    Modify Navigation Mode on Google Pixel 7 Pro

    By default, the Pixel 7 Pro utilizes gesture navigation, allowing you to swipe on the screen to navigate between apps, go back, and access the home screen. However, you might prefer a more traditional button-based navigation system.

    Thankfully, the Pixel 7 Pro allows you to modify your navigation mode to suit your preferences.  This guide will walk you through the process on how to modify navigation on Google Pixel 7 Pro.

    Why Modify Navigation Mode?

    There are a few reasons why you might want to change the navigation mode on your Pixel 7 Pro:

    • Familiarity

    If you’re accustomed to using buttons for navigation on previous phones, you might find gesture navigation less intuitive and prefer a familiar button layout.

    • Accidental Swipes

    Gesture navigation relies on swiping from specific screen edges. If you find yourself accidentally triggering gestures while holding your phone, button navigation can offer a more precise and less error-prone experience.

    • Personal Preference

    Ultimately, the navigation mode comes down to personal preference. Experimenting with both gesture and button navigation can help you decide which method feels most comfortable and efficient for you.

    Explore Navigation Options

    The Pixel 7 Pro offers two primary navigation modes:

    • Gesture Navigation

    This mode utilizes on-screen swipes for navigation. Swiping up from the bottom goes home, swiping up from the bottom and holding opens recent apps, swiping left or right from the left edge goes back.

    • 3-Button Navigation

    This traditional mode presents three on-screen buttons at the bottom of your display: Back button, Home button, and Recent Apps button.

    How to Modify Navigation Mode on Google Pixel 7 Pro

    Here’s how to modify your navigation mode on your Google Pixel 7 Pro:

    • Open the Settings app on your Pixel 7 Pro.
    • Scroll down and tap on System.
    • Locate Navigation Mode and tap on it.
    • You’ll see the two available navigation modes: “Gesture navigation” and “3-button navigation”.
    • Tap on your preferred navigation mode.
    • Selecting Gesture Navigation will activate the swipe-based navigation system.
    • Selecting 3-button Navigation will activate the traditional on-screen button layout.
    • Once you’ve chosen your desired mode, exit the Settings app. The navigation system on your Pixel 7 Pro will be updated accordingly.

    Those are the steps needed to successfuly modify the navigation mode on your Google pixel 7 Pro, follow through carefully.

    RelatedHow to Enable Dark Theme on Google Pixel 7

    Additional Tips to Master Navigation

    Here are some helpful tips for using both navigation modes on your Pixel 7 Pro:

    • Gesture Navigation

    Practice the swipe gestures to ensure smooth and accurate navigation. There are helpful animations within the Settings menu that demonstrate the gestures.

    • 3-Button Navigation

    The button layout is fairly standard and intuitive for most users familiar with traditional phone navigation.

    • Customizing Sensitivity

    Within the “Navigation mode” settings for gesture navigation, you’ll find an option to adjust the back gesture sensitivity.

    This allows you to fine-tune how far you need to swipe from the edge to trigger the back action.

    Conclusion

    By understanding the available navigation modes and following the simple steps outlined above, you can easily modify the navigation system on your Google Pixel 7 Pro to suit your preferences.

    Experiment with both options and choose the method that feels most comfortable and efficient for navigating your Pixel 7 Pro. With the right navigation mode in place, you can unlock the full potential of your phone’s user experience.

    Will Changing the Navigation Mode Affect the Way I Access other Pixel 7 Pro Features?

    No, changing the navigation mode only affects how you navigate between apps, go back, and access the home screen.

    Other Pixel 7 Pro features like opening the notification panel, accessing the power menu, or taking screenshots will function the same way regardless of the navigation mode you choose.

    Can I Use a Combination of Gestures and Buttons for Navigation?

    Unfortunately, the Pixel 7 Pro doesn’t currently offer a hybrid navigation mode that combines gesture swipes and on-screen buttons. You’ll need to choose between gesture navigation (all swipes) or 3-button navigation (entirely button-based).

    What if I Change Navigation Mode and Forget How to Change it Back?

    If you switch to gesture navigation and forget how to access Settings to switch back, don’t worry!  Here’s a shortcut: Slowly swipe up from the bottom center of your screen

    This gesture will still trigger the home screen even in gesture navigation mode, allowing you to access your apps and locate the Settings app to change the navigation mode back to your preference.

    For more insights on this article, check out these video tips across our social platforms:
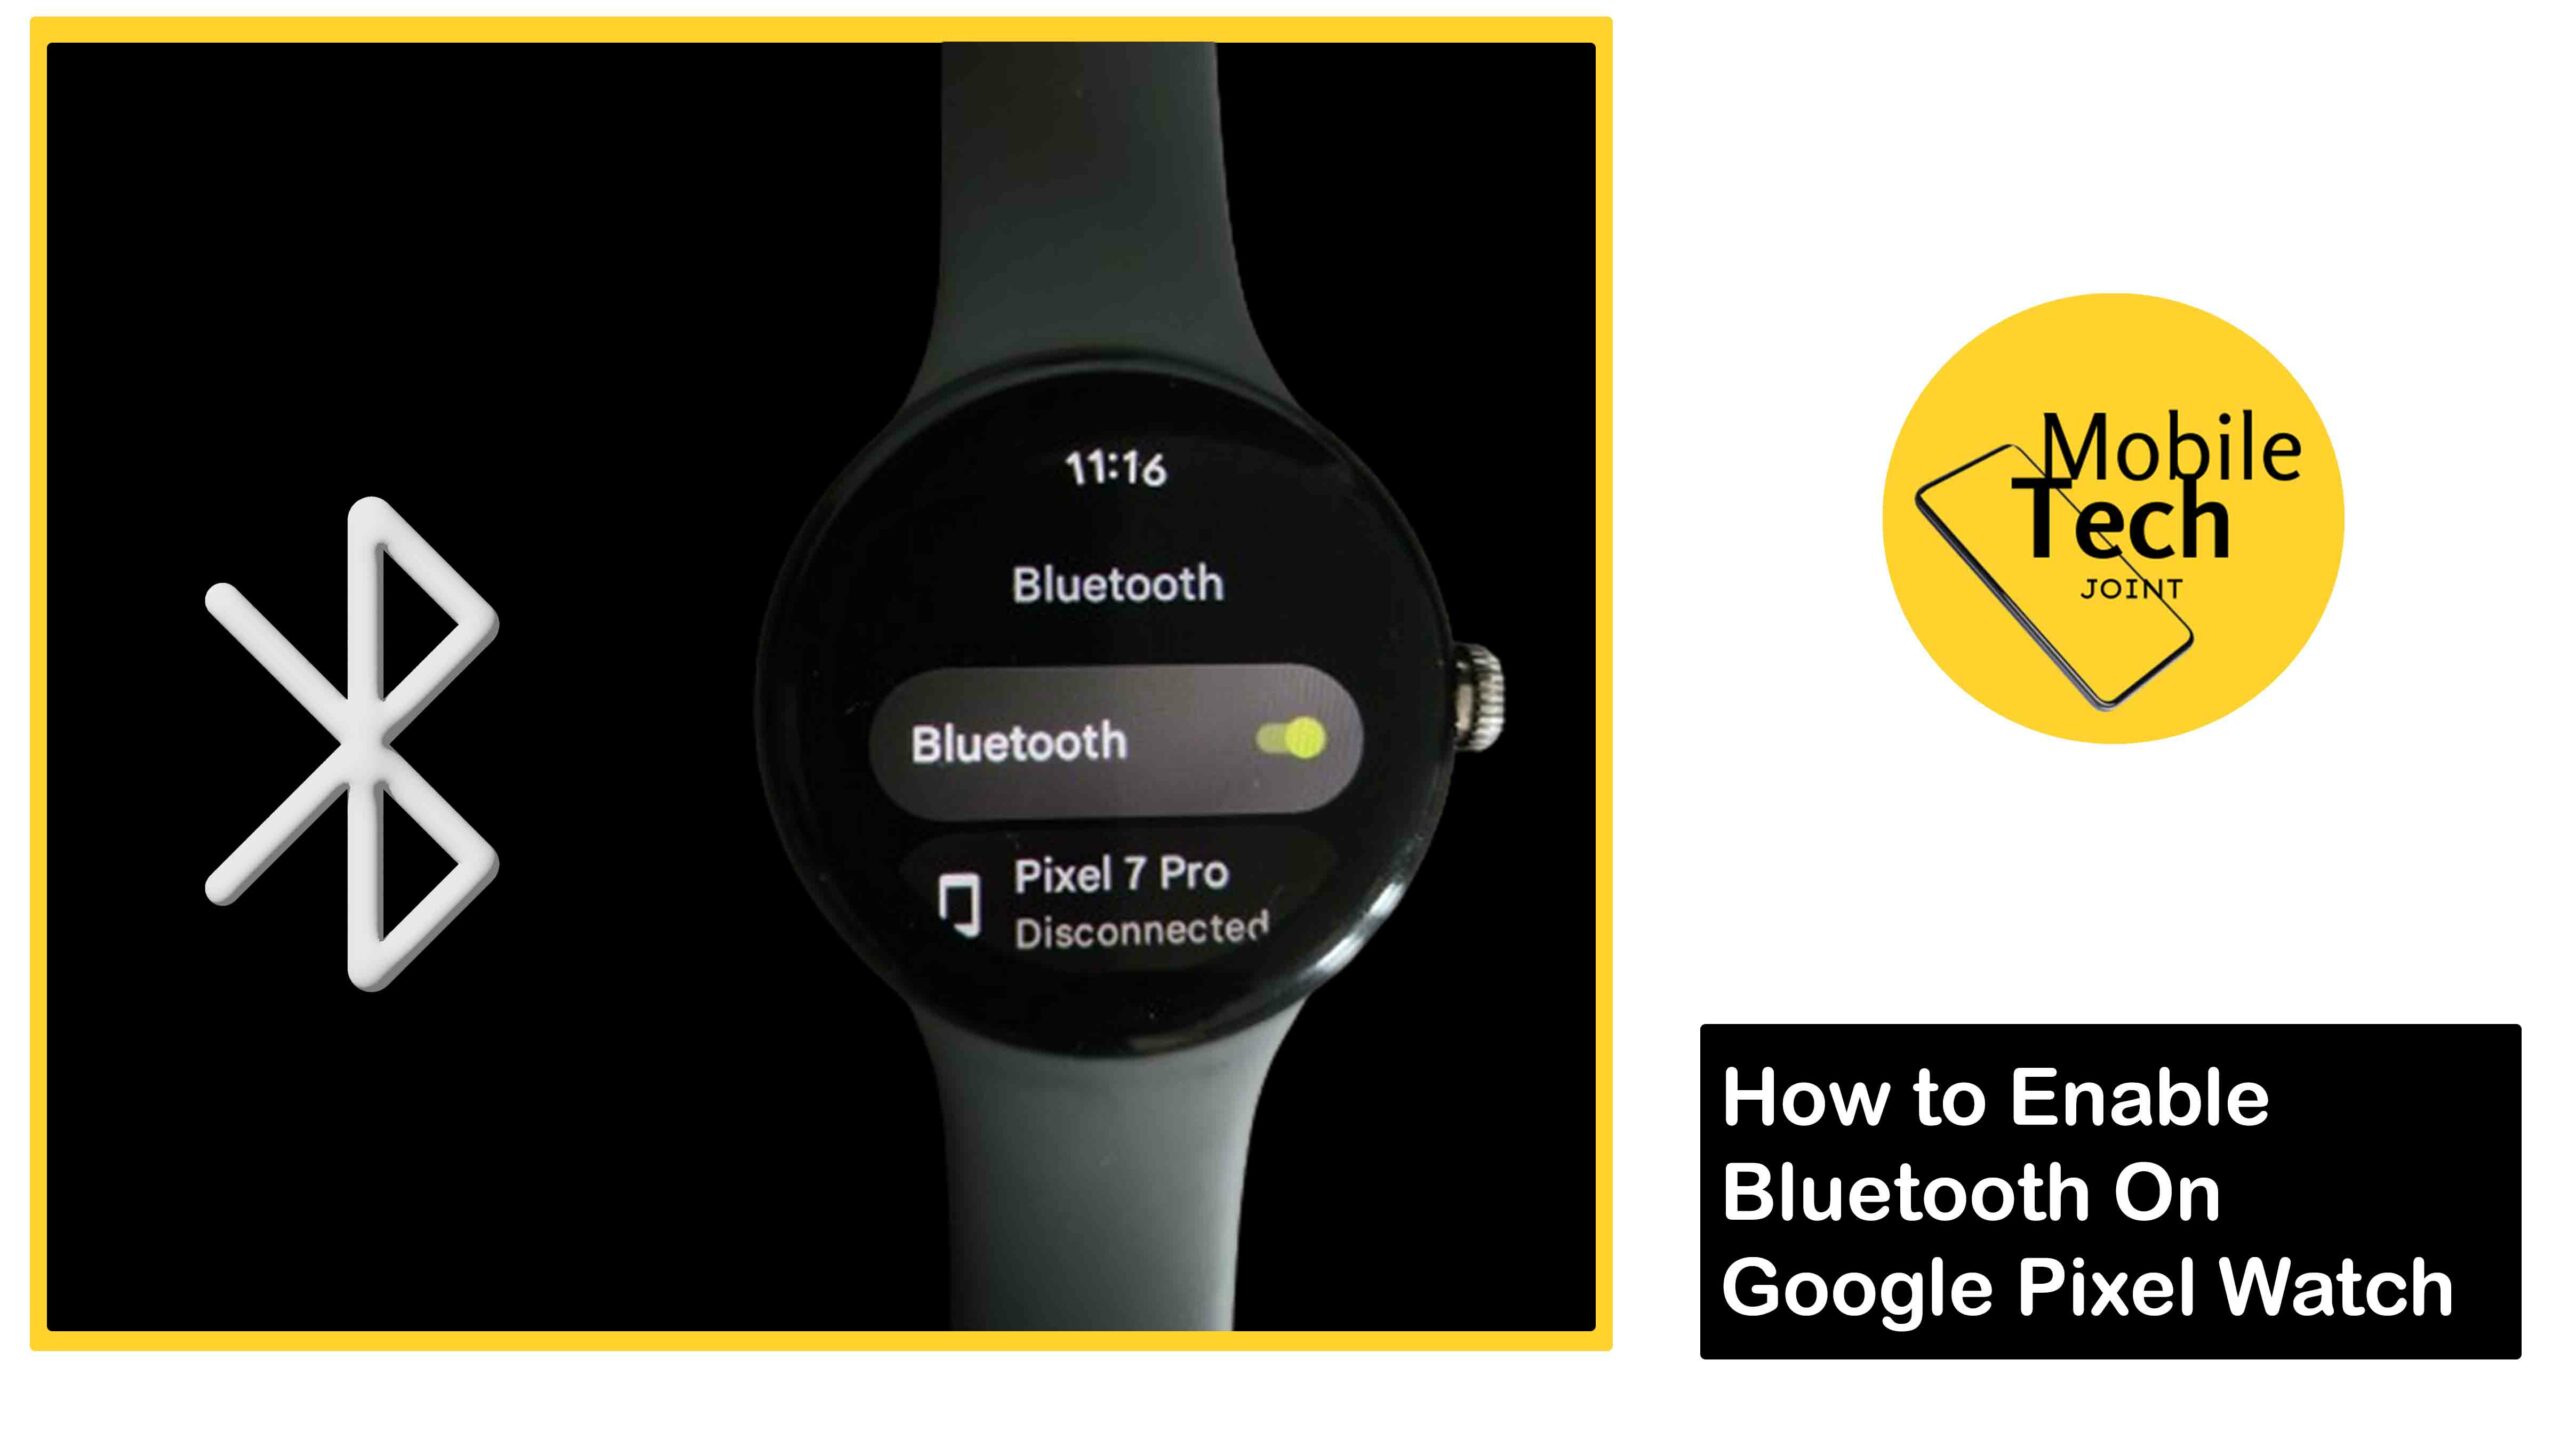
  • How to Enable Bluetooth on Google Pixel Watch

    How to Enable Bluetooth on Google Pixel Watch

    The Google Pixel Watch thrives on connectivity, allowing you to stay informed, manage notifications, and even make calls directly from your wrist.

    Enable Bluetooth on Google Pixel Watch

    But to unleash this potential, you’ll need to enable Bluetooth. Bluetooth technology on the Google Pixel Watch facilitates communication with your smartphone, enabling a range of features and functionalities.

    However, if you would want to enable this feature on your Google Pixel Watch but do not know how? kind read and follow the procedures outlined in this blog carefully because it gives insights on how to enable bluetooth on Google Pixel watch.

    How to Enable Bluetooth on Google Pixel Watch

    Here’s a quick guide on activating Bluetooth on your Pixel Watch and pairing it with your smartphone:

    Enable Bluetooth on the Pixel Watch

    Follow the steps carefully:

    • Press the crown button or double-tap the screen to activate the watch face.
    • From the watch face, swipe down from the top of the screen to access the Quick Settings menu.
    • Look for the Bluetooth icon within the Quick Settings menu.
    • Tap the Bluetooth icon to toggle it on.
    • Access Bluetooth Settings for More Control: Tap and hold the Bluetooth icon. This will open the dedicated Bluetooth settings menu on your watch.

    Enable Bluetooth through Settings App

    • Swipe down from the watch face and tap on the cogwheel icon (Settings) located within the Quick Settings menu.
    • Scroll down through the Settings options and click Connectivity. Tap on it to access connection settings.
    • Locate the Bluetooth option within the Connectivity menu and click on it.

    RelatedHow to Access Timer on Google Pixel Watch

    Pair Pixel Watch with Smartphone

    Once you’ve enabled Bluetooth, you can pair your Pixel Watch with your smartphone:

    • Make sure Bluetooth is enabled on your phone.
    • Open the Google Pixel Watch App on your phone.

    Follow the on-screen pairing instructions. The app will guide you through a step-by-step process to establish a connection between your watch and phone.

    Once you are done following the on-screen instructions provided by the watch, then you’ve successfully paired it with your smartphone. You can now enjoy the convenience of a connected smartwatch experience.

    Conclusion

    By enabling Bluetooth on your Google Pixel Watch, you unlock a world of possibilities.

    From staying connected with notifications to managing calls and leveraging various functionalities, Bluetooth serves as the bridge between your watch and the broader digital ecosystem.

    So, keep Bluetooth enabled to experience the full potential of your Pixel Watch and stay seamlessly connected throughout your day.

    Does Bluetooth Drain Battery Life?

    Yes, enabling Bluetooth will slightly impact battery life. However, the convenience of a connected watch often outweighs the minimal drain. Optimize usage by disabling Bluetooth when not needed.

    Can I Pair My Pixel Watch with Any Phone?

    No, Pixel Watch currently works best with compatible Android phones. Check Google’s support resources for confirmed compatible devices.

    What Happens if Bluetooth Disconnects?

    Some functionalities might be limited. Reconnect Bluetooth through your watch settings or the Pixel Watch app to restore full functionality.

    Can I Use Wi-Fi Instead of Bluetooth?

    While Bluetooth is primary, Wi-Fi can be used for some downloads or updates on the Pixel Watch. Explore connection settings on your watch for Wi-Fi options.

    How Do I Forget a Bluetooth Connection?

    Within the Pixel Watch Bluetooth settings, you can find previously paired devices and choose to “Forget” unwanted connections.

    For more insights on this article, check out these video tips across our social platforms:
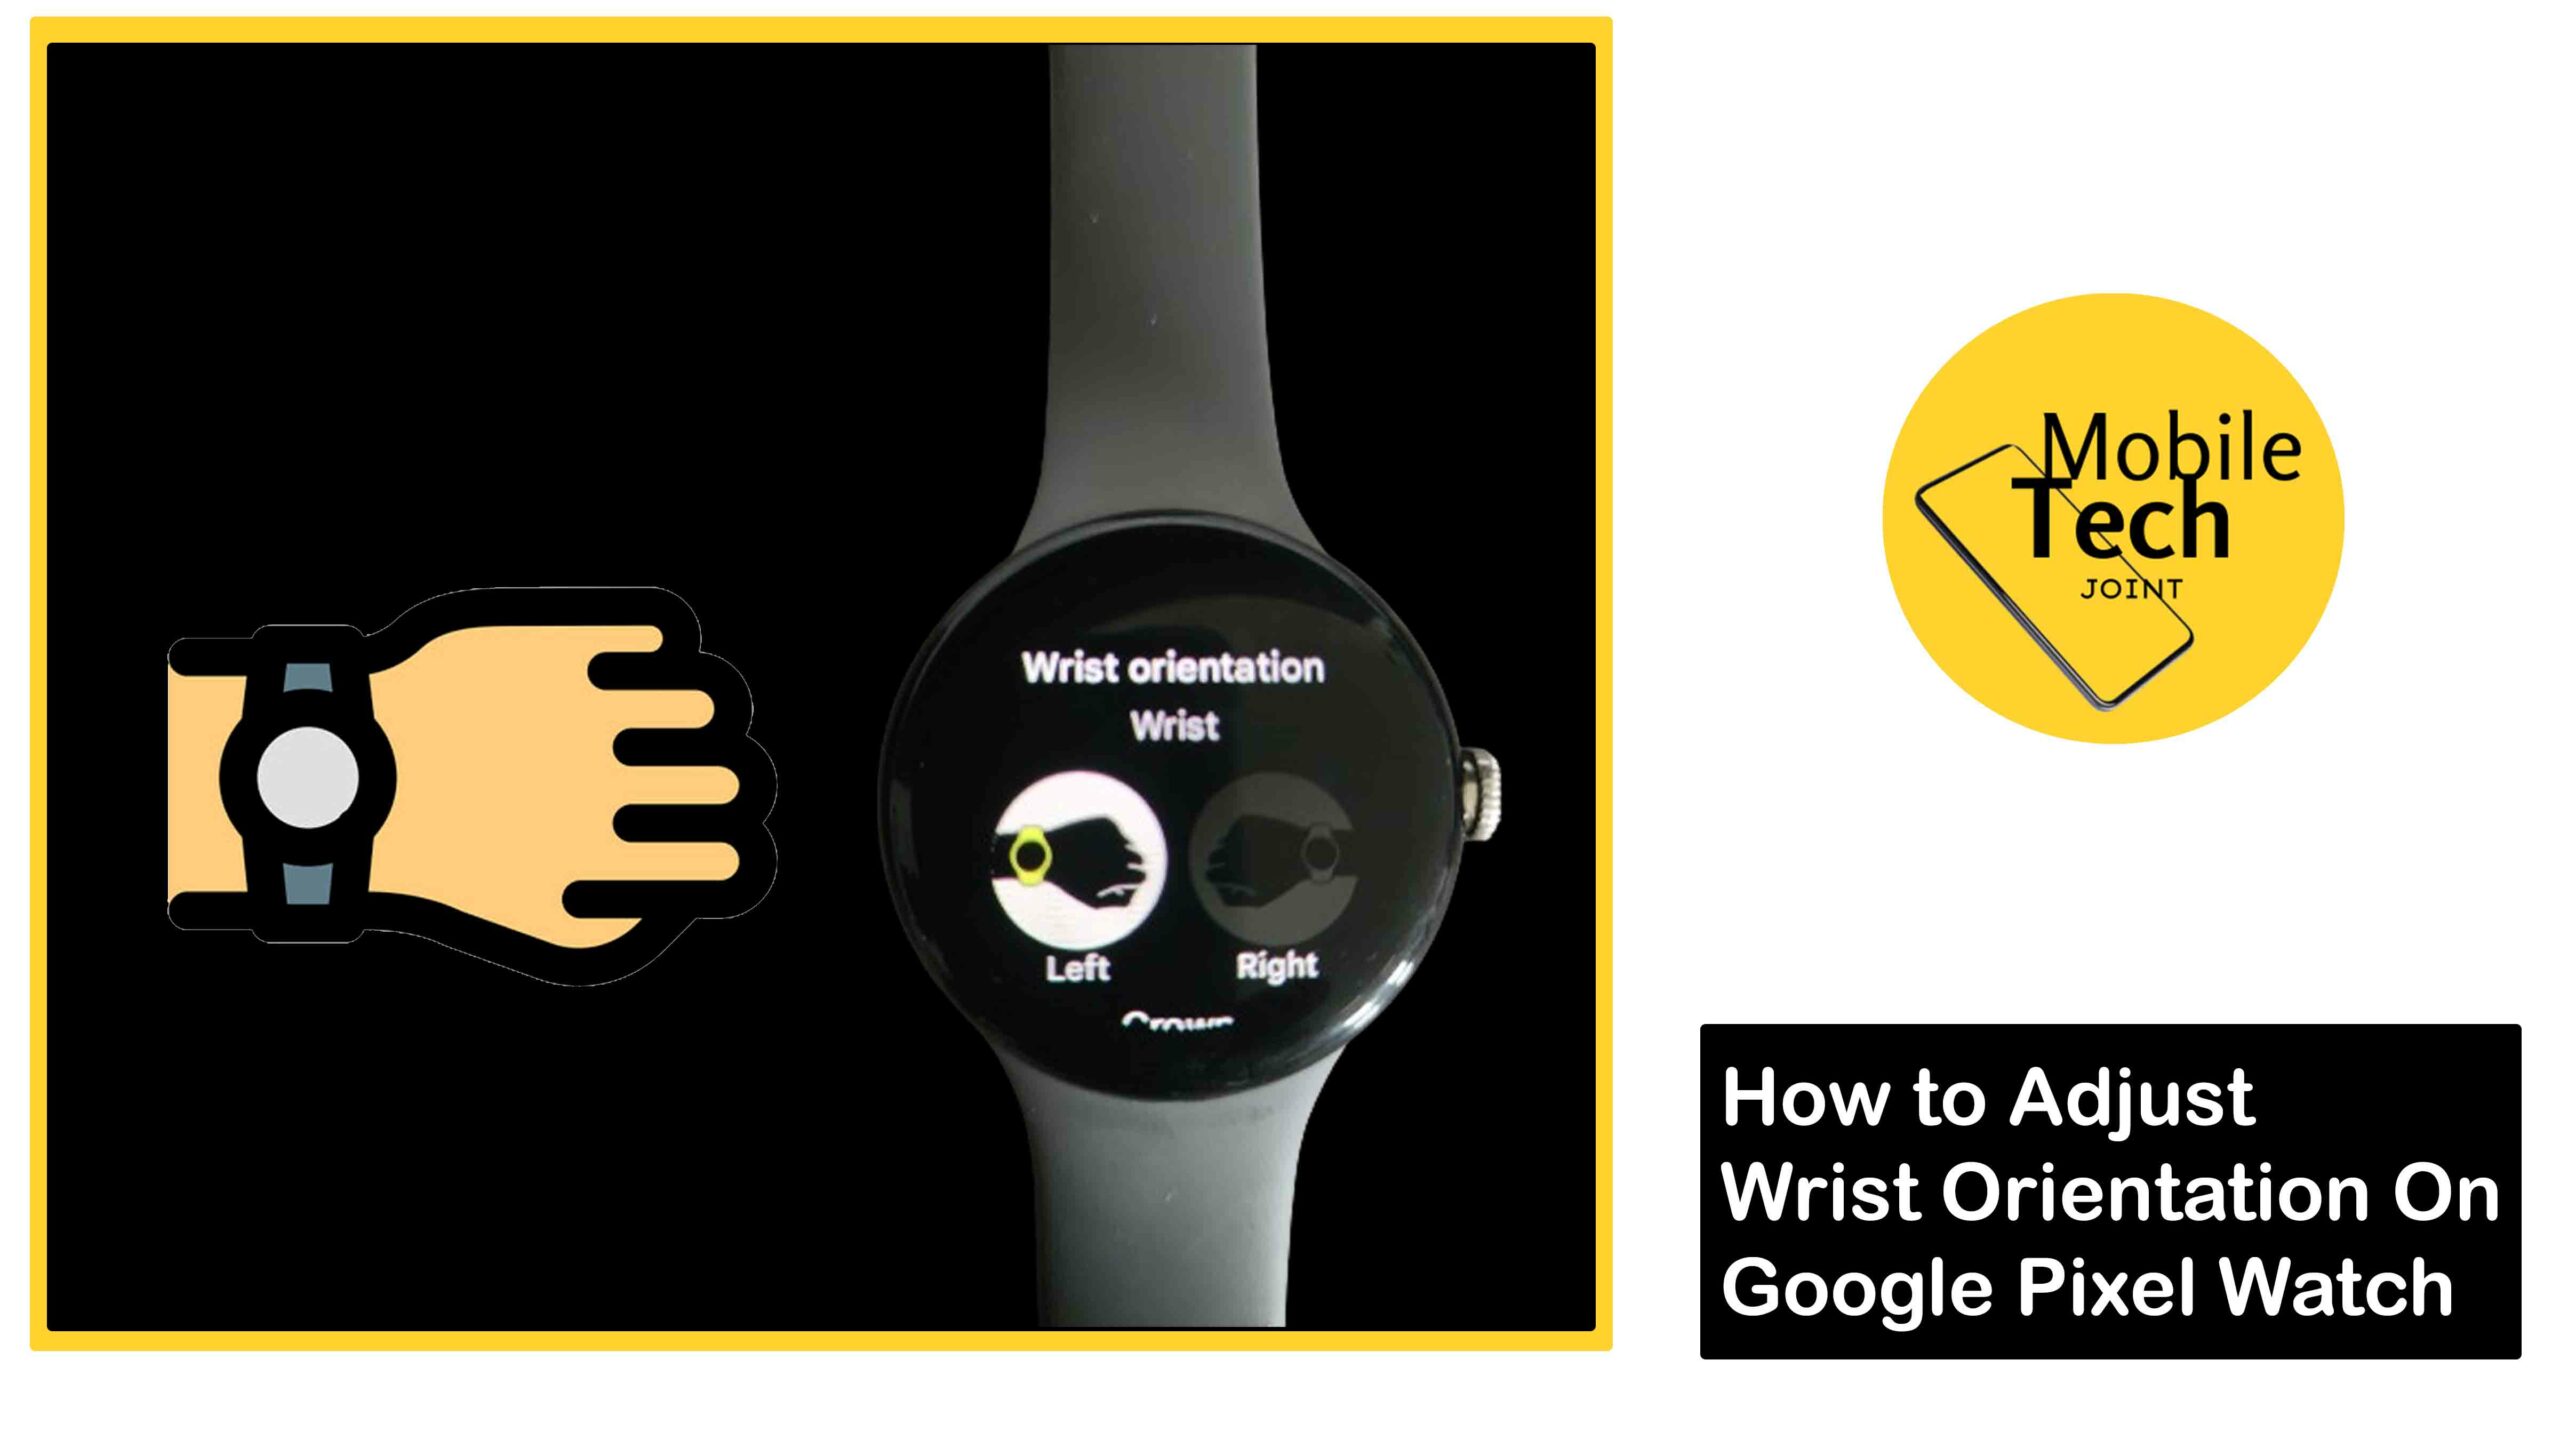
  • How to Adjust Wrist Orientation on Google Pixel Watch

    How to Adjust Wrist Orientation on Google Pixel Watch

    The Google Pixel Watch offers a customizable experience, allowing you to tailor its functionality to your preferences.

    Adjust Wrist Orientation on Google Pixel Watch

    One key aspect of personalization is wrist orientation. This feature lets you choose how the watch display aligns with your dominant hand and wearing position.

    Whether you’re a righty who wears your watch traditionally or a lefty who prefers it on the inside of your wrist, wrist orientation ensures a seamless user experience.

    How to Adjust Wrist Orientation on Google Pixel Watch

    Here are the basic steps needed to successfully adjust your wrist orientation on your Google Pixel Watch.

    Using the Pixel Watch Settings

    • Swipe down from the top of the watch face to access the Quick Settings menu.
    • Tap on the Settings icon (cogwheel symbol).
    • Scroll down and select the Display option.
    • Under Display options, locate Wrist orientation.
    • Choose between Left or Right depending on which wrist you wear the watch on.
    • You’ll see the watch screen automatically rotate to reflect your chosen orientation.

    Using the Google Pixel Watch App

    • On your smartphone, open the Google Pixel Watch App.
    • Navigate to Watch preferences.
    • Select the Watch Orientation option.
    • Choose Left or Right based on your wrist preference.
    • The changes will automatically sync to your Pixel Watch, adjusting the display orientation.

    Those are the required steps.

    RelatedHow to Adjust Font Size on Google Pixel Watch

    Additional Considerations

    Here are some additional considerations:

    • Crown Location

    While adjusting wrist orientation, you can also choose the location of the digital crown (the rotating dial on the side).

    This allows you to decide if the crown appears on the top or bottom based on your wearing style.

    • Impact on Functionality

    Changing wrist orientation might affect some features that rely on sensor placement. For instance, “tilt-to-wake” might activate differently depending on your chosen orientation.

    Experiment and find the setup that feels most natural for your usage.

    Conclusion

    By customizing your Pixel Watch’s wrist orientation, you can ensure a comfortable and intuitive experience, whether you’re checking notifications, tracking workouts, or simply glancing at the time.

    So go ahead, explore the options, and personalize your watch to perfectly suit your style and preferences!

    Does Wrist Orientation Affect Battery Life?

    Nope! Wrist orientation itself doesn’t impact battery life. However, features triggered by wrist movements (like “tilt-to-wake”) might be affected.

    These features rely on motion sensors, and with a wrist orientation change, the sensor might not be in the optimal position to detect your movement as efficiently. Disabling “tilt-to-wake” if you prefer manually activating the display can help conserve battery life.

    Can I Change Wrist Orientation After Setup?

    Absolutely! You can adjust wrist orientation anytime through the watch settings or the Pixel Watch app.

    This flexibility allows you to experiment and find the most comfortable position for checking notifications, tracking workouts, or simply glancing at the time.

    What if My Watch Face Doesn’t Rotate?

    Not all watch faces support automatic rotation. Check your watch face settings to see if it offers an option to adjust for different wrist orientations.

    If not, consider choosing a different watch face that adapts to the new orientation, ensuring a seamless viewing experience regardless of your dominant hand or wearing style.

    Will My Apps Work Differently?

    Most apps are not affected by wrist orientation. However, some fitness apps that rely on specific sensor positions, like those tracking wrist movements for exercise routines, might require adjustments based on your chosen orientation.

    Consult the app’s instructions or support resources for guidance on optimizing its functionality with your preferred wrist orientation setting.

    Can I Set Different Orientations for Watch Faces?

    Currently, wrist orientation applies to the entire watch and cannot be customized for individual watch faces.

    This means all watch faces will adapt to the same orientation setting you choose. While this might limit some personalization options, it ensures a consistent user experience across all watch faces on your Pixel Watch.

    For more insights on this article, check out these video tips across our social platforms:
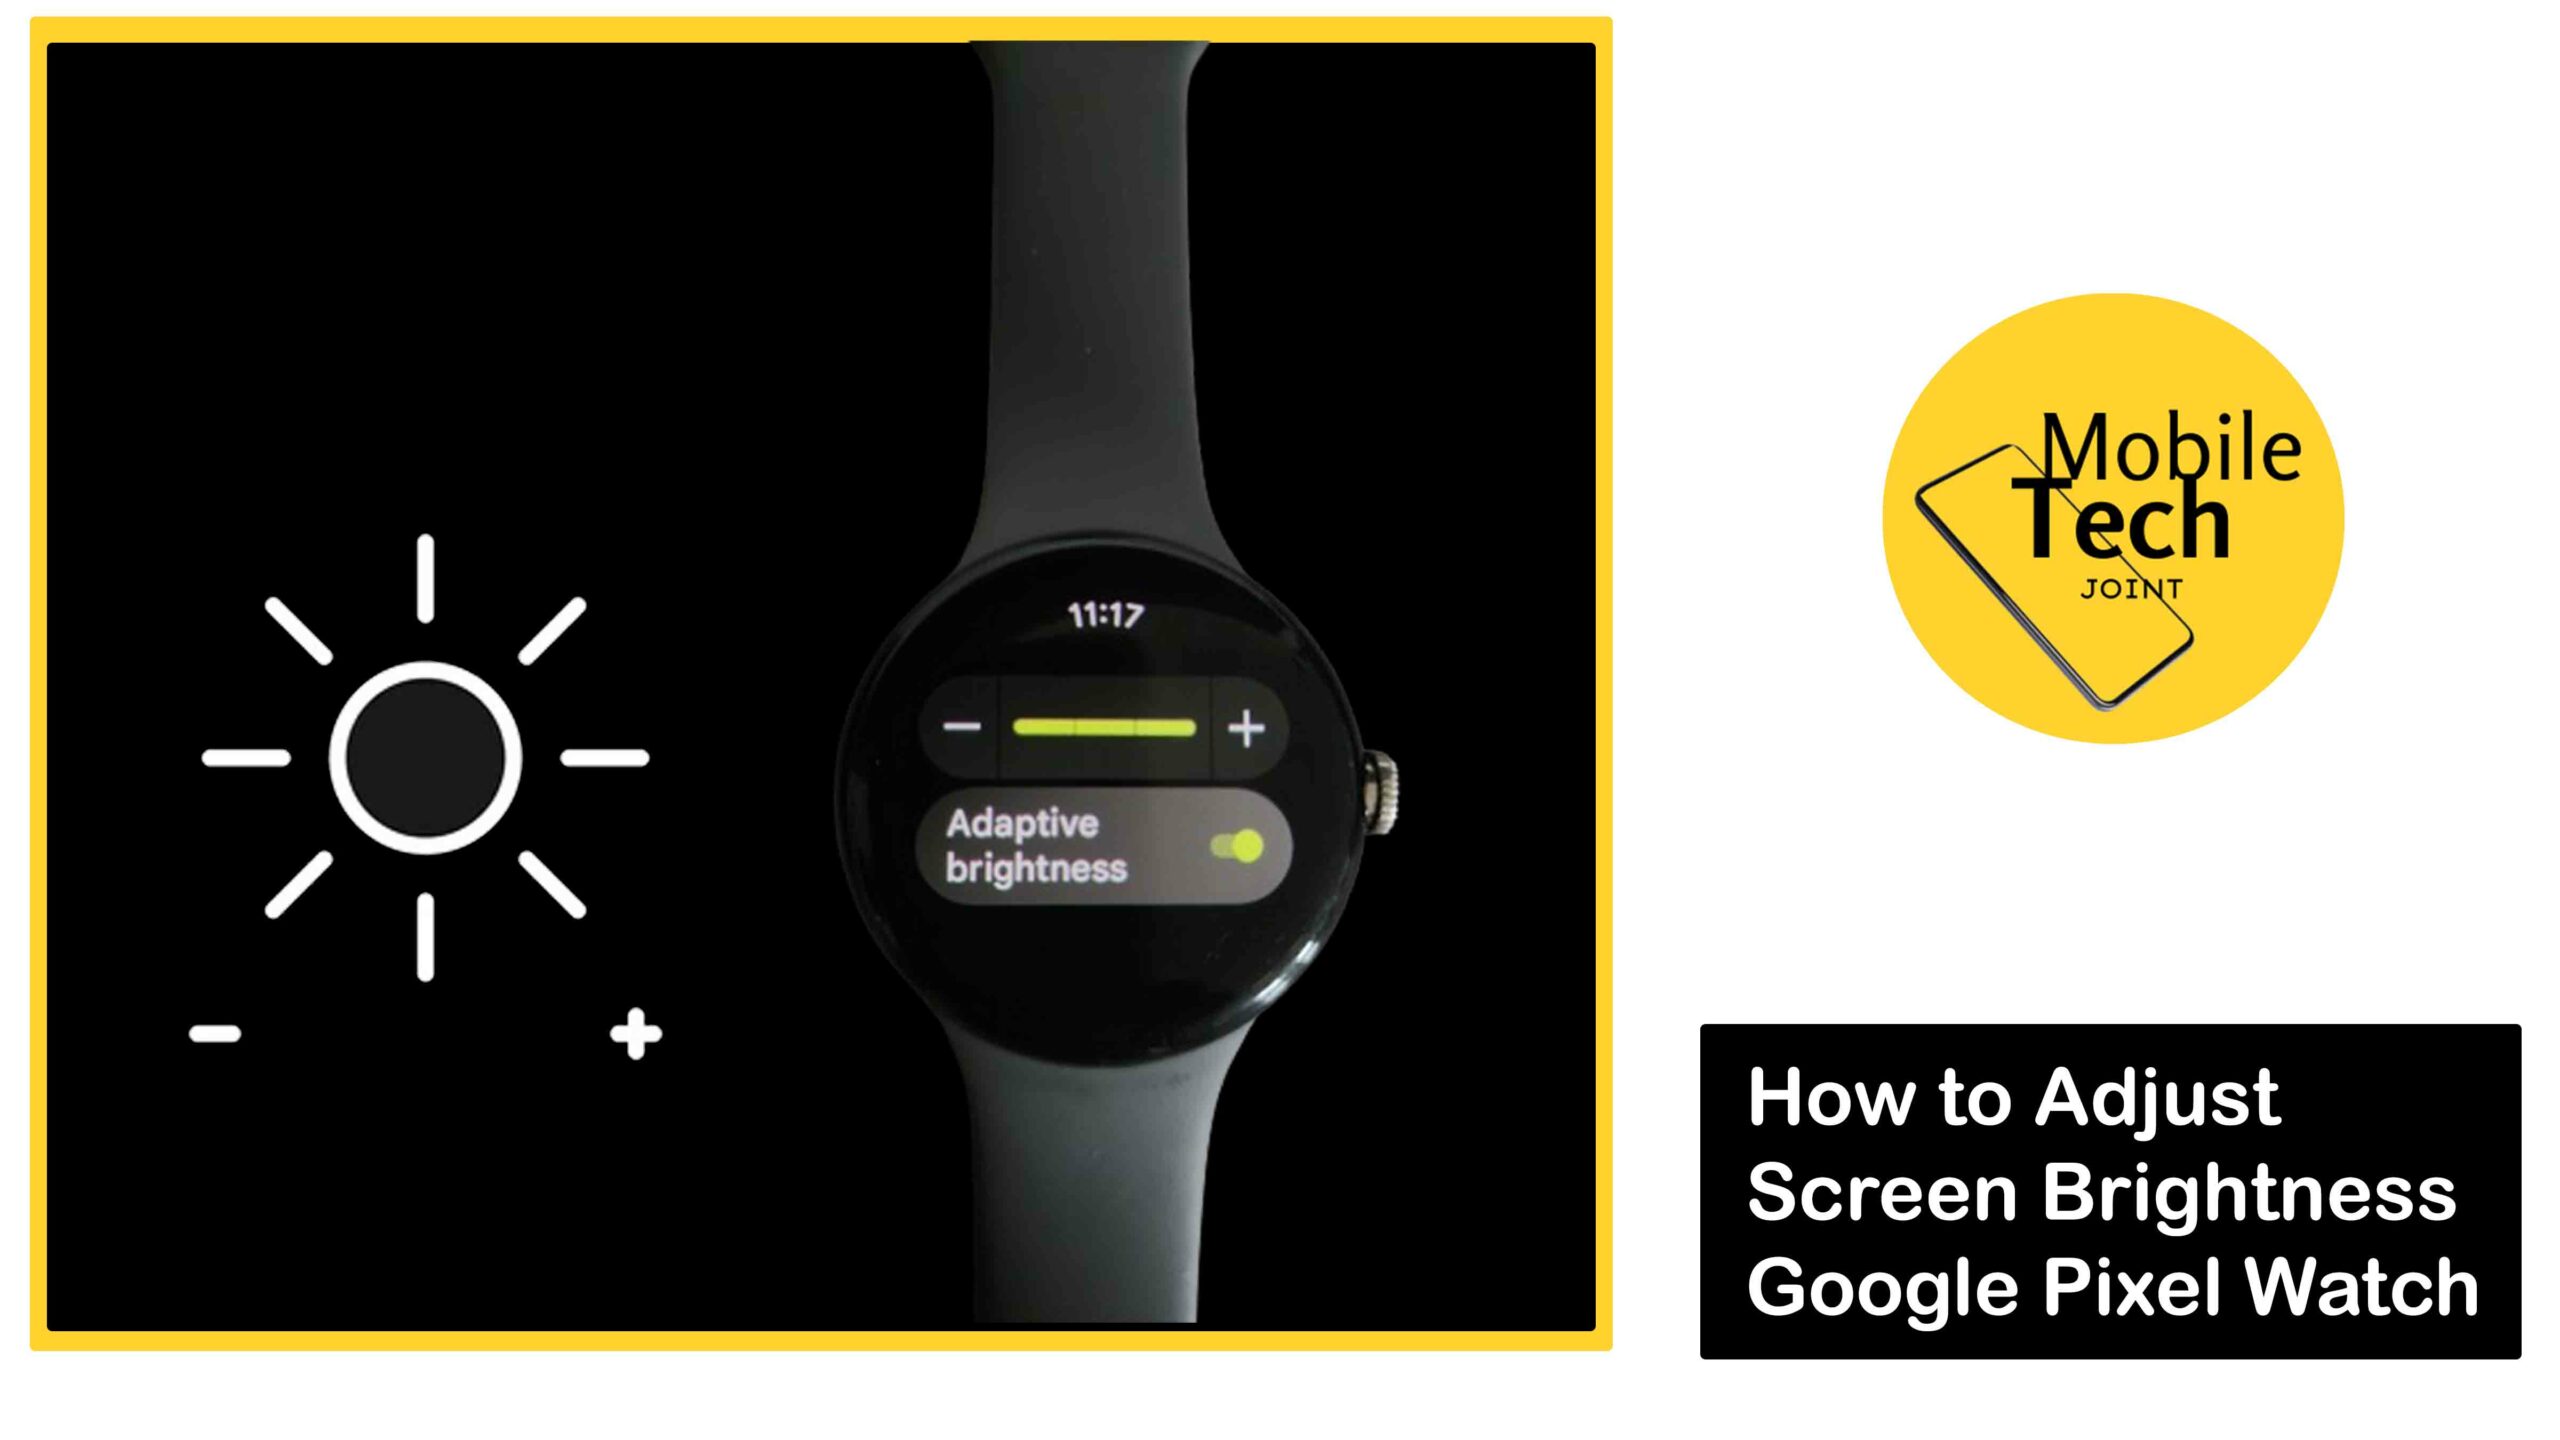
  • How to Adjust Screen Brightness on Google Pixel Watch

    How to Adjust Screen Brightness on Google Pixel Watch

    The Google Pixel Watch has an amazing display, however the appropriate brightness level varies depending on the situation.

    Adjust Screen Brightness on Google Pixel Watch

    Fortunately, the Pixel Watch provides a simple way to adjust the screen brightness to meet your requirements and environment.

    This article will show you how to adjust screen brightness on Google Pixel Watch for maximum viewing comfort and battery efficiency. All you need to do is read and follow the instructions carefully in this blog for positive result.

    Why Adjust on Pixel Watch?

    The Pixel Watch’s screen brightness controls the intensity of light that is emitted by the display.

    A lower brightness setting is easier on the eyes in low-light environments, while a higher brightness might be necessary for clear visibility in bright daylight.

    Additionally, adjusting brightness can contribute to optimizing battery life, lower brightness settings typically consume less power.

    How to Adjust Brightness on Google Pixel Watch

    There are two primary ways to adjust the screen brightness on your Google Pixel Watch:

    Using Swipe Down Menu (Quick Access)

    Follow the procedures outlined here below:

    • Wake up the screen by tapping on it or pressing the crown button.
    • Swipe down from the top of the watch face to access the Quick Settings menu.
    • Locate the Brightness icon, which typically resembles a sun icon.
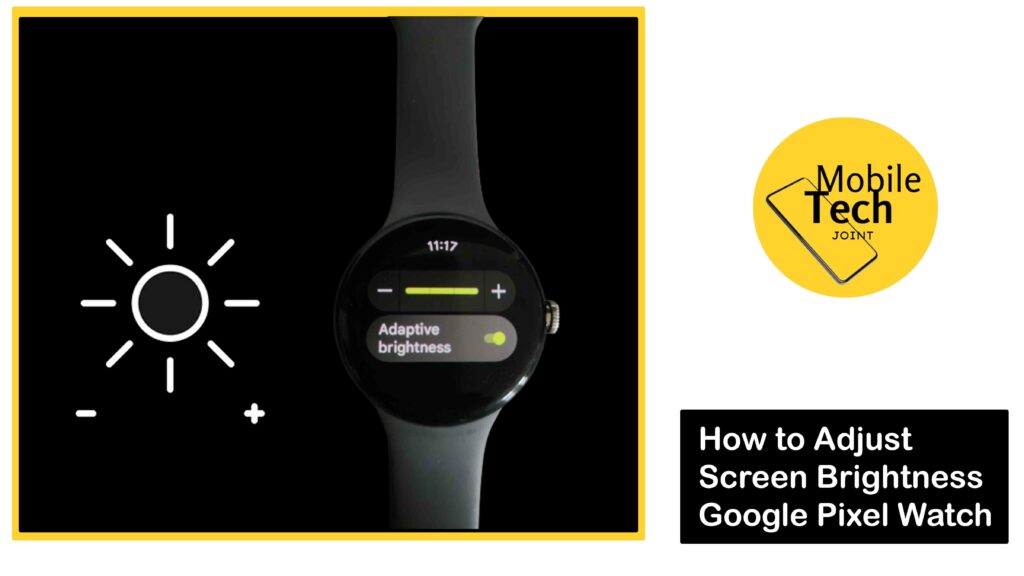
    • Tap and hold the Brightness icon to access the brightness adjustment slider.
    • Slide your finger up or down on the slider to adjust the brightness level. A higher position on the slider indicates a brighter display.
    • Release your finger when you reach the desired brightness level.

    Using Settings App 

    As stated above, follow the procedures carefully for succesful results:

    • Press the crown button to access the app list.
    • Locate and tap the Settings app icon.
    • Scroll down and tap on Display.
    • Scroll down and select Adjust Brightness tab.
    • Now you may choose to either descrease your brightness with the minus button or the plus button to increase.

    Those are the steps required.

    Tips for Managing Brightness

    Here are some helpful tips for managing screen brightness on your Pixel Watch:

    • Enable Automatic Brightness

    The Pixel Watch offers an “Automatic brightness” option within the Display settings. When enabled, the watch automatically adjusts the brightness based on the ambient light conditions.

    • Adjust Brightness Based on Activity

    Consider lowering the brightness for nighttime use or while indoors to improve comfort and potentially save battery life. Increase the brightness when outdoors or in bright environments for better visibility.

    Related: How to Enable Sunlight Boost on Google Pixel Watch

    Conclusion

    By mastering the art of adjusting screen brightness on your Google Pixel Watch, you can ensure optimal comfort and visibility throughout the day.

    Utilize the quick access method for on-the-go adjustments, or delve into the settings app for finer control.

    Remember, a well-balanced brightness setting enhances your viewing experience and helps you get the most out of your Pixel Watch’s battery. So, go forth and explore the world with a perfectly illuminated display!

    Does Lowering Brightness Impact the Watch’s Display Quality?

    While very low brightness levels might make text or details slightly harder to see, most users find a comfortable balance between brightness and clarity.

    Experimenting with different levels will help you find the sweet spot.

    Will Enabling Automatic Brightness Drain my Battery?

    Automatic brightness relies on the watch’s sensors to adjust brightness constantly.

    In some cases, this might lead to slightly higher battery consumption compared to a fixed, lower brightness setting. However, the convenience of automatic adjustments often outweighs this minimal impact.

    Can I Schedule the Brightness to Adjust Automatically?

    Unfortunately, the Pixel Watch currently doesn’t offer built-in brightness scheduling. However, enabling Automatic Brightness and adjusting the brightness based on your typical usage patterns (lower at night) can achieve a similar effect.

    For more insights on this article, check out these video tips across our social platforms:
  • How to Scan Threats on Samsung S24 Ultra

    How to Scan Threats on Samsung S24 Ultra

    The Samsung Galaxy S24 Ultra is a powerhouse, but staying protected from online threats is crucial. Thankfully, your phone comes equipped with built-in security features to safeguard your device and data.

    How to Scan Threats on Samsung S24 Ultra

    This article will guide you through utilizing the scan function to identify and neutralize potential threats on your S24 Ultra. All you are required of is follow through the procedures outlined in this blog carefully.

    About Threats on S24 Ultra

    Mobile threats can come in various forms, including viruses, malware, spyware, and phishing attempts.

    These threats can steal your data, damage your device, or disrupt its performance. Regularly scanning your phone helps identify and eliminate these threats before they can cause harm.

    How to Scan Threats on Samsung S24 Ultra

    The Galaxy S24 Ultra boasts Samsung’s security platform, Knox, which incorporates various features to protect your device. Here’s how to scan threats:

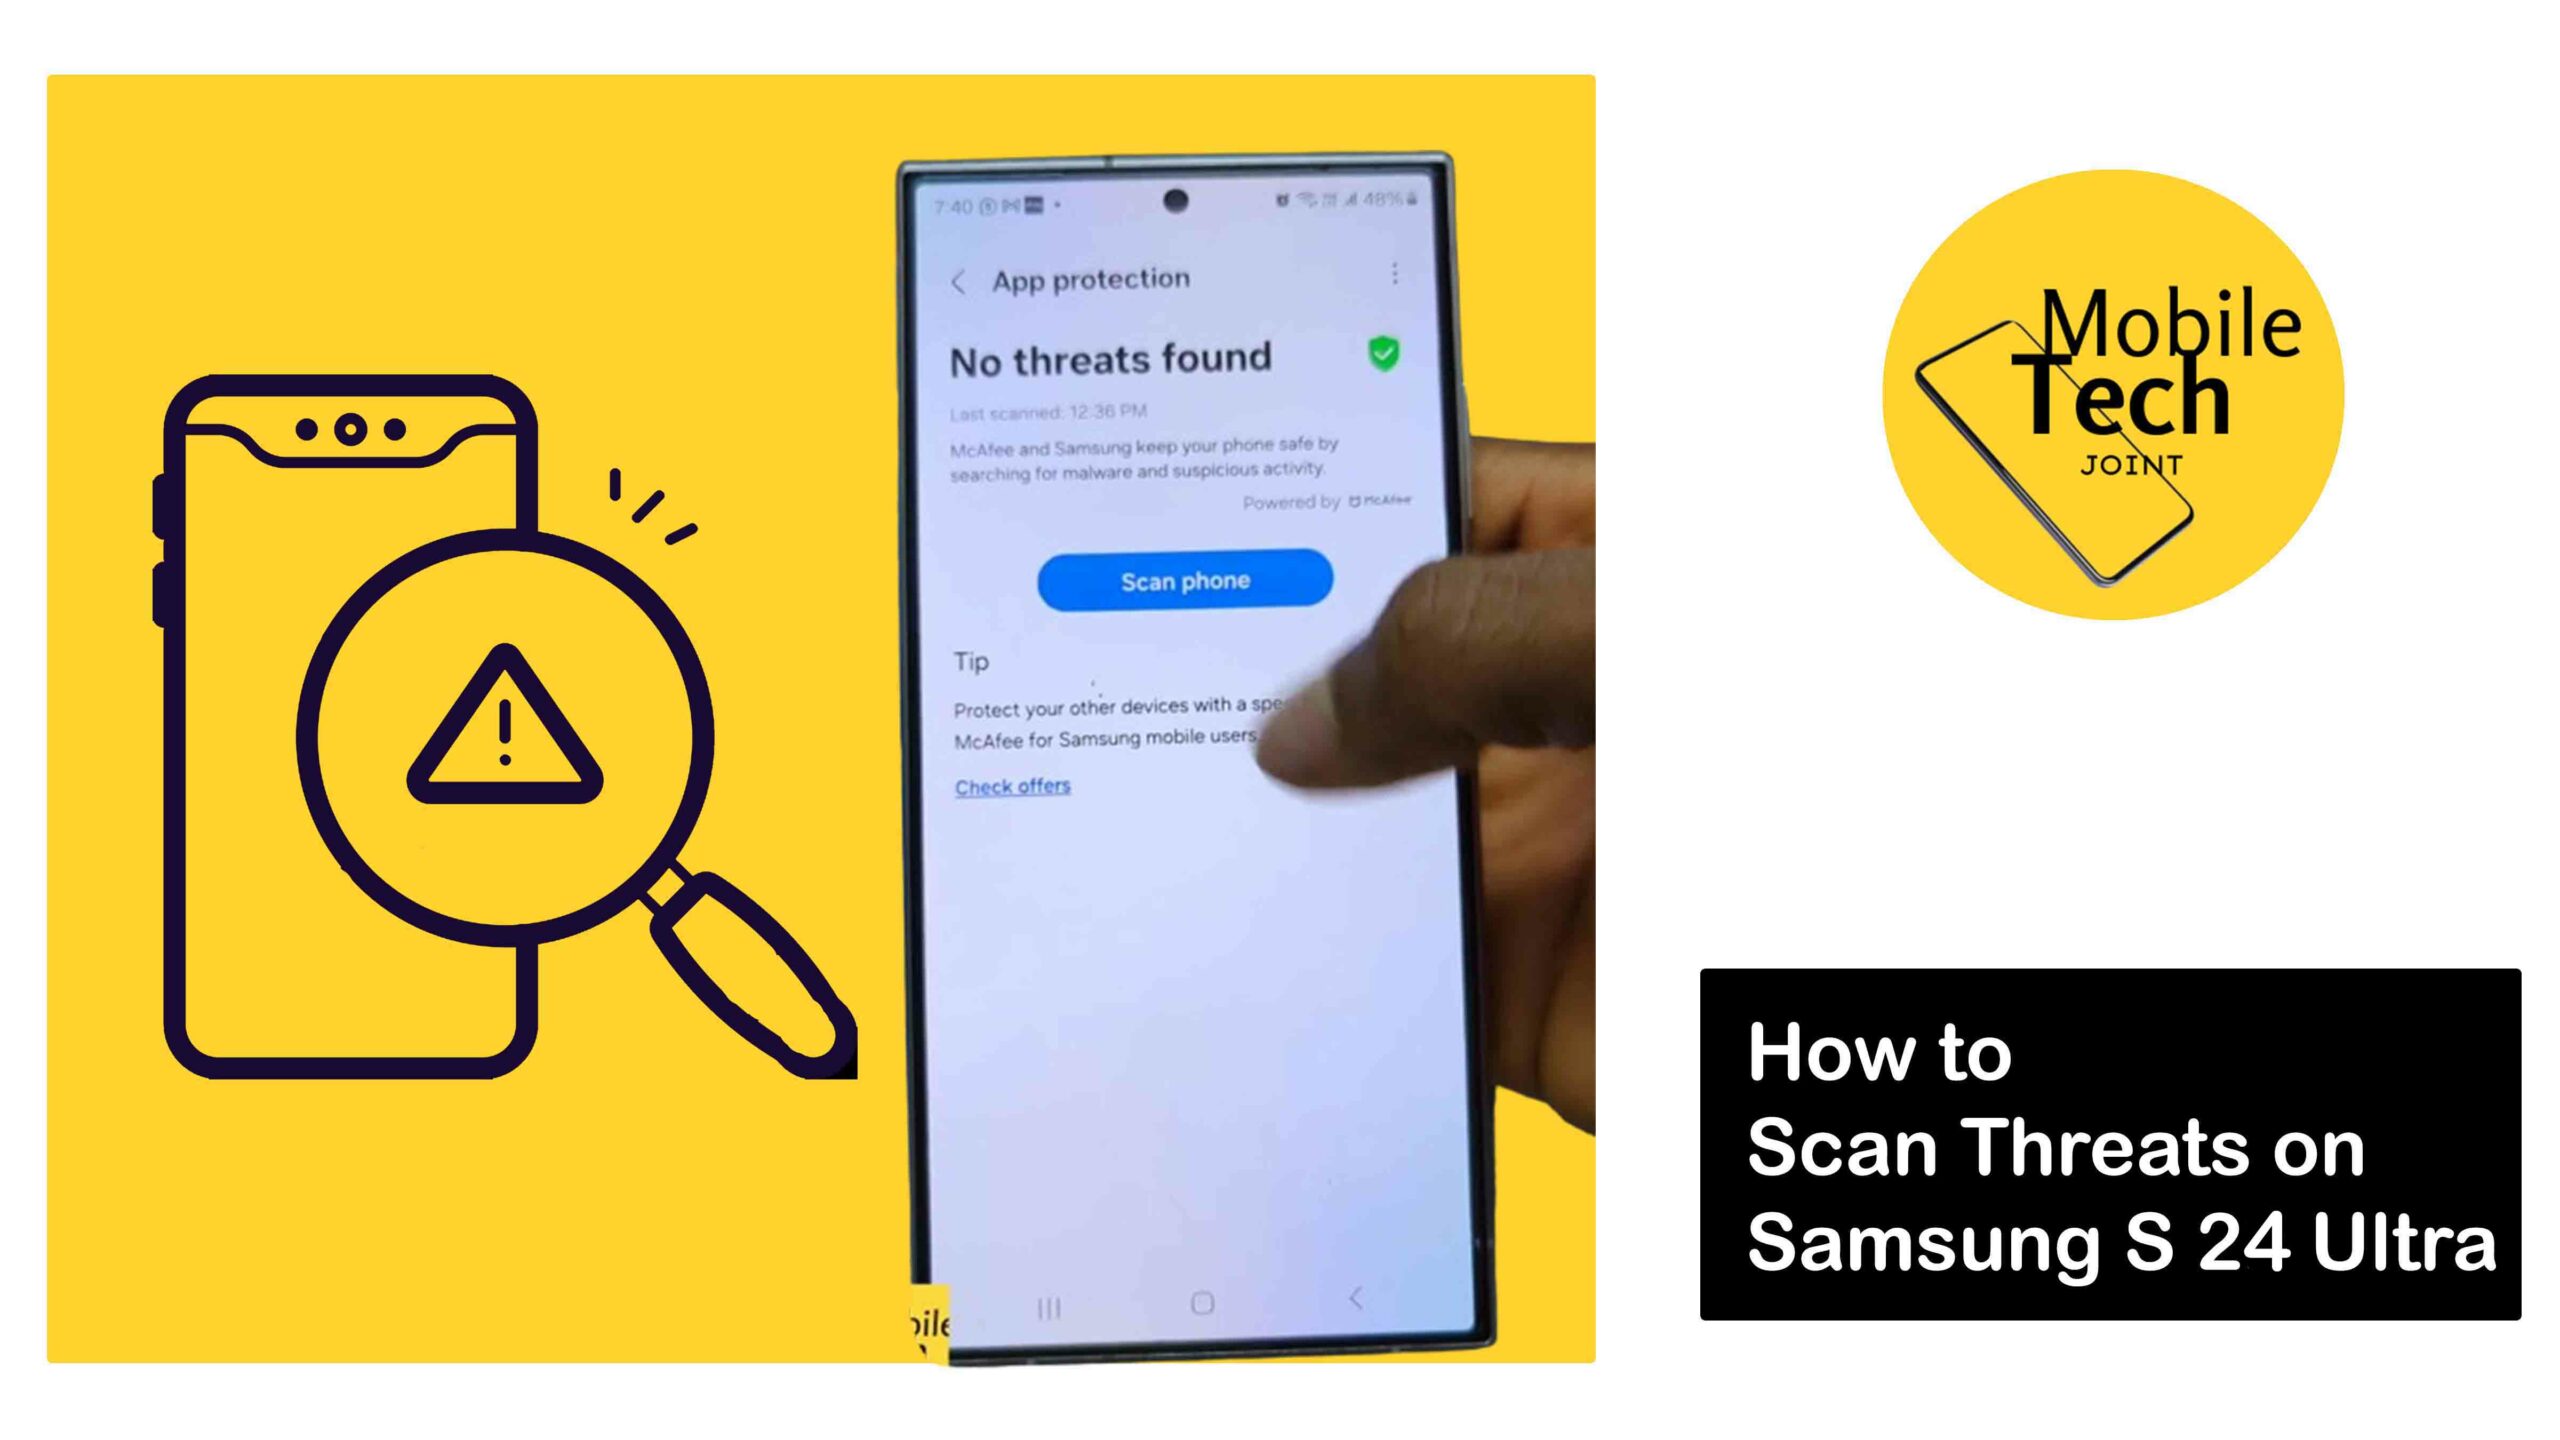
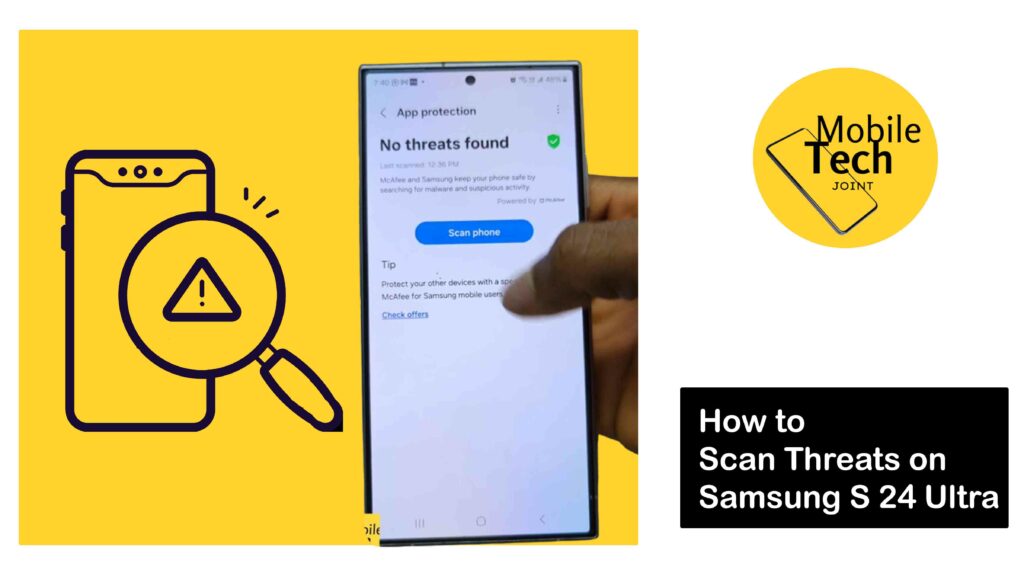
    • Open the Settings app on your phone.
    • Scroll down and tap on Battery and device care.
    • Locate Device Protection and tap on it.
    • Under Device Protection, you’ll see the Scan options. You’ll typically find two options:
    • Scan Phone: This initiates a comprehensive scan of your entire device, including apps, files, and system settings.
    • Scan for Malware: This focuses specifically on detecting malicious software applications.
    • Choose the scan you prefer (typically “Scan phone” for a complete check).
    • Tap Scan to initiate the process. Your phone will scan your device and notify you of any identified threats.

    You could get possitive results when you follow the steps on how to scan threats on Samsung S24 Ultra carefully.

    Additional Security Measures

    Here are some additional steps to enhance your S24 Ultra’s security:

    • Keep Software Updated

    Regularly update your phone’s operating system and apps to benefit from the latest security patches.

    • Download Apps from Trusted Sources

    Only download and install apps from the official Galaxy Store or reputable sources.

    • Be Wary of Phishing Links

    Don’t click on suspicious links or attachments in emails or text messages.

    • Use Strong Passwords

    Utilize unique and complex passwords for all your accounts.

    Conclusion

    By utilizing the built-in scan function and implementing these additional security practices, you can significantly enhance your S24 Ultra’s protection against potential threats.

    Regular scans and responsible online behavior are essential for safeguarding your device, data, and privacy.

    So, take charge of your security and enjoy a worry-free mobile experience with your S24 Ultra.

    How Long Does a Scan Take on my S24 Ultra?

    Scan times can vary depending on the chosen scan type (“Scan phone” or “Scan for malware”) and the amount of data stored on your device.

    A full scan might take several minutes, while a malware scan could be quicker.

    What Happens if my Phone Detects a Threat?

    If a threat is identified, your S24 Ultra will typically notify you and provide options to quarantine or remove the malicious app or file.  Follow the on-screen instructions to neutralize the threat.

    Is there a Way to Schedule Automatic Scans?

    Unfortunately, Samsung’s built-in security app doesn’t currently offer automatic scan scheduling. However, you can manually run scans periodically for optimal protection.

    Can I Use Third-party Antivirus Apps on my S24 Ultra?

    Yes, you can download and install reputable third-party antivirus apps from the Galaxy Store. These apps might offer additional features or scan variations compared to Samsung’s built-in security.

    For more insights on this article, check out these video tips across our social platforms: