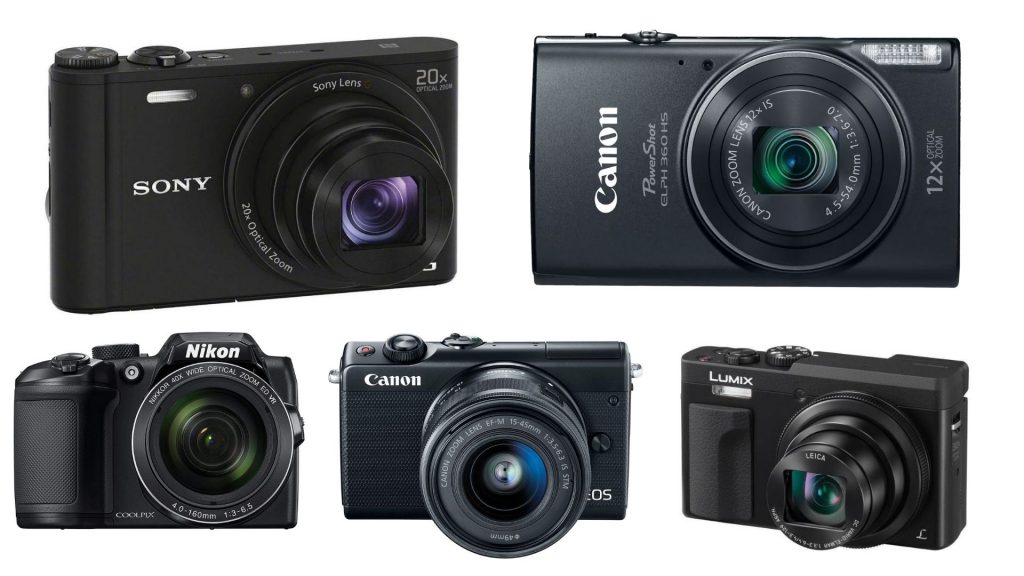
A camera is a significant investment, whether you’re a hobbyist or a professional photographer. Proper care and maintenance are essential to ensure your camera lasts for years and delivers top-quality performance.
Neglecting your camera’s upkeep can lead to issues like lens scratches, sensor dust, or malfunctioning buttons, which can be costly to repair. In this guide, we’ll walk you through detailed camera maintenance tips you need to know to keep your gear in perfect condition.
Why Camera Maintenance Is Important
Your camera is made up of delicate components, including lenses, sensors, and electronic parts, all of which require proper handling. Here’s why maintenance is critical:
- Longevity: Regular upkeep ensures your camera functions well over its lifespan.
- Image Quality: Clean sensors and lenses lead to sharper, higher-quality images.
- Cost Savings: Preventive maintenance minimizes the need for expensive repairs.
- Reliability: A well-maintained camera performs consistently, reducing the chances of failure during important shoots.
Camera Maintenance Tips You Need to Know
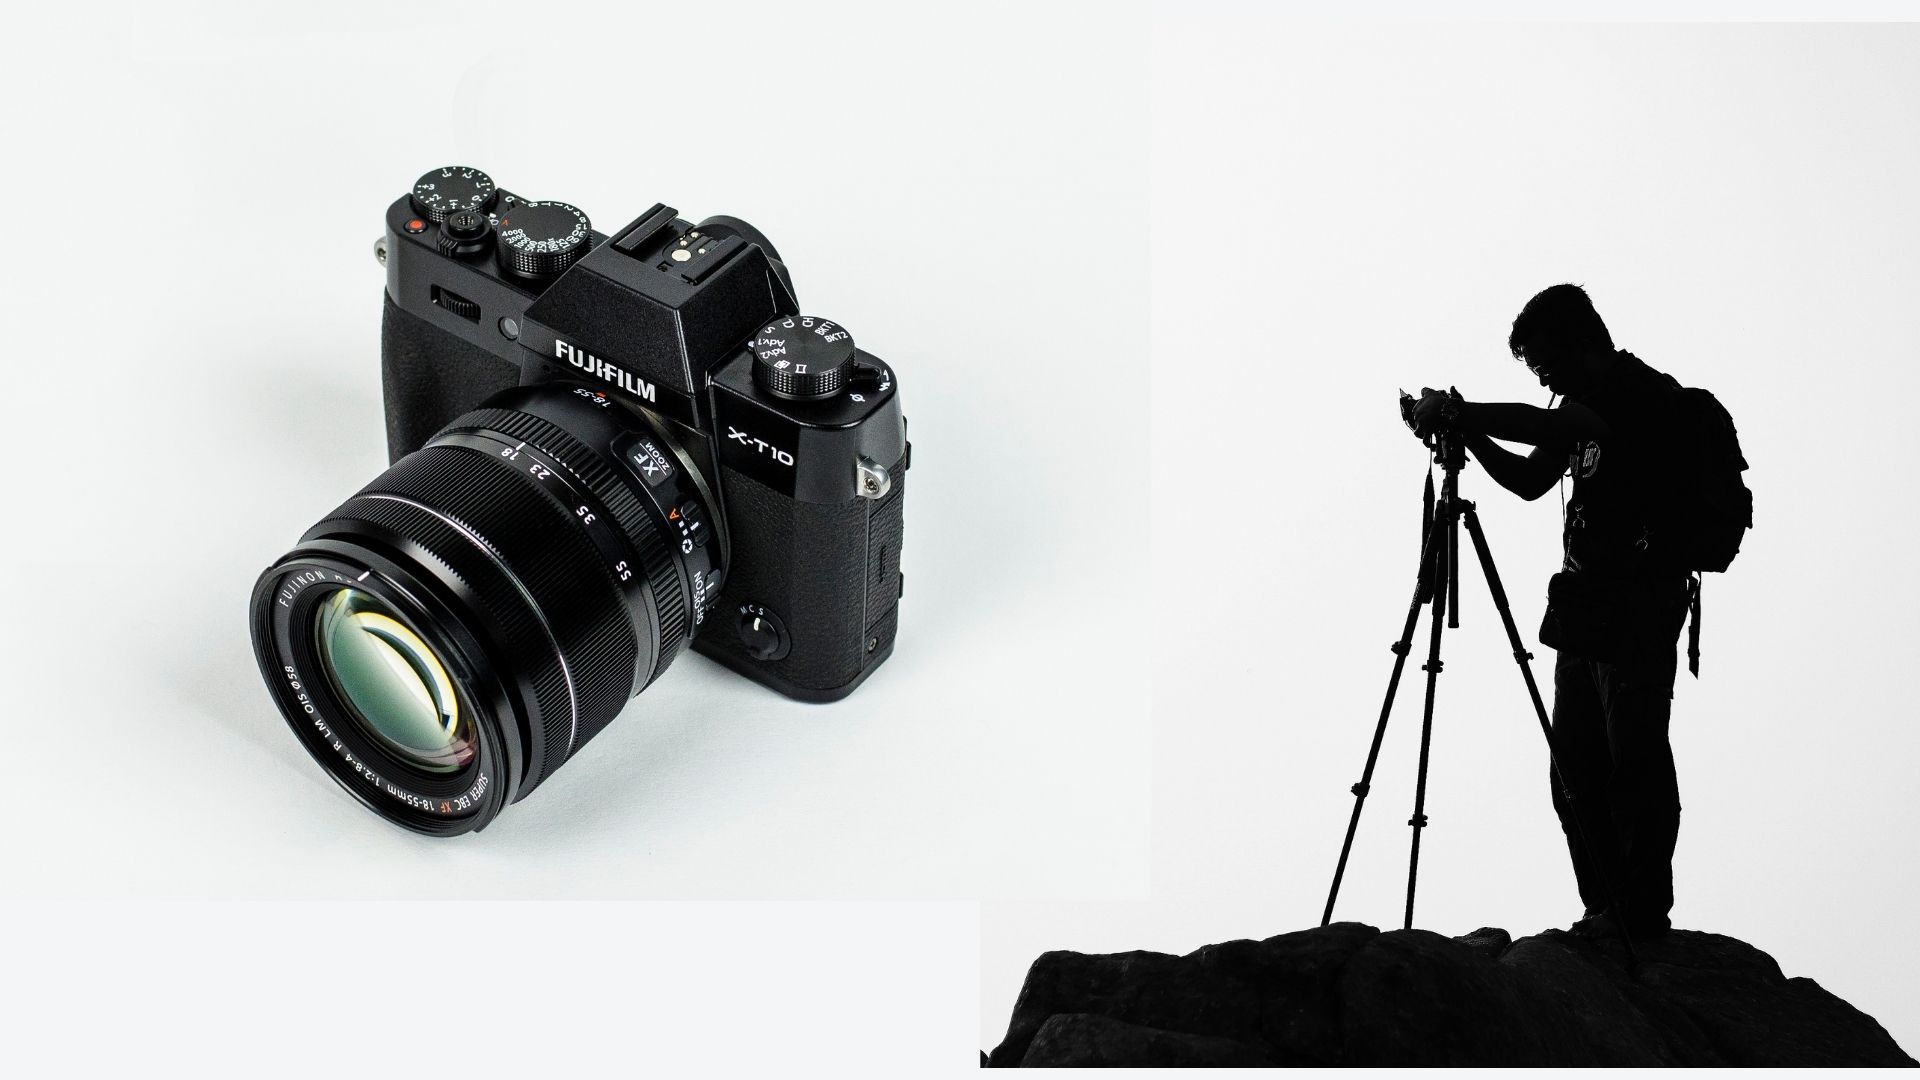
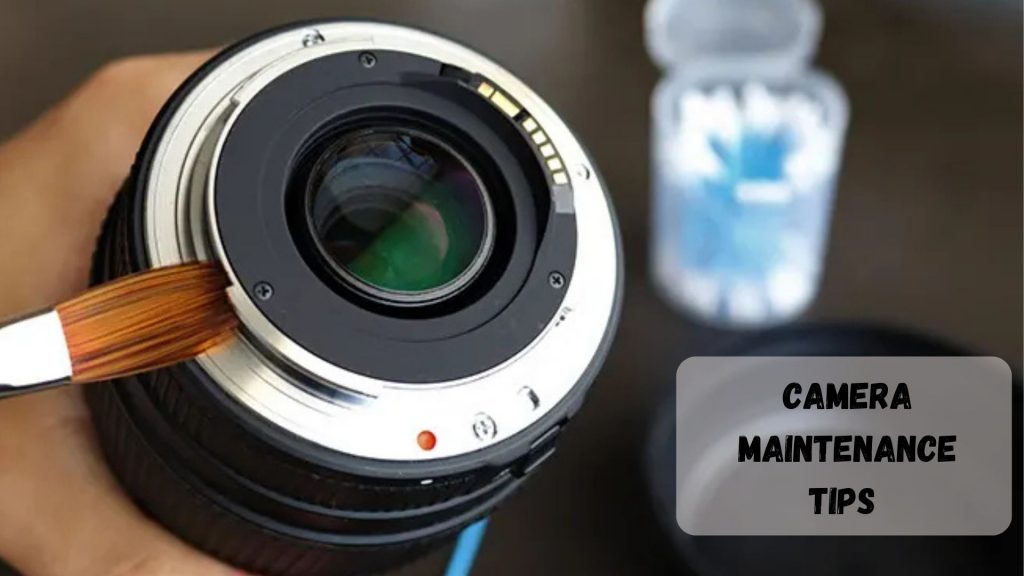
Clean Your Camera Lens Regularly
The lens is one of the most critical parts of your camera, and it’s prone to collecting dust, smudges, and fingerprints.
Steps for Lens Cleaning:
- Use a Lens Blower: Begin by using an air blower to remove loose dust particles. Avoid blowing with your mouth, as saliva droplets can damage the lens.
- Lens Brush: For stubborn particles, gently use a soft-bristled lens brush.
- Microfiber Cloth: Wipe the lens surface using a clean, lint-free microfiber cloth.
- Lens Cleaning Solution: If smudges persist, apply a small amount of lens cleaning solution to the cloth and clean in circular motions.
Tips:
- Never use tissue paper, as it can scratch the lens.
- Keep a lens cap on when the camera is not in use to prevent scratches and dust accumulation.
Protect the Camera Sensor
The sensor is the heart of your camera, capturing light to create images. A dirty sensor can lead to spots or blotches in your photos, especially in clear skies or light backgrounds.
How to Keep the Sensor Clean:
- Use the Camera’s Cleaning Mode: Most modern cameras have a sensor cleaning function. Activate this feature to shake off the dust.
- Air Blower: Use a specialized air blower to remove visible dust. Avoid canned air, as it can leave a residue.
- Sensor Swabs: For stubborn spots, use a sensor cleaning swab and a cleaning solution specifically designed for sensors.
Precautions:
- Always turn off the camera before cleaning the sensor.
- Avoid touching the sensor with your fingers, as oils can cause permanent damage.
- If you’re uncomfortable cleaning the sensor, take it to a professional service center.
Store Your Camera Properly
Proper storage prevents dust, moisture, and accidental damage. Invest in a safe and clean space for your camera when it’s not in use.
Storage Tips:
- Use a Camera Bag: Store your camera in a padded, weather-resistant bag designed for photography equipment.
- Silica Gel Packs: Place silica gel packs inside the bag to absorb moisture and prevent mold.
- Temperature Control: Keep your camera in a cool, dry environment, away from direct sunlight and extreme temperatures.
- Lens and Body Caps: Always use caps to protect the lens and camera mount.
Avoid Moisture and Humidity
Moisture is a camera’s worst enemy, as it can lead to fungus growth on lenses and corrosion of electronic components.
How to Protect Against Moisture
- Use a weather-resistant camera: If you frequently shoot outdoors, consider investing in a weather-sealed camera.
- Waterproof Covers: Use rain covers to shield your camera from water during outdoor shoots.
- Dry Boxes: Store your camera in a dry box with humidity control to protect against long-term exposure to moisture.
Handle Batteries with Care
The battery is a vital component of your camera. Improper handling can lead to reduced battery life or malfunction.
Battery Maintenance Tips:
- Use Original Batteries: Always use manufacturer-approved batteries to ensure compatibility.
- Avoid Overcharging: Unplug the charger once the battery is fully charged to prevent overheating.
- Store Batteries Properly: If you’re not using your camera for an extended period, remove the battery and store it in a cool, dry place.
- Carry Spares: Always have a spare, fully charged battery when shooting to avoid interruptions.
Keep Your Memory Card Safe
Memory cards store your precious photos and videos, so handling them carefully is crucial.
Tips for Memory Card Maintenance:
- Eject Properly: Always turn off the camera before removing the memory card to avoid data corruption.
- Store in a Case: Use a memory card case to protect against physical damage.
- Format Regularly: Format the card in the camera after transferring files to keep it functioning smoothly.
- Avoid filling to capacity: Leave some space on the card to prevent performance issues.
Update Camera Firmware
Manufacturers often release firmware updates to improve camera performance or fix bugs.
How to Update Firmware:
- Check the manufacturer’s website for the latest firmware version.
- Download the update and follow the instructions provided.
- Ensure the camera battery is fully charged before starting the update process.
Check Buttons, Dials, and Ports
Over time, buttons and dials can become sticky or unresponsive, and ports can collect dust.
Maintenance Steps:
- Clean with a Soft Brush: Use a dry brush to remove debris from buttons and dials.
- Inspect Ports: Check USB, HDMI, and other ports for dust and clean them gently with compressed air or a soft cloth.
Use a Strap for Protection
A camera strap can prevent accidental drops, which can cause severe damage.
Tips for Using a Strap:
- Choose a sturdy, comfortable strap designed for your camera’s weight.
- Adjust the strap length for secure handling.
- Consider wrist straps for smaller cameras.
Schedule Professional Servicing
While regular maintenance can handle most issues, some tasks are best left to professionals.
When to Seek Professional Help:
- Persistent spots on the sensor after cleaning.
- Malfunctioning buttons or dials.
- Unusual noises from the lens or body.
- Any damage from drops or water exposure.
Typical Errors in Camera Maintenance to Avoid
- Using Harsh Chemicals: Always use products specifically designed for camera cleaning.
- Skipping Lens Caps: Leaving the lens exposed invites scratches and dirt.
- Ignoring firmware updates: Outdated firmware can lead to performance issues.
- DIY Repairs: Attempting repairs without expertise can worsen the problem.
- Storing in Damp Conditions: Moisture is a leading cause of camera damage.
Creating a Maintenance Schedule
Maintaining a consistent routine ensures your camera stays in optimal condition. Here’s a sample schedule:
| Frequency | Maintenance Task |
| After Every Shoot | Clean the lens and body. Remove dust. |
| Weekly | Check the sensor and memory card. |
| Monthly | Inspect buttons, dials, and ports. |
| Annually | Schedule professional servicing. |
Conclusion
Proper care and maintenance of your camera are essential for ensuring it delivers the best performance and lasts a long time. From cleaning the lens to storing the camera correctly, following these camera maintenance tips you need to know will save you money and headaches in the long run. Always handle your gear with care, stay consistent with maintenance, and address issues promptly.
By investing time in upkeep, your camera will continue to capture stunning images and videos, allowing you to focus on what truly matters: your creative vision. Start implementing these tips today to keep your photography equipment in top shape!
CHECK THESE OUT:
Advanced Camera Techniques Every Photographer Should Know
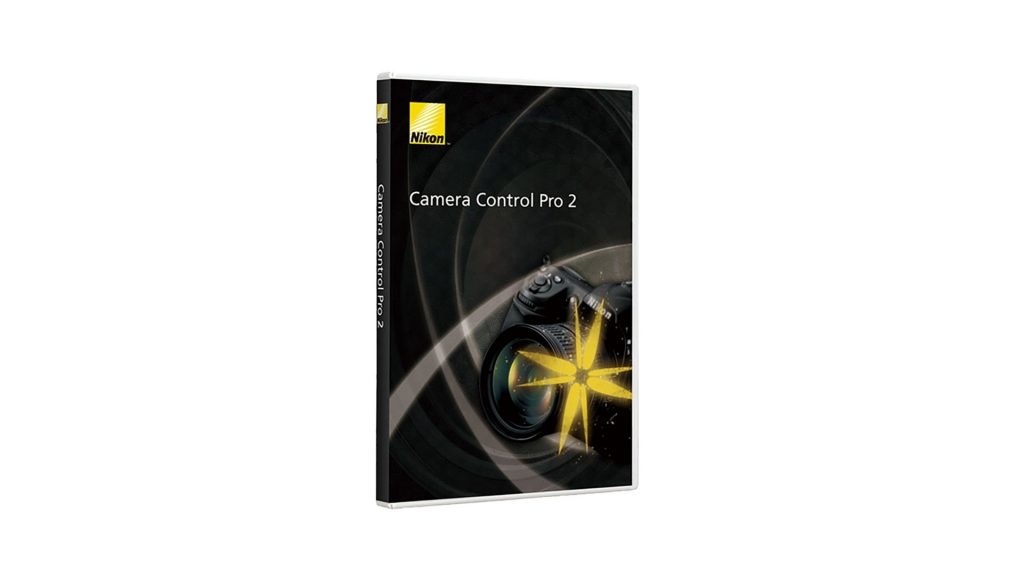
Here’s How I Use Nikon Camera Control Pro 2 to Its Full Potential