How Fujifilm Instax Works has become a popular question for instant photography enthusiasts. With the popularity of digital cameras and smartphones, there’s something nostalgic and charming about holding a printed photograph in your hand moments after snapping the picture. Instax brings back that joy while combining modern technology to ensure seamless functionality.

Click Here to Buy Now
In this article, we’ll delve into How Fujifilm Instax Works, the technology behind it, how they compare to digital alternatives, and why they have maintained their charm despite the rise of digital photography.
What is Fujifilm Instax?
Fujifilm Instax is a series of instant cameras and portable photo printers that use film to produce instant prints, just like classic Polaroid cameras. The Instax lineup includes several models, ranging from simple point-and-shoot cameras to more advanced versions with additional features like exposure controls, self-timers, and macro mode.
What sets Instax apart is its ability to capture a moment and produce a tangible print within seconds, giving users a physical copy of their memories without waiting for a photo lab. Instax cameras are designed to be simple, fun, and accessible for users of all ages, making them a popular choice for parties, events, and everyday snapshots.
How Fujifilm Instax Works
Fujifilm Instax cameras use a specific type of instant film to create pictures. The process that makes this possible is a combination of chemistry and engineering that works seamlessly, allowing the camera to quickly print photos after capturing them.
Step-by-Step Process of Taking a Photo with Instax
- Taking the Photo: When you press the shutter button on an Instax camera, light passes through the lens and hits the film inside the camera. Just like any traditional camera, this light captures the image you’re photographing.
- Chemical Reaction: Unlike digital cameras that record images electronically, the Instax film reacts chemically when exposed to light. This film contains multiple layers, each responsible for capturing a different color—cyan, magenta, and yellow. The interaction between these layers creates the final image.
- Ejection of the Photo: Once the camera captures the image, it ejects the film through rollers at the front of the camera. These rollers spread developer paste over the photo as it emerges, triggering the chemical reaction that reveals the image. At first, the print is blank, but as the chemicals work, the image gradually appears over the next few minutes.
- Developing the Image: The magic of Instax film happens during the development phase. The film contains all the chemicals needed to develop the image internally, so you don’t need any external equipment or darkrooms. As light-sensitive layers react with the developer, the image appears, creating a final print in just minutes.
This seamless integration of technology and chemistry makes Instax a simple yet sophisticated tool for capturing moments in real time.
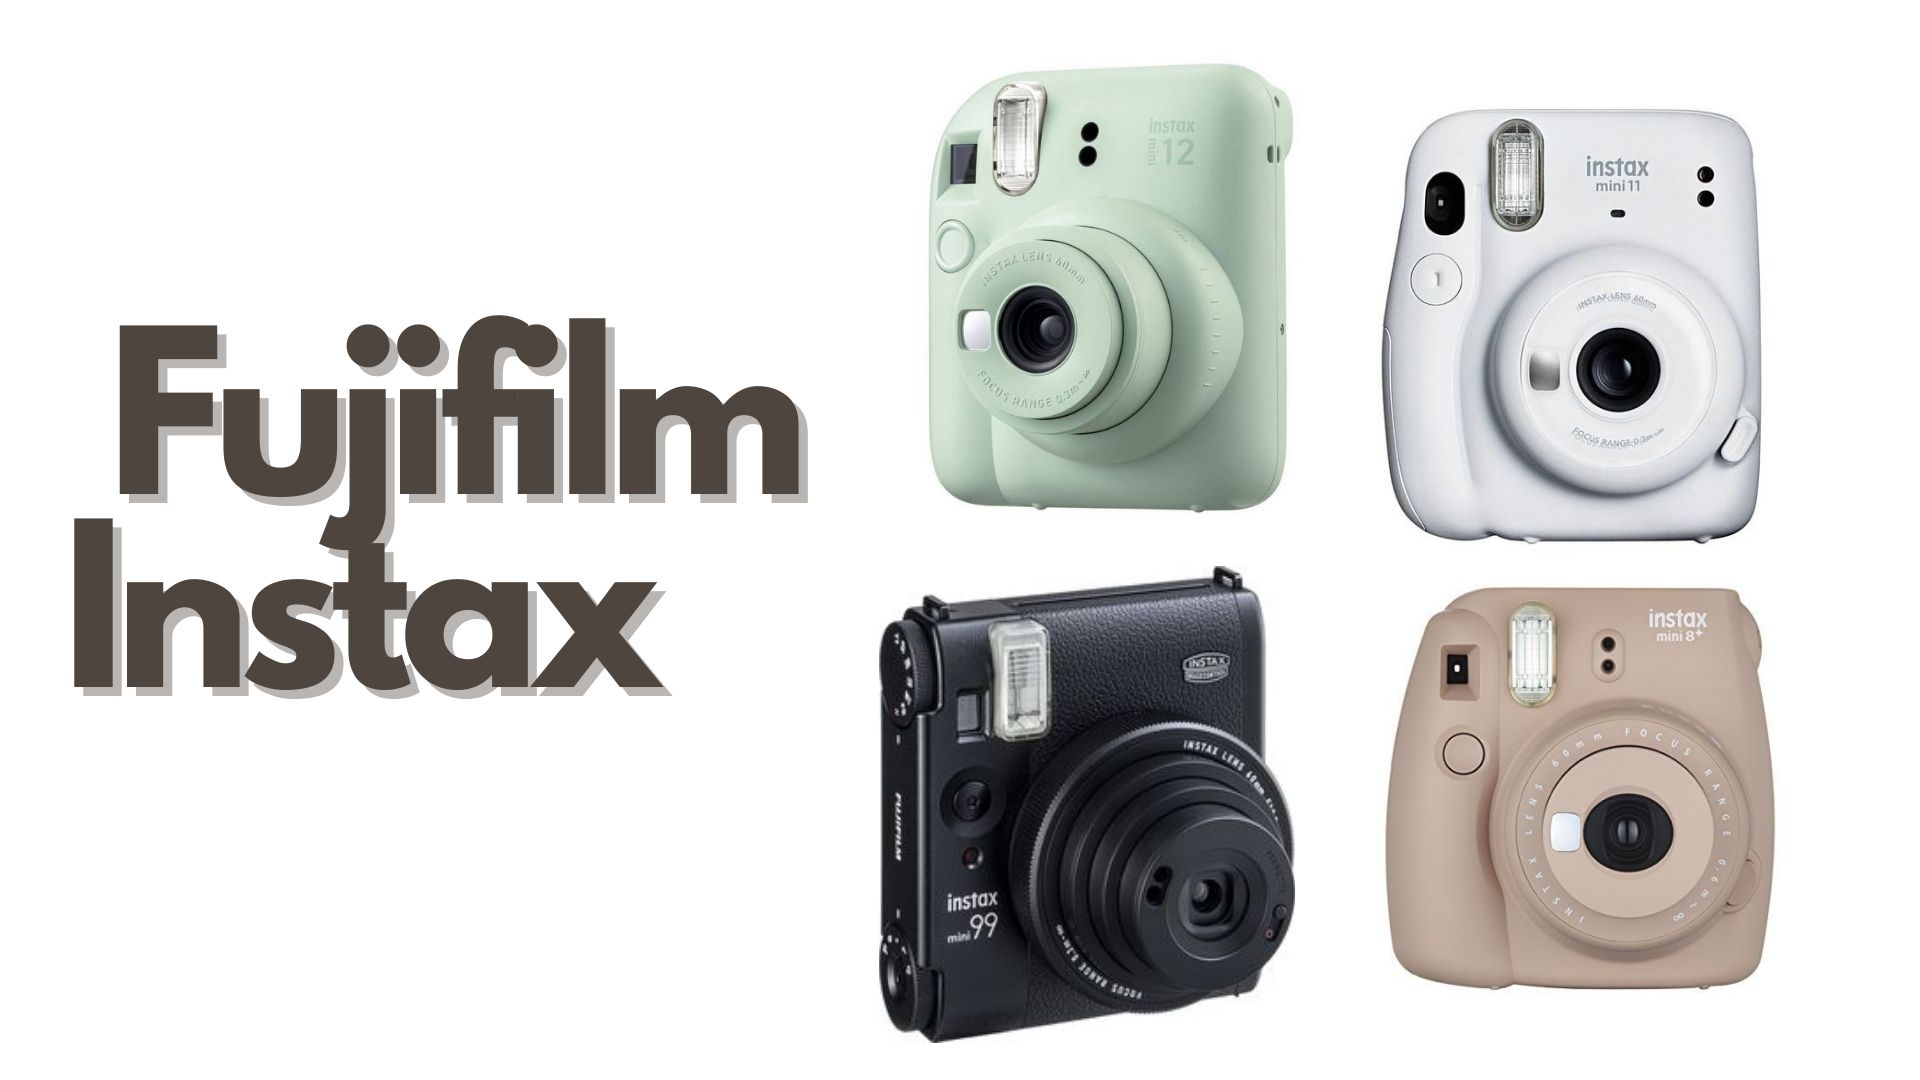
Different Types of Fujifilm Instax Cameras
Fujifilm has expanded its Instax lineup over the years, offering several models tailored to different users and needs. Let’s take a look at the most popular versions:
Mini Series
- Description: The most popular and compact option, the Instax Mini series is perfect for beginners and casual photographers. It produces wallet-sized prints that are ideal for scrapbooks, albums, or sharing with friends.
- Key Features: Simple operation, automatic exposure, and various color options.
- Who It’s For: Ideal for beginners or those looking for an affordable, fun camera for events.
Instax Wide
- Description: The Instax Wide model offers larger prints than the Mini series, providing more room for detailed shots and group photos.
- Key Features: Larger film size, easy-to-use controls, and a more traditional camera feel.
- Who It’s For: Perfect for users who want bigger prints, such as event photographers or those who enjoy landscape shots.
Instax Square
- Description: With a square format that mimics classic Polaroids, the Instax Square series appeals to those who want that vintage, retro look.
- Key Features: Square film, automatic exposure, and more creative modes.
- Who It’s For: This a great choice for anyone who loves the aesthetic of square prints and wants more creative options.
Mini LiPlay
- Description: This hybrid camera combines digital features with instant printing, allowing users to take photos, review them, and print only the ones they like.
- Key Features: LCD screen, digital storage, customizable frames, and voice recording.
- Who It’s For: Ideal for photographers who want more control over their images and the ability to combine digital and instant print features.
The Appeal of Instant Photography
In today’s digital world, where thousands of photos can be stored on a smartphone or hard drive, why are people still drawn to instant cameras like the Fujifilm Instax? Here are some key reasons:
Tangible Memories
Digital photos are convenient, but there’s something special about holding a physical photograph in your hand. Instax offers the opportunity to instantly print and share memories in a way that’s more personal and nostalgic.
Simplicity and Fun
Fujifilm Instax cameras are designed to be easy to use, which makes them great for spontaneous moments and fun gatherings. There’s no need for complex settings or post-processing; you simply press the shutter, and your photo develops in minutes.
Creativity and Aesthetic
Instant photography has a unique look that many find appealing. The slightly imperfect, often soft-focus aesthetic gives photos a vintage, timeless feel. Plus, the ability to instantly decorate scrapbooks or share photos at an event adds to the creative experience.
No Editing Pressure
In an era of Photoshop and Instagram filters, there’s a refreshing simplicity in taking a picture with Instax. There’s no editing, retouching, or pressure to capture the perfect shot. It’s all about the moment and the memory.
10 Tips for Using Your Fujifilm Instax Camera
- Store Film Properly: Keep your film in a cool, dry place to ensure the best results.
- Mind the Light: Instax cameras are sensitive to light, so try to avoid overly bright or dim settings when taking pictures.
- Hold Still: Instant film captures images quickly, but moving too much can cause blurry results.
- Experiment with Angles: Don’t be afraid to get creative with your shots; unique angles can make your photos more interesting.
- Avoid Shaking the Print: Contrary to popular belief, shaking the photo doesn’t speed up development; it can damage the image.
- Use the Built-in Flash: In low-light conditions, the camera’s flash is essential for proper exposure.
- Customize with Accessories: Instax cameras offer fun accessories like colored filters and stickers to personalize your camera and prints.
- Use Macro Mode: Some Instax cameras offer a macro mode for close-up shots, which is great for capturing small details.
- Be Selective: Film is limited, so think about your shot before pressing the shutter.
- Create a Photo Album: Collect your prints in an album or scrapbook to cherish them for years to come.
Conclusion
Fujifilm Instax cameras offer a perfect blend of simplicity, creativity, and nostalgia. Whether you’re capturing moments at a party or creating a photo album, the ability to hold a printed photo just seconds after taking it brings joy and a personal touch that digital photography can’t replicate.
While it may not be the choice for professionals seeking high-resolution images, for everyday moments and special occasions, Instax remains a timeless and fun way to capture memories. With its range of models and instant film options, Fujifilm Instax continues to be a favorite for people of all ages.
CHECK THESE OUT:
The Real Reason Behind Your Nikon Camera Not Focusing
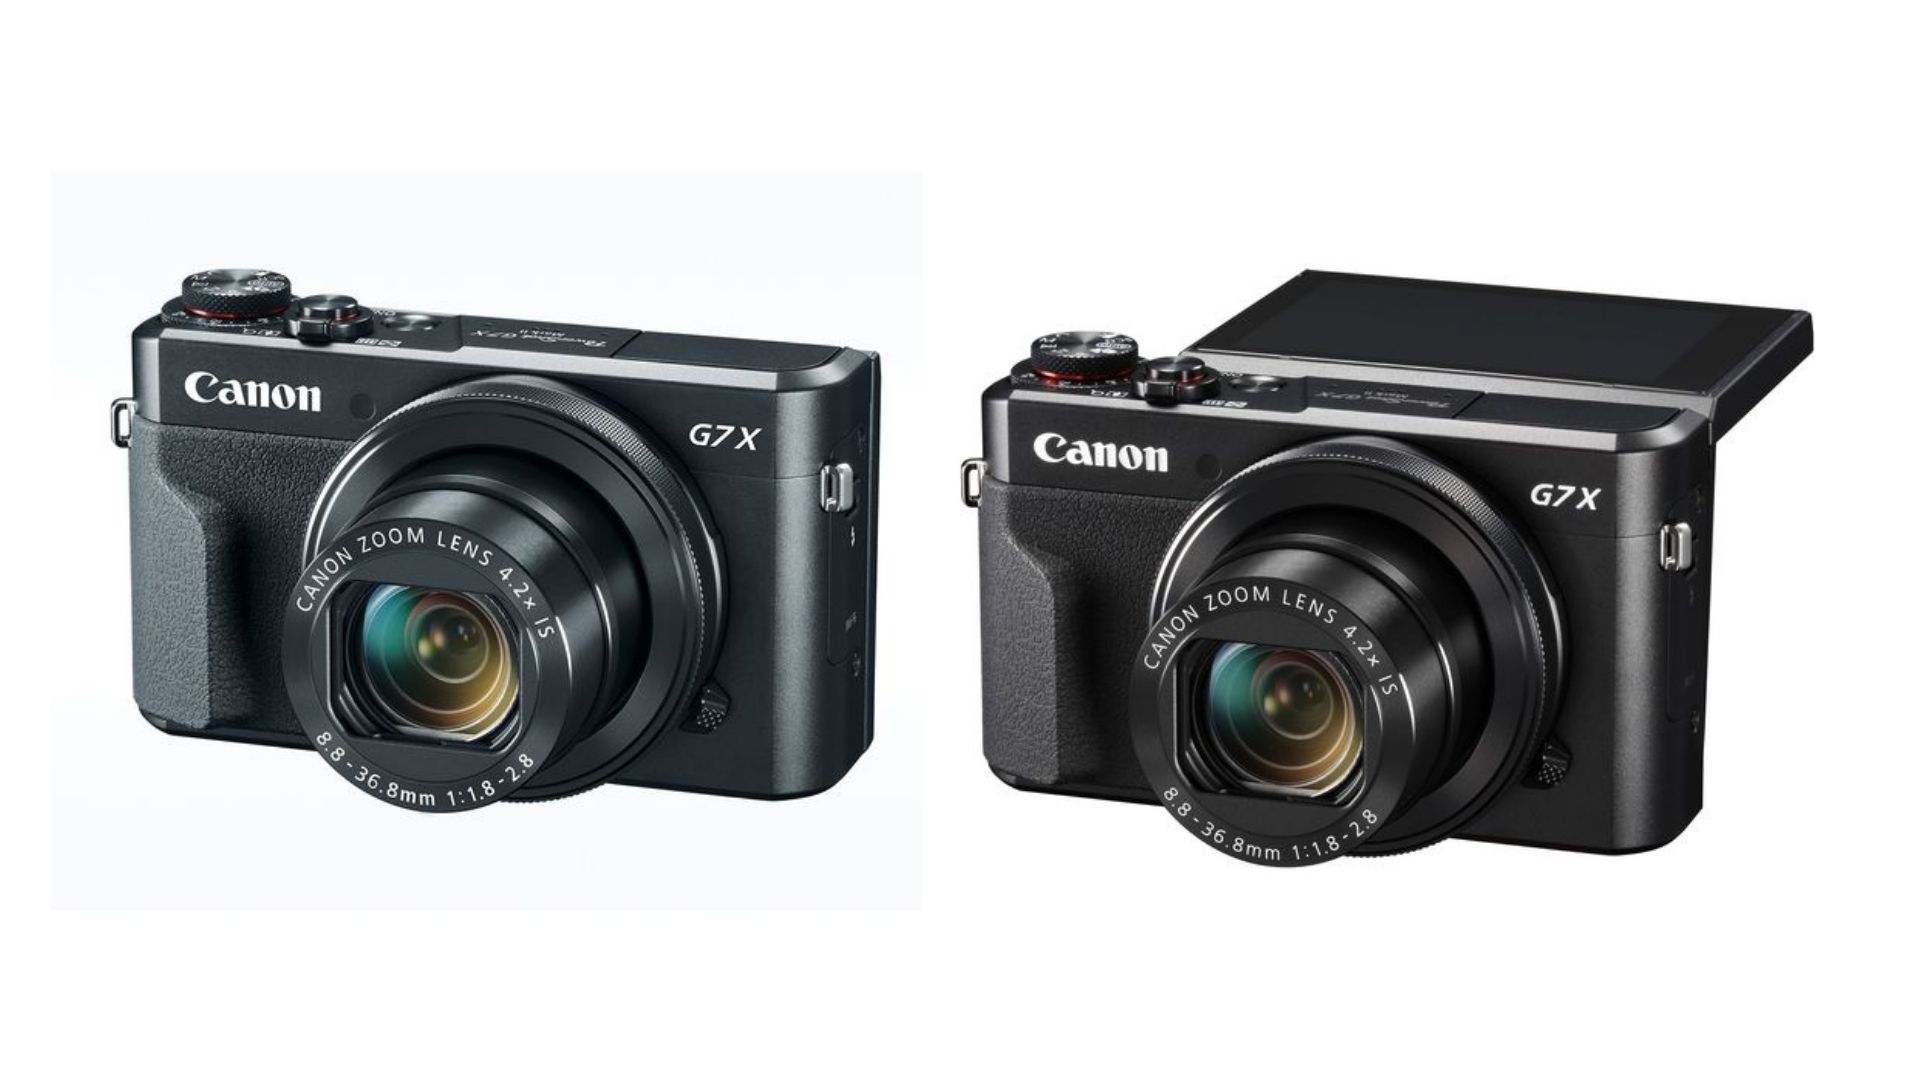
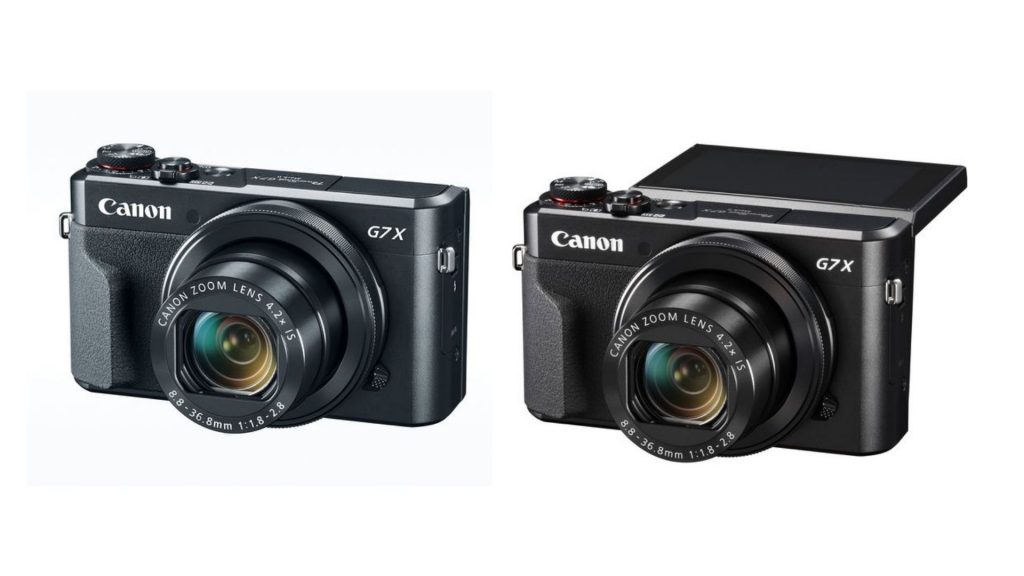
Why the Canon Camera G7x is the Ultimate Camera for Content Creators
Level Up Your Content Game with the Canon Cameras for Content Creators
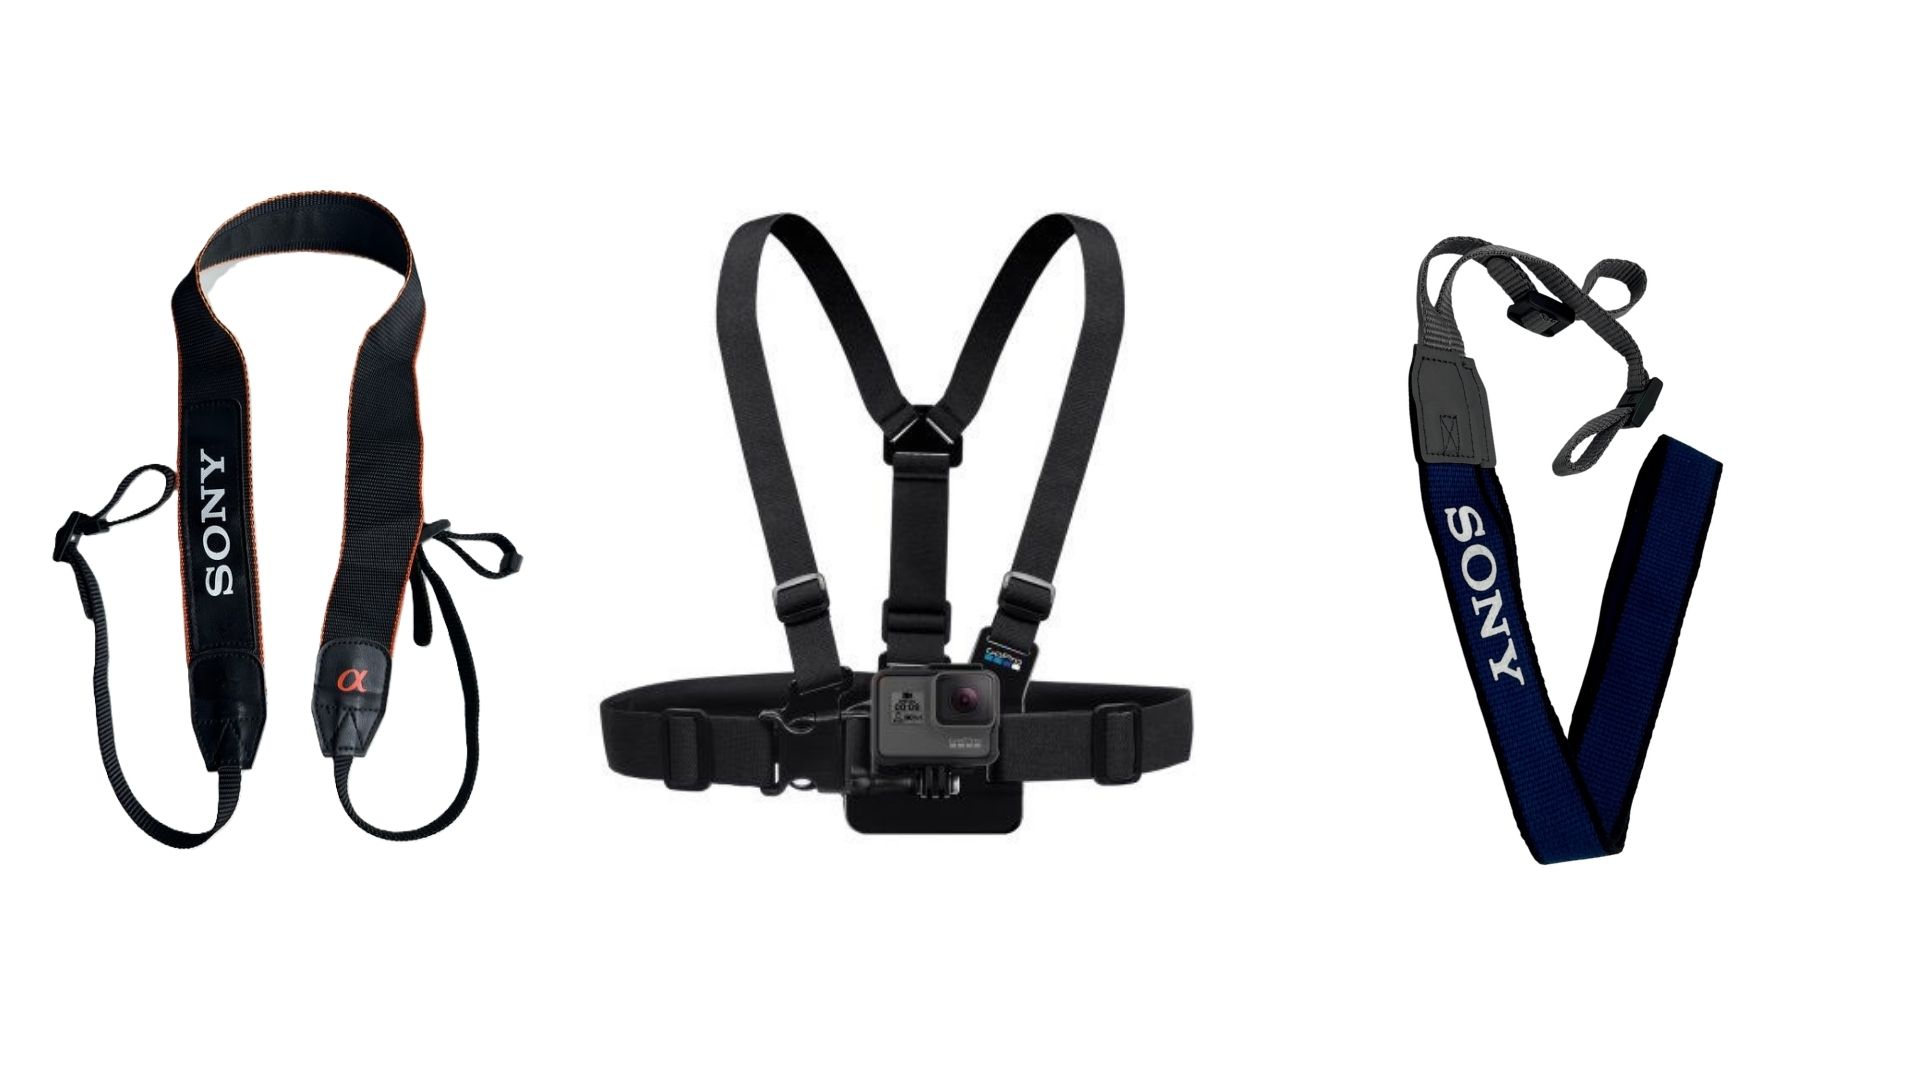
How to Put on a Sony Camera Strap: The Easiest Way to Securely Attach…