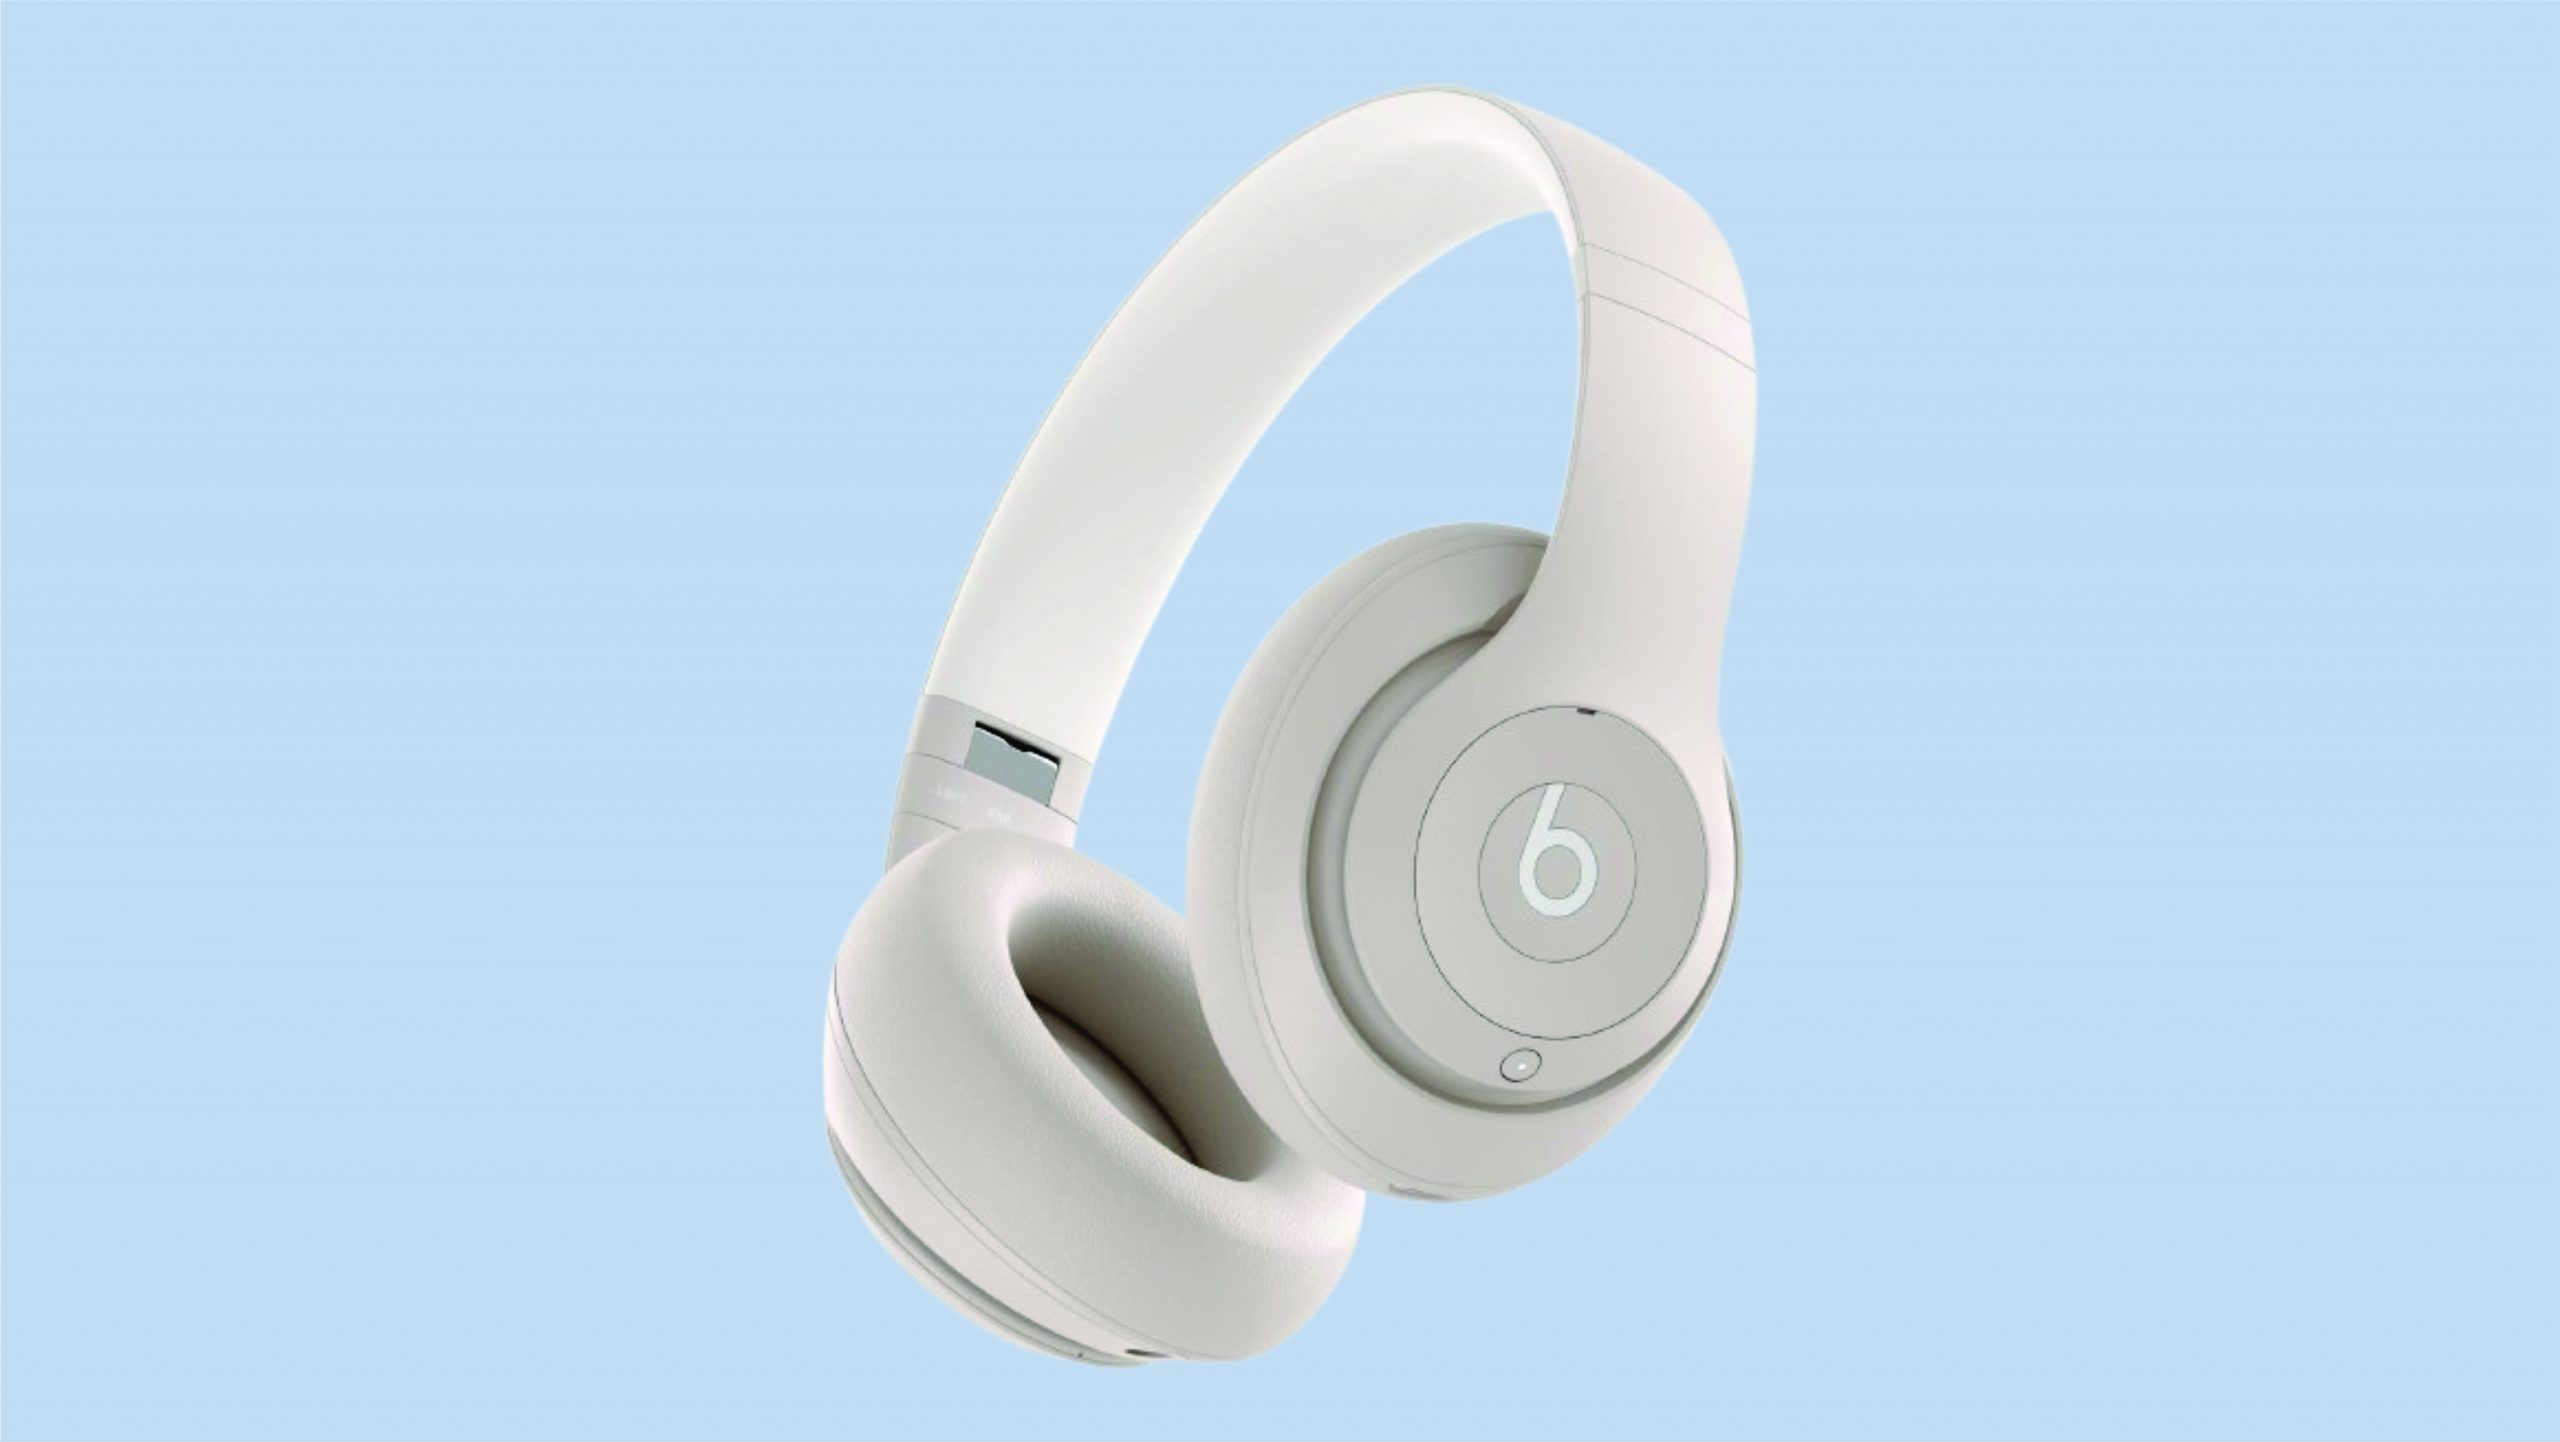
The Beats Studio Pro grabbed my attention for its reputation in sound quality and design, but after spending time with these headphones, I found that they come packed with a few unexpected extras. These aren’t just “nice-to-have” features either — they’re the kind that quickly become part of your daily routine, enhancing everything from music sessions to productivity.
Here’s a breakdown of the hidden gems that came with the Beats Studio Pro and why I quickly became a fan of each one.
1. On-Head Detection: Music that Stops and Starts with You
At first, I didn’t give much thought to the on-head detection feature. Yet within a day, I noticed how seamlessly it integrated into my listening habits. The on-head detection automatically pauses your audio when you take the headphones off and resumes it the moment they’re back on.
Perfect for those “what was that noise?” moments or quick exchanges without constantly pressing buttons. It saves time, battery, and honestly, keeps the vibe going without interruptions. I found this feature especially useful when I needed to step away for a quick chat or when swapping between tasks.
2. Spatial Audio with Head Tracking: A Theater in Your Ears
Spatial audio with head tracking? Yes, please. This feature goes beyond typical sound by tracking the position of your head in relation to the audio source, making everything sound immersive and live. Spatial audio works with Apple Music, movies, and even some podcasts. At first, I thought it was just a minor novelty, but after a couple of songs, I found myself deeply immersed in a surround-sound-like experience.
The head tracking feature was ideal for movies, especially ones with detailed soundscapes or intense action scenes. Imagine watching a thriller and hearing footsteps that sound like they’re moving from behind to in front of you, all depending on where you turn your head.
3. Transparency Mode: Hear What’s Happening Around You Without Removing the Headphones
Transparency mode ended up being one of the most convenient features of the Beats Studio Pro. It channels external sounds into your headphones, letting you hear what’s going on around you without taking them off. While I initially thought this was only useful for commuters or outdoor joggers, it became unexpectedly handy at home and in the office. I could listen to music or take calls while still catching important conversations or notifications. It’s perfect for multitasking when you need awareness without sacrificing sound.
For anyone who works in a semi-busy environment, Transparency Mode is like the ultimate cheat code to stay tuned into your surroundings without pausing your music or taking off the headphones.
4. Audio Sharing: Stream Music with Friends in Real Time
Audio sharing with Beats Studio Pro allows you to connect two pairs of compatible Beats headphones or AirPods to a single iOS device. I discovered this feature by accident while showing a friend a new song I was excited about, and we realized we could both listen at once. You and a friend can jam together, share a podcast, or catch the latest TikTok trends side-by-side.
It’s ideal for travel too — instead of sharing a single earbud, you can both have full sound. Plus, it eliminates the need to crank up the volume for everyone to hear, which saves on battery life and is just way more fun.
5. Customizable Noise Cancellation Settings: Tailor Silence to Your Surroundings
The Beats Studio Pro boasts Active Noise Cancellation (ANC) that’s powerful enough for most environments, but what surprised me was the customization available. Rather than offering a one-size-fits-all ANC, these headphones allow you to adjust the level of noise cancellation depending on where you are. In a noisy coffee shop? Crank up the ANC. In a quiet office? Lower the ANC to save battery life and keep some background sounds.
This adjustability helped me stay comfortable in different environments without feeling completely isolated, plus it improved battery life when full ANC wasn’t necessary.
6. Built-In Voice Assistant Compatibility: Hands-Free Commands at the Ready
Voice assistant compatibility wasn’t something I thought I’d use frequently, but the ease of activating Siri (or Google Assistant) made it feel natural to switch tasks without touching my phone. With a quick tap, I could check the weather, control my music, or send a quick text, all while keeping my hands free for other things. It’s especially useful while commuting, working out, or just lounging around with my phone out of reach. It’s a convenience that’s easily overlooked but quickly appreciated.
And if you’re someone who’s used to hands-free help, this feature will feel like second nature, making the Beats Studio Pro not just a great pair of headphones, but a more integrated part of your tech setup.
7. Fast Fuel Charging: Power Up Quickly in a Pinch
Last but definitely not least, the Fast Fuel charging feature is a lifesaver. With just a 10-minute charge, you get up to four hours of playtime. This feature rescued me multiple times when I’d forget to charge my headphones before heading out. It’s an awesome addition if you’re someone who forgets to plug in regularly or needs to recharge in a hurry before heading out.
Imagine realizing your battery is low right before a long trip. Fast Fuel means you don’t have to worry about scrambling for a full charge; a few minutes gives you enough juice to last.
Final Thoughts: Why These Features Are Actually Game-Changing
The Beats Studio Pro is more than just a stylish, high-quality pair of headphones. The extra features make it a dynamic, versatile device that adapts to your lifestyle. They’ve taken everyday scenarios — like pausing to hear someone, sharing a song with a friend, or charging up in minutes — and turned them into seamless, intuitive experiences.
From immersive Spatial Audio to transparency when you need it, and the “just in time” Fast Fuel, these unexpected extras have set a new bar for what headphones can do. If you’re considering the Beats Studio Pro, these features might just seal the deal.
Also Check:
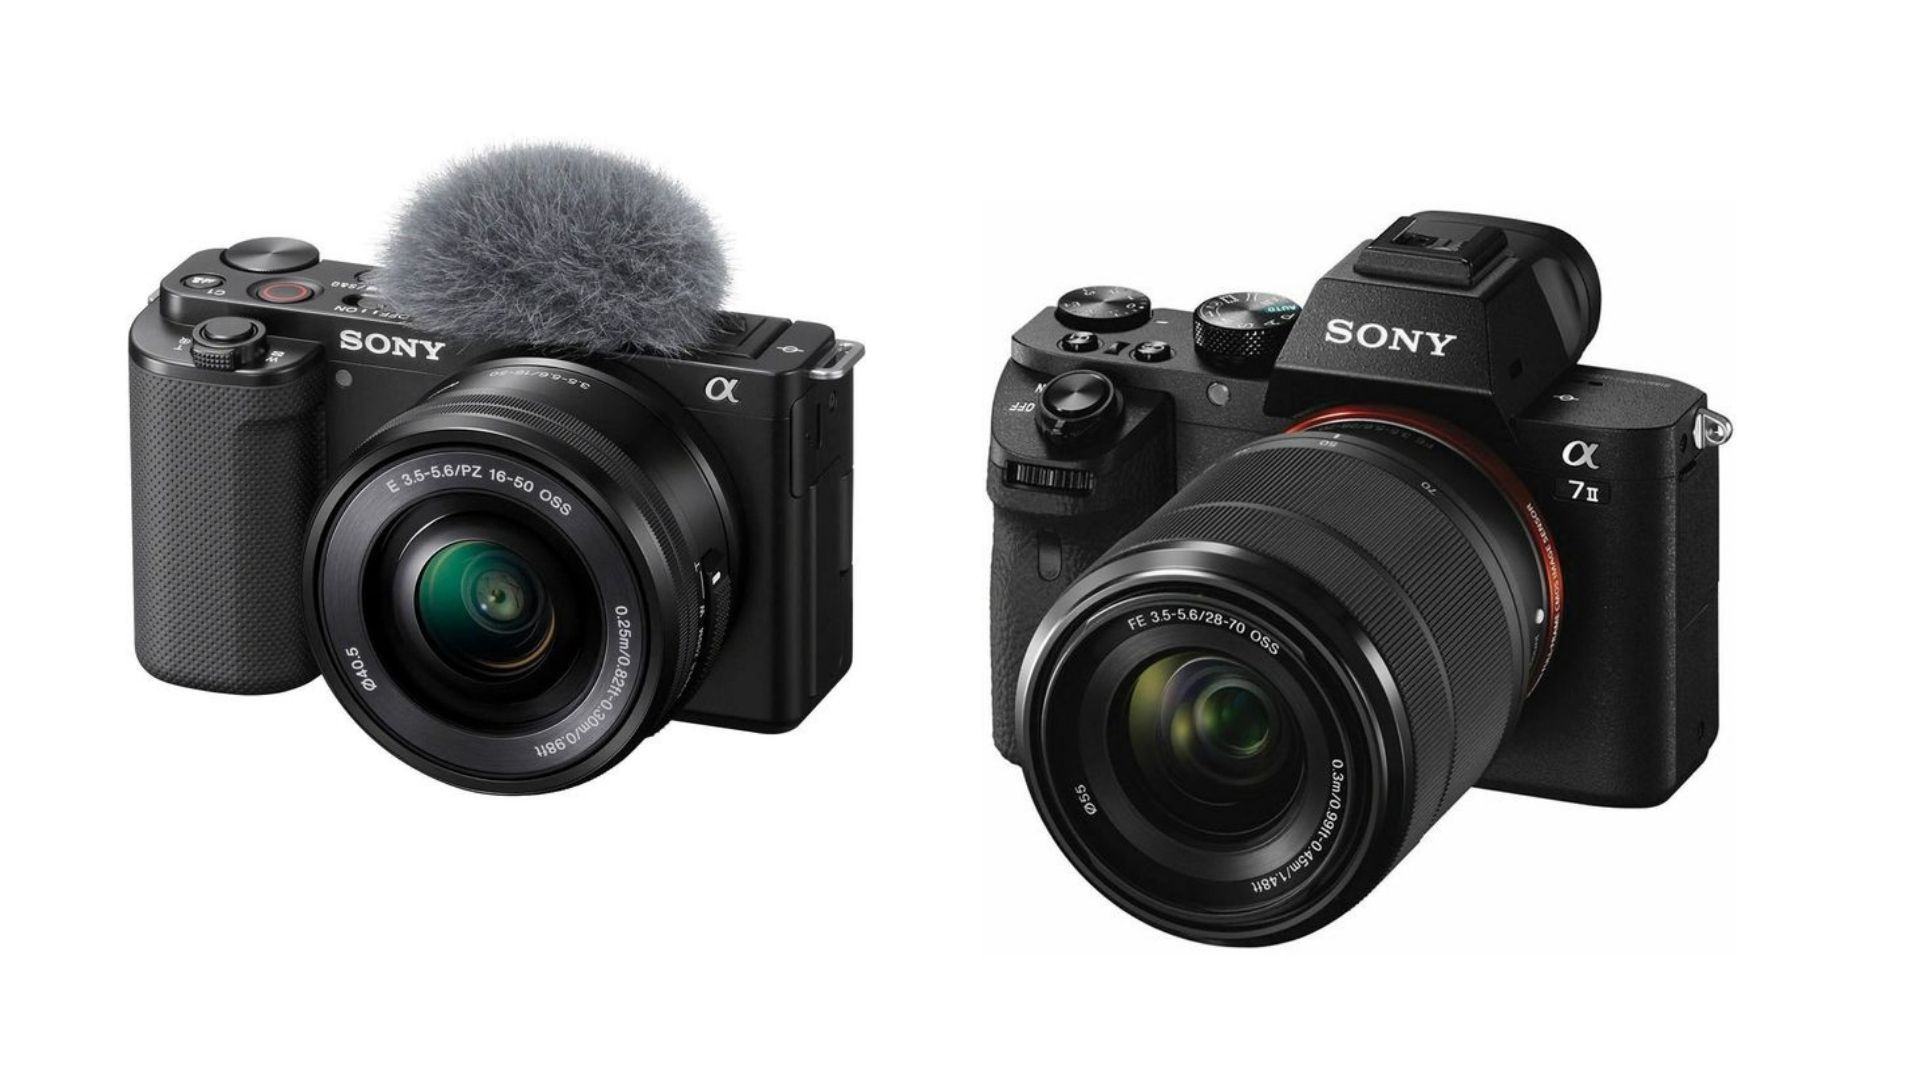
- Airpods Max vs Beats Studio Pro: Here’s the Best Pick for Sound Quality
- AirPods Max vs Sony XM5: Battle of the Best High-End Headphones
- Airpods Max Battery Life: How Long Do Airpods Max Last
- Beats Studio Pro Review: I Used Beats Studio Pro for a Week Straight, and…
- Don’t Make These 7 Mistakes When Setting Up Your Alexa Echo Dot