Looking for a compact, rugged speaker that packs a serious punch in sound? Meet the Tribit StormBox Micro 2, a portable Bluetooth speaker designed for outdoor enthusiasts. With a 4.5-star rating from over 3,600 users, this speaker promises an immersive audio experience with booming bass, waterproof durability, and a long-lasting battery.

Click Here to Buy Now at Amazon
And all this at an unbeatable price of $47.99 (with a 40% discount). Let’s explore why the StormBox Micro 2 is a must-have for your next adventure.
Big Sound in a Small Package
The Tribit StormBox Micro 2 might be small in size, but it delivers sound that will surprise you. Thanks to its 10W output, 48mm NdFeB driver, and integrated passive radiators, this speaker pumps out dynamic audio with remarkable depth. Whether you’re blasting your favorite playlist on a mountain hike or setting the mood around a campfire, this speaker has you covered.
One of the standout features is Tribit’s XBass technology, which enhances the low-end frequencies. You’ll get rich, deep bass that you’d never expect from a speaker of this size. The stereo sound brings your music to life, and for those who want even more, you can pair it with another StormBox Micro 2 to unlock Stereo Mode.
Built to Conquer the Outdoors
The StormBox Micro 2 is built for adventure. It boasts an IP67 waterproof and dustproof rating, meaning it can handle whatever the elements throw at it. Whether you’re biking through muddy trails, hiking in the rain, or lounging by the pool, you can trust this speaker to keep playing without a hitch. The durable build ensures it can survive drops, splashes, and even dust storms, making it the perfect companion for outdoor explorers.
Plus, it comes with an integrated strap that allows you to easily attach it to your backpack, bike handlebars, or even a tree branch. It’s small enough to fit in your pocket, but bold enough to fill the air with powerful sound.
RunStretch Technology for 12-Hour Playtime
Nobody wants their music to cut out halfway through a day of adventure. That’s why the Tribit StormBox Micro 2 features RunStretch technology, providing an impressive 12 hours of playtime on a single charge. Whether you’re on a long road trip or enjoying a day at the beach, this speaker keeps the tunes going without frequent recharges.
And when it does need a recharge, the USB-C port ensures fast, efficient charging so you’re never without your soundtrack for long.
PowerBank Functionality: Stay Charged on the Go
Here’s where the StormBox Micro 2 truly shines as a multifunctional gadget. In addition to being a killer speaker, it doubles as a portable charger. Thanks to SmartID technology, you can charge your phone, tablet, or other devices through its USB-C port while still enjoying your music. This feature is especially handy when you’re off the grid and need a quick boost of power.
It’s essentially a speaker and a power bank rolled into one, making it an essential piece of gear for camping, hiking, or traveling.
Reliable Bluetooth 5.3 Connection
Nothing ruins a great playlist like spotty connectivity. Fortunately, the StormBox Micro 2 comes equipped with the latest Bluetooth 5.3 technology, offering a strong and stable connection up to 120 feet. This means you can roam freely without worrying about losing your connection, even if your phone is tucked away in a backpack or sitting by the fire.
And if you’re looking to throw a bigger party, simply pair two StormBox Micro 2 speakers together for an even more immersive sound experience.
Affordable and Available in Three Colors
The StormBox Micro 2 is not just a great speaker; it’s also an incredible value. Currently on sale for $47.99 (down from $79.99), it’s hard to find a better deal on a speaker with this level of quality and features. Plus, you can snag an additional 10% off coupon for even more savings.
It comes in three stylish colors: Black, Blue, and Red, allowing you to pick the one that best fits your vibe. And if you’re looking for even more bang for your buck, consider purchasing one of the bundle deals, which offer discounts on two speakers.
Final Verdict: Should You Buy the Tribit StormBox Micro 2?
Absolutely. If you’re searching for a portable speaker that can handle the rigors of outdoor life while delivering impressive sound quality, the Tribit StormBox Micro 2 is the perfect choice. Its small size, robust sound, long battery life, and waterproof design make it an excellent companion for anyone who loves spending time outdoors.
Whether you’re biking, camping, hiking, or just chilling by the pool, this speaker delivers on all fronts. And with its affordable price tag, you really can’t go wrong. For adventurers, travelers, and music lovers alike, the StormBox Micro 2 offers an unbeatable combination of power, portability, and practicality.
Also Check:
- Tribit MaxSound Plus: This Speaker Ticks all the Boxes for Anyone in Need of…
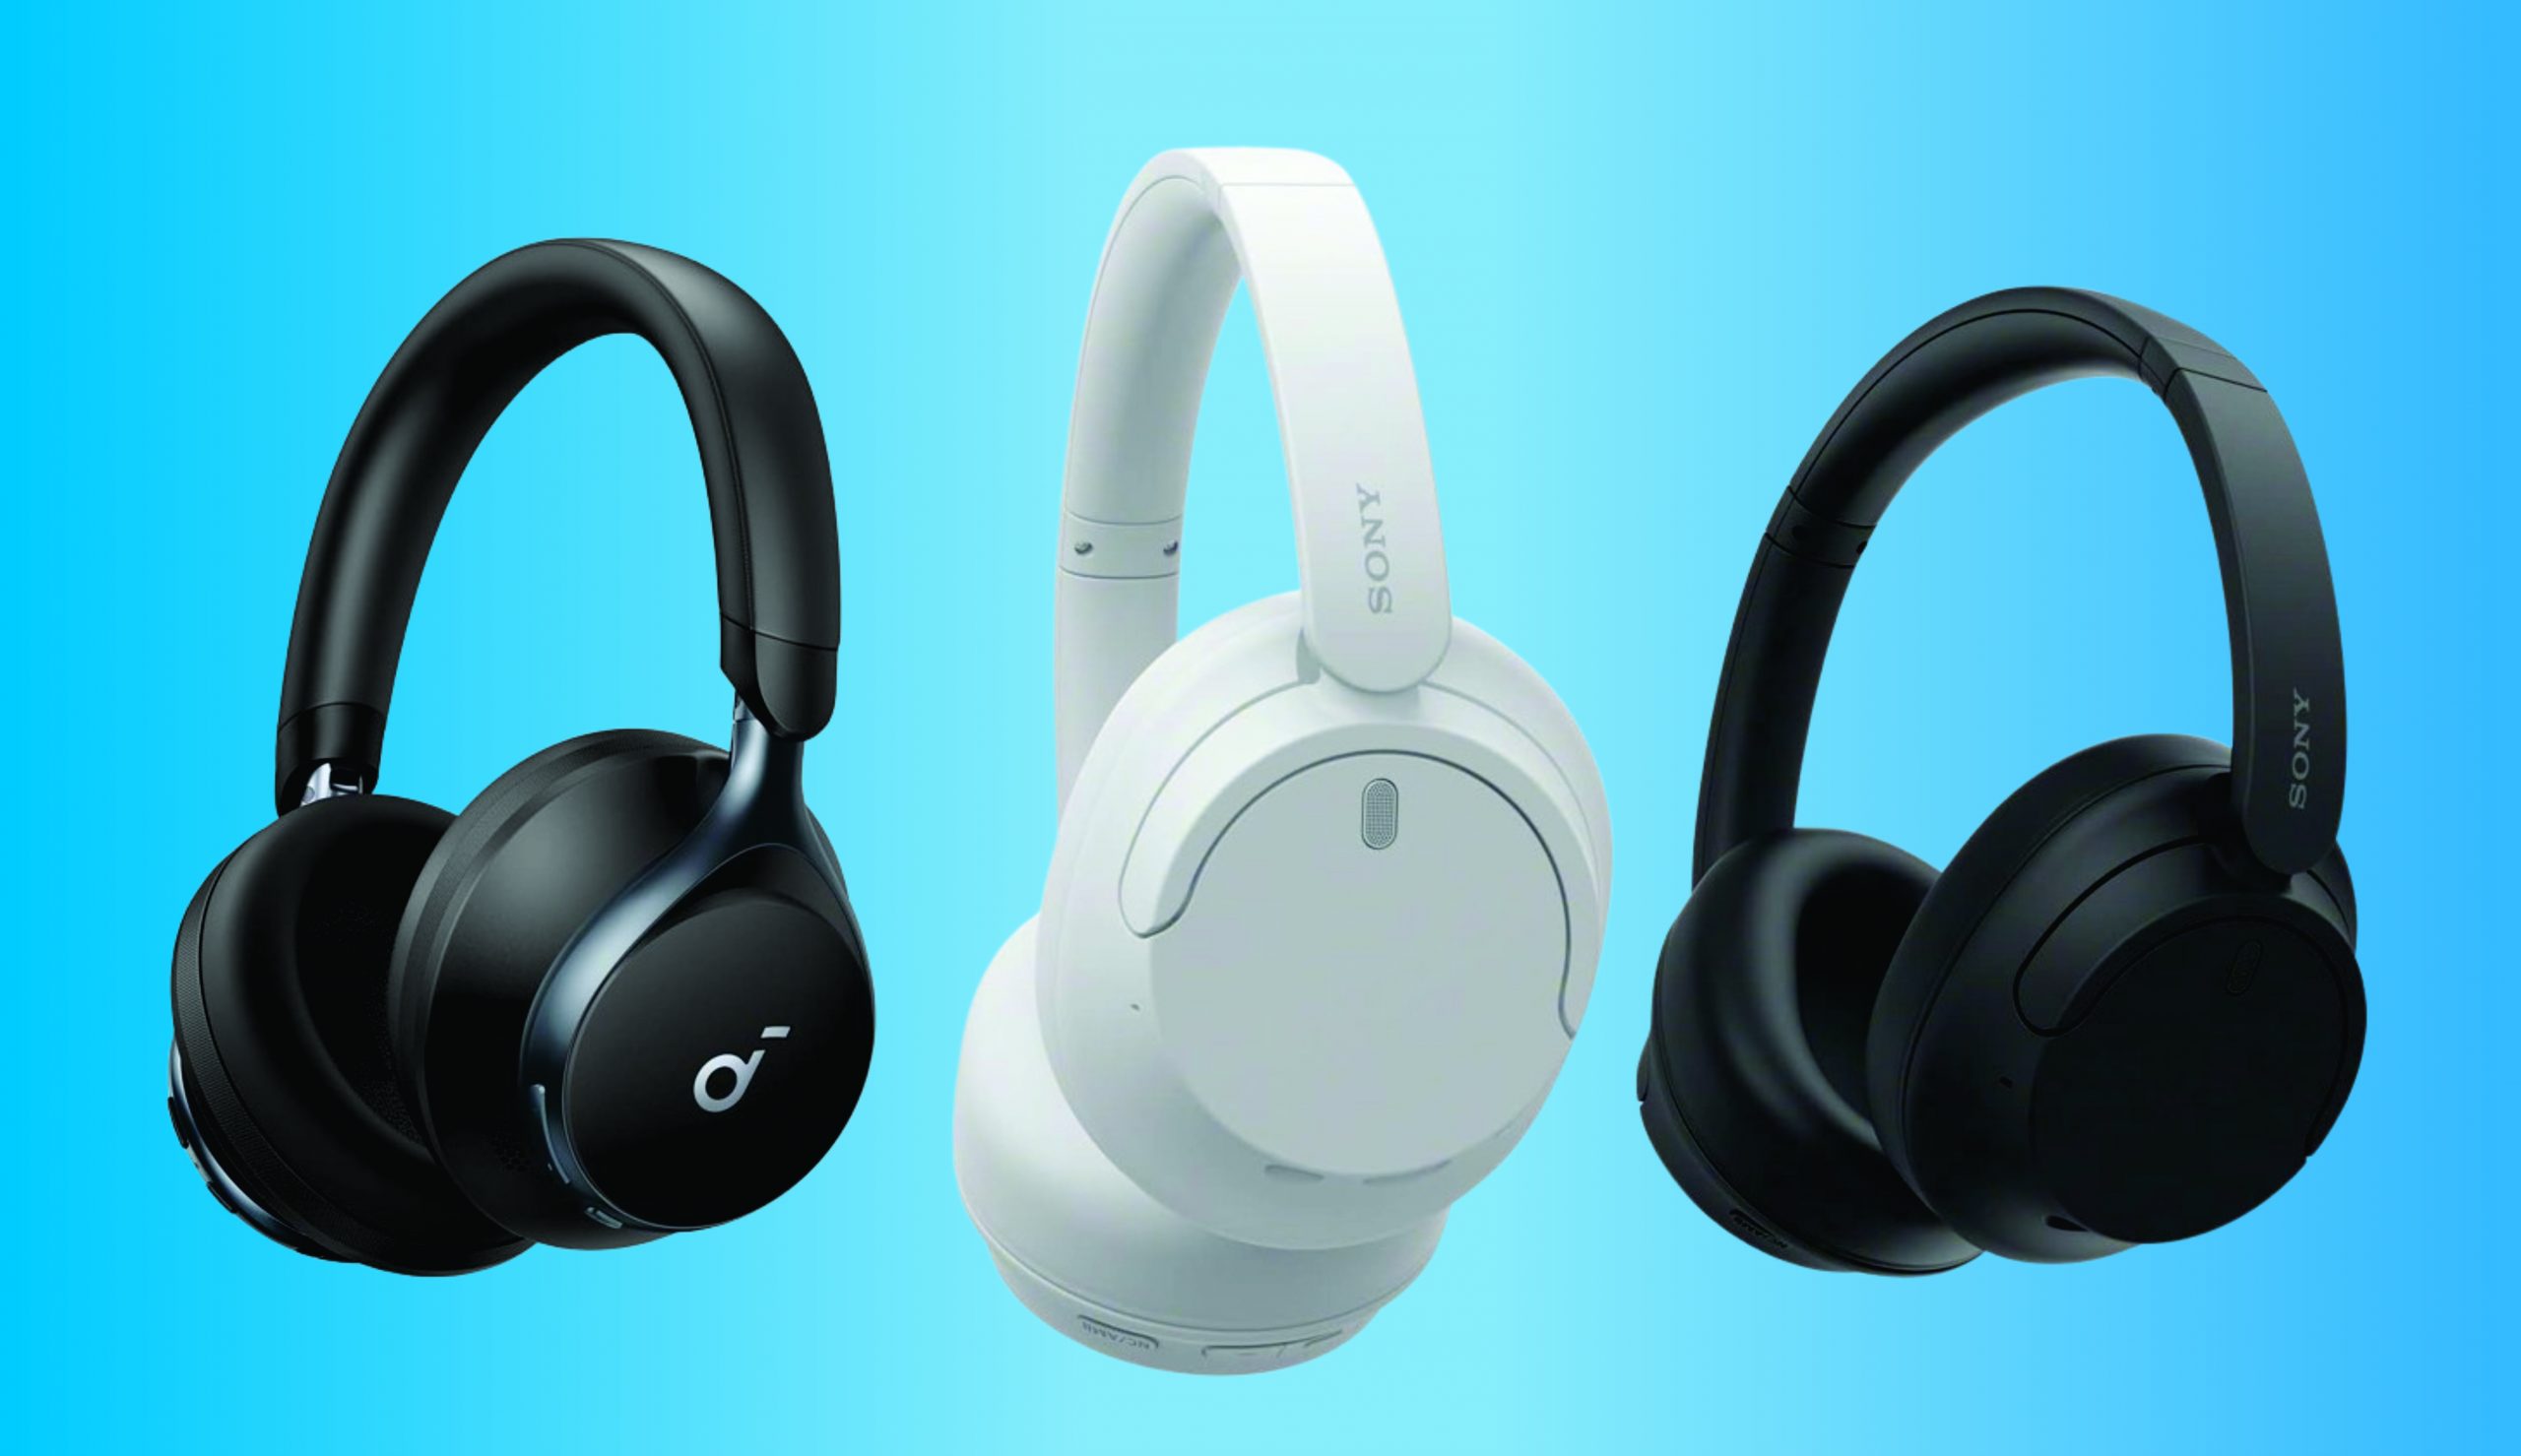
- Your Ultimate Guide to Better Noise Cancelling Headphones: When Good Isn’t Good Enough
- The Most Affordable Noise Cancelling Headphones: These Headphones Offers Sweet Silence Under $100 Not…
- HP ZBook Firefly G11 Review: This AI-Ready Laptop from HP Is Perfect for Handling…
- This Space Heater Goes Beyond Basic Heating with Up to 5 Customizable Modes