Tag: Beats Studio Pro Pairing Mode

  • How to Pair Beats Studio Pro: A Step-by-Step Guide for Seamless Connectivity

    How to Pair Beats Studio Pro: A Step-by-Step Guide for Seamless Connectivity

    Pairing your Beats Studio Pro headphones is a simple yet essential process to ensure the best audio experience across all your devices. Whether you’re connecting to an iPhone, Android phone, Mac, Windows PC, or another device, here’s everything you need to know to get your Beats Studio Pro paired and ready to go.

    How to Pair Beats Studio Pro


    Step 1: Charge Your Beats Studio Pro

    Before pairing, make sure your Beats Studio Pro headphones have enough charge. This step ensures that your headphones won’t shut down mid-setup, giving you a smooth pairing experience.

    • How to Check Battery: Power on your headphones and look for the LED indicators. A full charge is ideal, but a partially charged battery should suffice for initial pairing.

    Step 2: Put Your Beats Studio Pro into Pairing Mode

    To pair your Beats Studio Pro with any device, you’ll need to put the headphones into pairing mode.

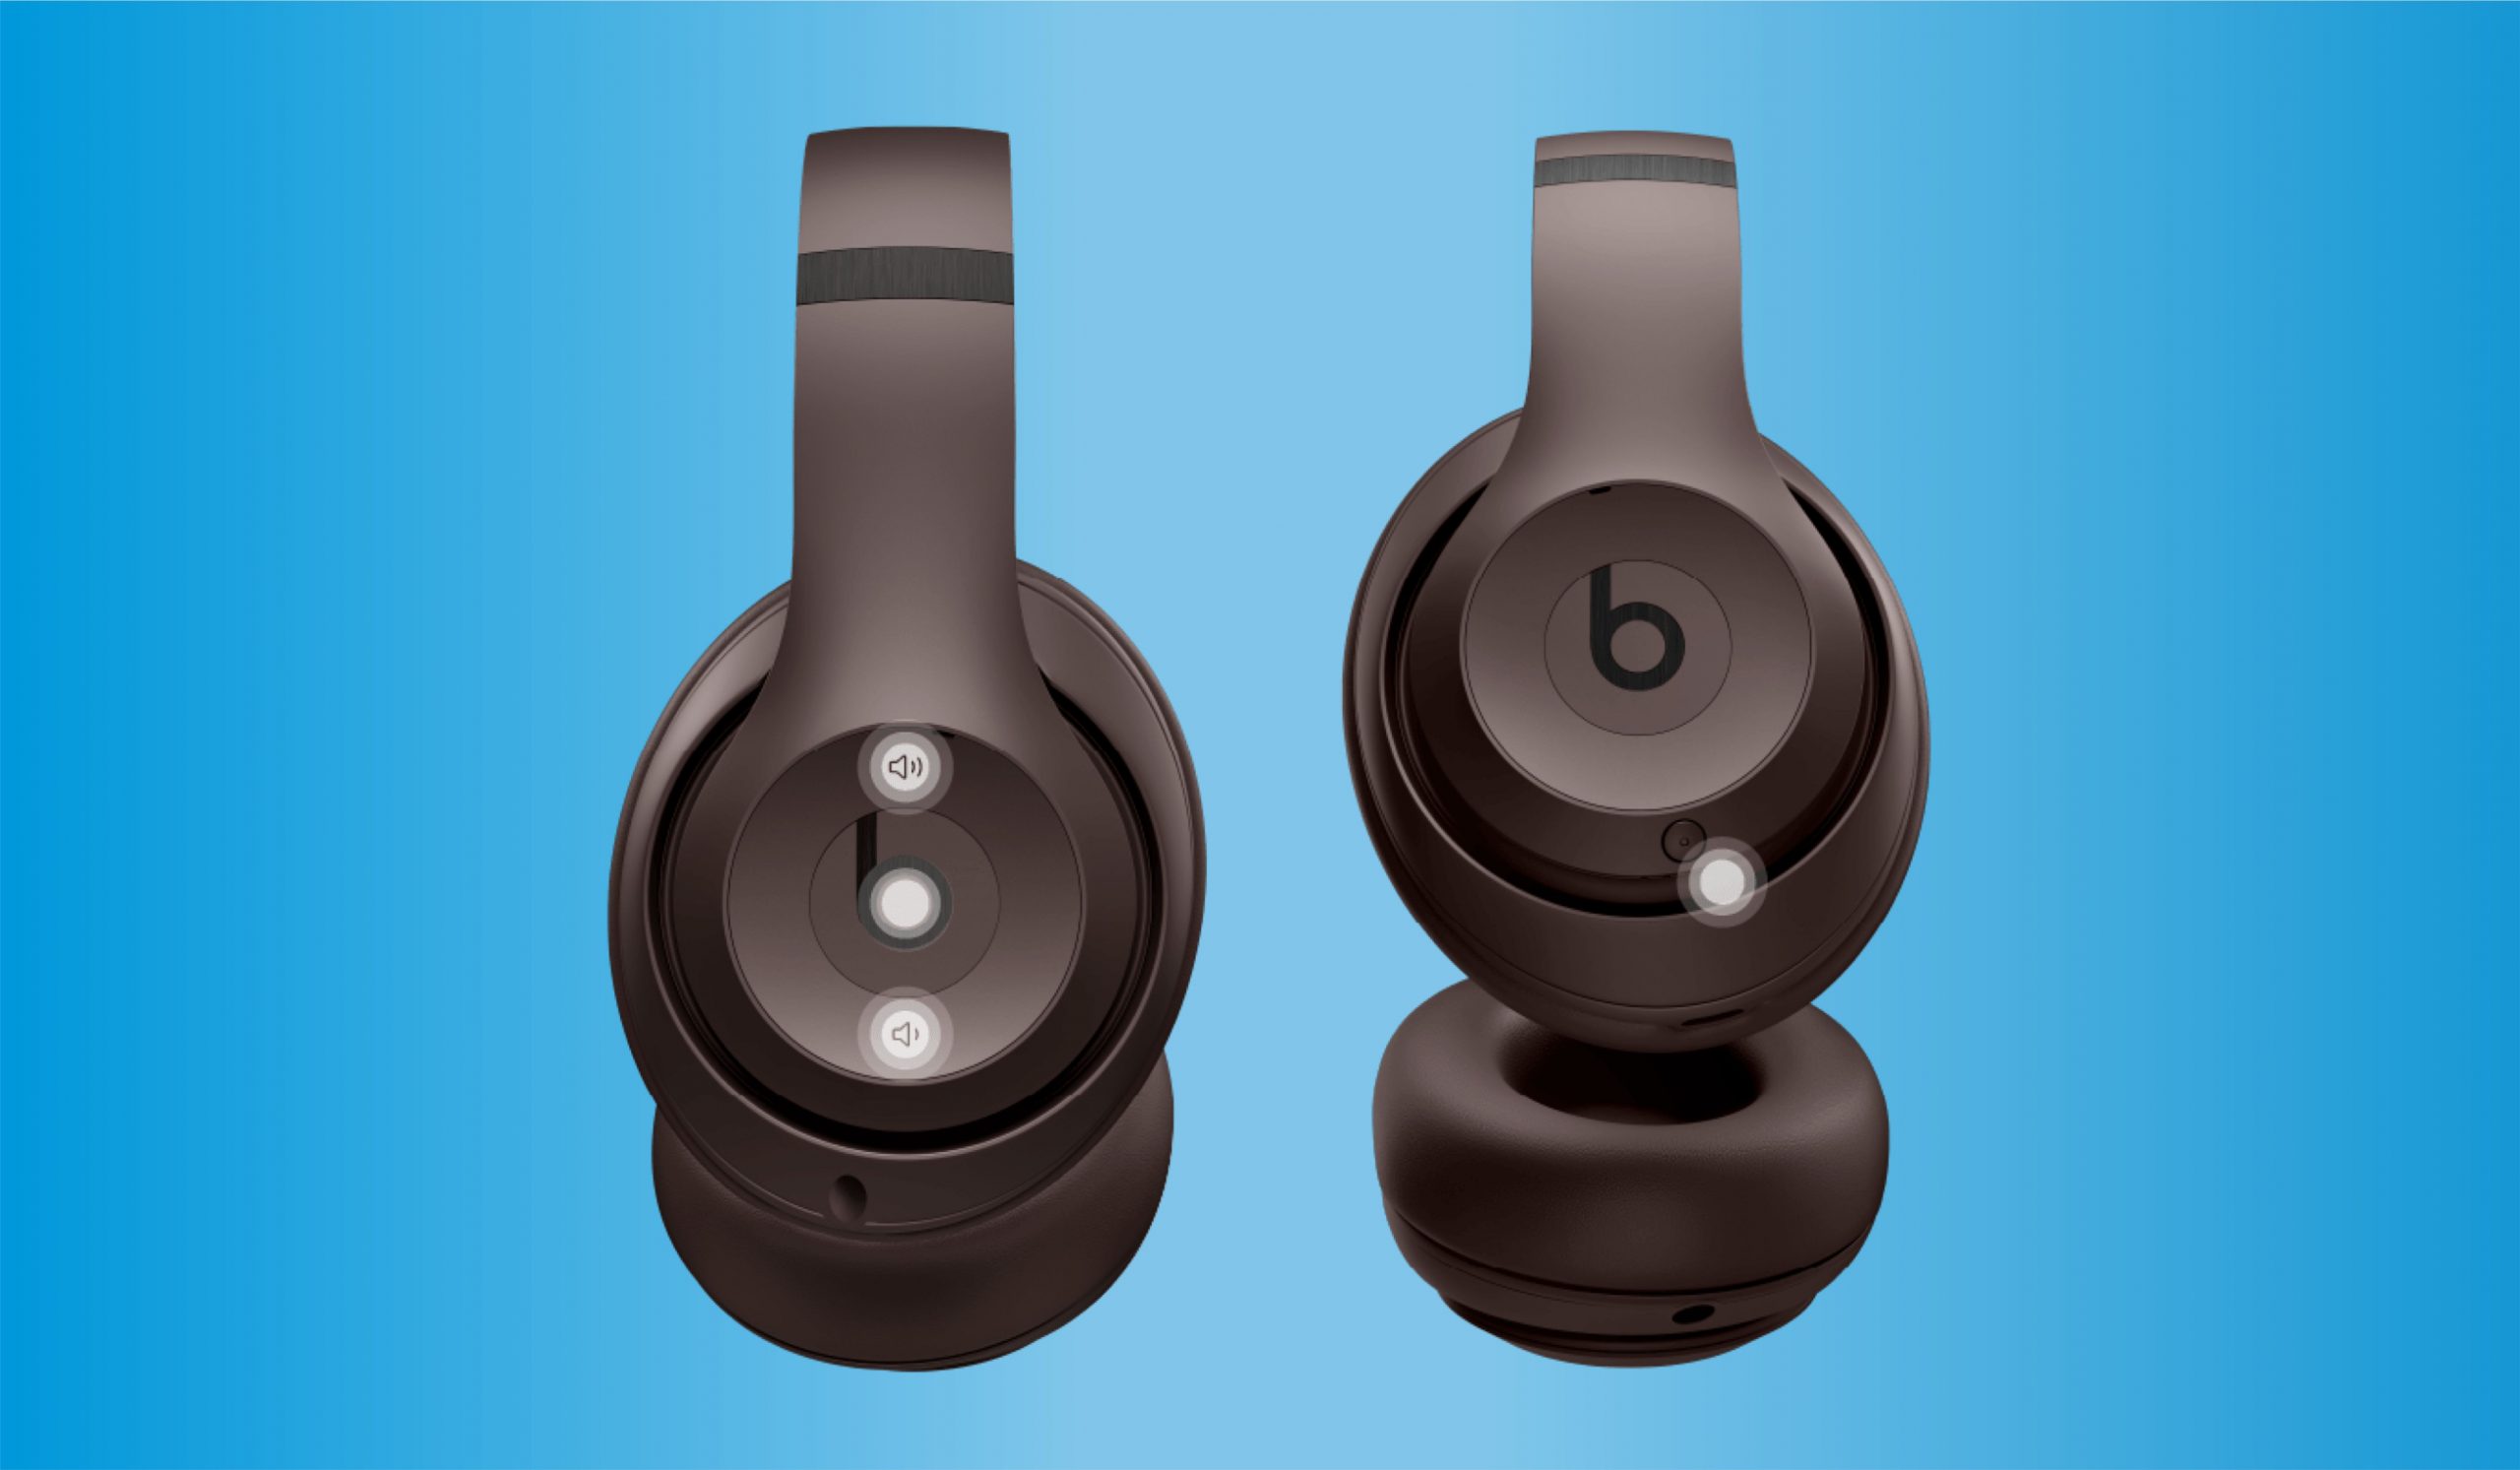
    1. Power On: Press and hold the power button on your Beats Studio Pro until the LED starts blinking.
    2. Enter Pairing Mode: The LED light will flash, indicating that your Beats Studio Pro is now in pairing mode and ready to connect.

    Step 3: Pairing Beats Studio Pro with an iPhone or iPad

    Apple users benefit from seamless pairing, thanks to the Beats Studio Pro’s compatibility with the Apple ecosystem.

    1. Unlock your iPhone or iPad and ensure Bluetooth is enabled (Settings > Bluetooth).
    2. Bring your Beats Studio Pro close to your iPhone/iPad. A prompt should appear automatically on the screen.
    3. Tap “Connect” on the prompt.
    4. Once connected, you’ll see a confirmation screen showing the battery status of your Beats Studio Pro.

    Tip: If the prompt doesn’t appear, you can manually connect via Settings > Bluetooth and selecting “Beats Studio Pro” from the list of available devices.


    Step 4: Pairing Beats Studio Pro with an Android Device

    Pairing with Android is easy, and you can also download the Beats app from the Google Play Store to enhance the experience.

    1. Open the Settings on your Android device, then navigate to Bluetooth.
    2. Make sure Bluetooth is enabled.
    3. Select “Pair New Device”.
    4. Your Beats Studio Pro should appear in the list. Tap “Beats Studio Pro” to connect.

    If you use the Beats app, simply follow the on-screen instructions after opening the app, which will guide you through the pairing process and allow you to adjust additional settings.


    Step 5: Pairing Beats Studio Pro with a Mac

    To connect your Beats Studio Pro with a Mac computer, you’ll go through the Bluetooth settings in macOS.

    1. Open System Preferences by clicking on the Apple logo at the top left corner of your screen.
    2. Select Bluetooth and ensure it’s turned on.
    3. With your Beats Studio Pro in pairing mode, it should appear in the list of devices. Click on “Beats Studio Pro.”
    4. When prompted, select Connect.

    Troubleshooting Tip: If your Beats Studio Pro doesn’t appear, try turning Bluetooth off and back on again, and ensure your headphones are in pairing mode.


    Step 6: Pairing Beats Studio Pro with a Windows PC

    Connecting your Beats Studio Pro to a Windows PC is straightforward with the Bluetooth settings in Windows.

    1. Open the Start Menu and go to Settings.
    2. Select Devices, then Bluetooth & Other Devices.
    3. Toggle Bluetooth on if it’s not already enabled, then click on Add Bluetooth or Other Device.
    4. Choose Bluetooth from the options.
    5. With your Beats Studio Pro in pairing mode, select it from the list of available devices, and follow any additional prompts to connect.

    Step 7: Pairing with Additional Devices

    The Beats Studio Pro can connect to multiple devices but will prioritize the last device it was actively paired with. To connect to a new device:

    1. Repeat the pairing process for each device.
    2. If switching frequently, it can help to disconnect from one device before connecting to another for a quicker switch.

    Managing and Switching Connections

    With multipoint Bluetooth, the Beats Studio Pro can switch between devices more smoothly. Here’s how to manage it:

    • On an iPhone or iPad: Go to Control Center, tap on the audio output selector, and choose your Beats Studio Pro from the list.
    • On Android: Access the Bluetooth menu under Settings and select Beats Studio Pro to make them the active audio device.
    • On Mac and Windows: Go to Sound Settings or Bluetooth Settings, depending on the device, and make sure Beats Studio Pro is selected as your primary output.

    Troubleshooting Pairing Issues

    If you’re having trouble pairing your Beats Studio Pro with any device, here are a few tips to try:

    • Restart your headphones by powering them off and on again.
    • Forget the device on your smartphone or computer’s Bluetooth settings, then re-pair.
    • Reset your Beats Studio Pro by pressing and holding the power and volume-down buttons until the LED flashes.

    Final Thoughts: Enjoying Your Beats Studio Pro

    Now that your Beats Studio Pro is successfully paired, you’re ready to enjoy high-quality sound across all your devices. Remember to take advantage of features like the Beats app on Android for extra customization and the easy switching on Apple devices.

    Also Check:

  • How to Put Beats Studio Pro in Pairing Mode: Connect Seamlessly with Any Device

    How to Put Beats Studio Pro in Pairing Mode: Connect Seamlessly with Any Device

    The Beats Studio Pro headphones deliver top-tier audio quality with easy connectivity, but to get started, you’ll need to know how to put them in pairing mode. Pairing mode lets your Beats Studio Pro connect to smartphones, tablets, laptops, and other Bluetooth-enabled devices, enabling a truly wireless and immersive listening experience.

    How to Put Beats Studio Pro in Pairing Mode

    Here’s a comprehensive guide to putting your Beats Studio Pro in pairing mode for seamless connectivity.


    1. Power On Your Beats Studio Pro Headphones

    The first step is to ensure your headphones are powered on:

    • Hold the Power Button: On your Beats Studio Pro, locate the power button on the right earcup.
    • Press and Hold the Power Button: Press and hold the button until the LED light on the headphones turns on. You should see a steady white light, which means your headphones are powered up.

    Tip: If your Beats Studio Pro is already connected to another device, disconnect it first. This allows it to be ready for pairing with a new device.


    2. Enter Pairing Mode

    With your headphones powered on, follow these steps to put them in pairing mode:

    1. Press and Hold the Power Button Again: After powering on, press and hold the power button for about 5 seconds.
    2. Wait for the LED Light to Flash: Once your headphones enter pairing mode, the LED indicator on the right earcup will start flashing, signaling that it’s ready to connect.
    3. Release the Power Button: When you see the flashing light, release the button. Your Beats Studio Pro is now in pairing mode and ready to connect.

    Important: The flashing LED indicates that the headphones are visible to nearby Bluetooth devices. Pairing mode will stay active for a limited time, so make sure to connect promptly.


    3. Connect Your Beats Studio Pro to a Device

    Once your headphones are in pairing mode, it’s time to connect to your device. Here’s how to pair with popular devices:

    iOS Devices (iPhone and iPad)

    1. Open the Settings app on your iPhone or iPad.
    2. Go to Bluetooth and ensure it’s turned on.
    3. In the list of available devices, look for Beats Studio Pro and select it.
    4. Once connected, you’ll see “Connected” beside your Beats Studio Pro.

    Android Devices

    1. Download the Beats App: If you haven’t already, download the Beats app from the Google Play Store. This app provides a streamlined way to manage your Beats devices.
    2. Open the app and go to Devices.
    3. Select Add New Device, then select Beats Studio Pro from the list.
    4. Confirm pairing by tapping Connect in the app.

    Windows PC

    1. Open Settings on your Windows PC and navigate to Devices > Bluetooth & other devices.
    2. Make sure Bluetooth is on, then select Add Bluetooth or other device.
    3. Choose Bluetooth and select Beats Studio Pro from the available devices.
    4. Once connected, you’ll see “Connected” beside your Beats Studio Pro in the device list.

    macOS Devices

    1. Open System Preferences on your Mac and go to Bluetooth.
    2. Ensure Bluetooth is turned on, and locate Beats Studio Pro in the list of available devices.
    3. Click Connect. Once paired, your Beats Studio Pro will show as “Connected” in the Bluetooth menu.

    4. Troubleshooting Pairing Mode Issues

    If your Beats Studio Pro doesn’t enter pairing mode or isn’t visible on your device, try these tips:

    • Reset Your Beats Studio Pro: Sometimes, a quick reset can resolve minor connectivity issues. To reset, press and hold the power and volume down buttons for 10 seconds until the LED flashes.
    • Charge Your Headphones: Low battery levels can interfere with pairing. Make sure your Beats Studio Pro is charged before attempting to pair.
    • Move Closer to Your Device: Bluetooth works best within a close range. Keep your headphones within a few feet of the device you’re pairing to avoid signal issues.
    • Turn Off Bluetooth on Other Devices: If your headphones are connected to multiple devices, turn off Bluetooth on devices you don’t want to connect to, as this can simplify the pairing process.

    5. Confirming Successful Pairing

    After pairing, you can confirm the connection by playing audio on your device:

    • Play a Song or Video: Check that the audio is coming through your Beats Studio Pro. This confirms the connection and ensures that everything is working properly.
    • Monitor Battery and Settings via the Beats App: For Android users, the Beats app offers additional features such as battery monitoring and firmware updates.

    6. Reconnecting Your Beats Studio Pro for Future Use

    Once your Beats Studio Pro has been paired with a device, it will remember this connection, making future reconnections a breeze. Here’s what to do:

    • Power On Your Headphones: Simply turn on your Beats Studio Pro, and it should automatically reconnect to the most recently paired device, provided Bluetooth is enabled on that device.
    • Switching Devices: If you want to connect to a new device, follow the pairing mode steps again to make your headphones discoverable.

    Final Thoughts: Pairing Beats Studio Pro Made Simple

    Knowing how to put your Beats Studio Pro in pairing mode is essential for maximizing your listening experience. Whether you’re pairing to a new device or reconnecting to a trusted one, these simple steps help ensure a seamless connection, so you can focus on enjoying your music, calls, and more without interruptions.

    Also Check: