The iPhone 14 Plus boasts an impressive camera system, and the PANO camera mode unlocks a new world of creative possibilities. Imagine capturing a breathtaking panoramic vista of a mountain range, a bustling city skyline, or a group of friends gathered for a celebration.
The PANO camera mode on your iPhone 14 Plus allows you to stitch together multiple photos seamlessly, creating a stunning wide-angle image that transcends the limitations of a single frame.
This guide will equip you with the knowledge to master the PANO camera on your iPhone 14 Plus. We’ll explore its functionalities, highlight the benefits it offers, reasons why you might want to utilize this unique camera mode to capture unforgettable moments.
About PANO Camera on iPhone 14 Plus
The PANO camera mode on your iPhone 14 Plus allows you to capture panoramic photos by stitching together multiple images taken in sequence. Here’s a breakdown of what it offers
- Wide-Angle Views: Capture expansive landscapes, group photos, or architectural wonders that wouldn’t fit within a single frame using the regular camera mode.
- Seamless Stitching: The iPhone’s processing power automatically stitches together the individual photos you capture in PANO mode, creating a smooth and continuous panoramic image.
- Simple to Use: The PANO camera mode is intuitive and easy to use, requiring minimal technical knowledge.
Important Note: For optimal results when using PANO mode, ensure you hold your iPhone 14 Plus steady and follow the on-screen guide as you capture the panorama.
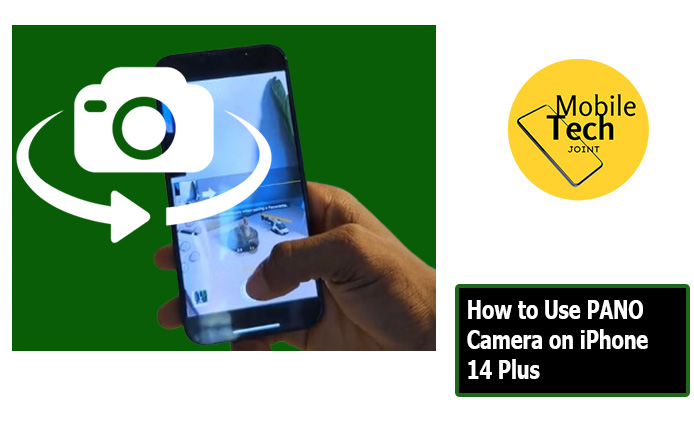
How to Use PANO Camera on iPhone 14 Plus
Below is the step-by-step process on how to use the Pano camera on your iPhone 14 Plus.
- First, launch your Camera App, by Tapping on the Camera app icon on your home screen.
- Swipe to PANO Mode: Swipe the shooting mode options at the bottom of the screen until you reach “PANO.” The PANO option will be displayed with a circular icon.
- Choose Your Starting Point: Decide on the direction in which you want to capture your panorama. The arrow on the screen will indicate the direction the panorama will be stitched together.
- Capture Your PANO: Hold your iPhone 14 Plus steady and align the white arrow with the yellow starting point that appears on the screen. Press the shutter button and slowly pan your iPhone in the direction of the arrow, keeping the arrow aligned with the yellow line on the screen. The camera will automatically capture multiple images as you pan.
- Optional: You can also tap anywhere on the screen to capture a photo and then manually pan to continue the panorama.
- Complete the PANO: Once you’ve captured the entire scene you want to include in your panorama, a black box will fill the screen, indicating the capture is complete.
Benefits of PANO Camera on iPhone 14 Plus
There are several advantages to using the PANO camera mode on your iPhone 14 Plus:
- Capture Expansive Scenes: Capture breathtaking landscapes, cityscapes, or group photos that wouldn’t fit within a single frame of the regular camera mode.
- Enhanced Creativity: The PANO camera mode opens doors for creative photography, allowing you to capture unique perspectives and add a sense of immersion to your photos.
- Easy to Use: The intuitive interface and automatic stitching make capturing panoramic photos effortless, even for casual photographers.
- Share-Worthy Images: The wide-angle views and immersive nature of panoramic photos make them perfect for sharing on social media or printing as stunning keepsakes.
Conclusion
The PANO camera mode on your iPhone 14 Plus is a powerful tool that expands your photographic capabilities. By following the simple steps outlined above, you can capture stunning panoramic photos that showcase the world in a whole new light. Whether you’re a photographer or simply someone who wants to capture unforgettable memories in a unique way, the PANO camera mode is definitely worth exploring.
So, the next time you encounter a breathtaking vista, a bustling cityscape, or a group of loved ones gathered together, reach for your iPhone 14 Plus and unleash the power of panoramic photography!
Check This Out: How to See Wi-Fi Password on iPhone 14 Plus
Frequently Asked Questions (FAQs)
What happens if I move my iPhone too quickly while capturing a PANO?
If you move your iPhone too quickly while capturing a PANO, the individual photos might not stitch together seamlessly, resulting in a blurry or distorted final image. Focus on smooth and slow panning for optimal results.
Can I edit PANO photos after capturing them?
Yes! Once you capture a PANO photo, you can edit it like any other photo in your camera roll. You can adjust exposure, crop the image, or even apply filters to enhance its look.
Does using PANO mode drain my iPhone 14 Plus battery?
The impact on battery life is minimal. Capturing panoramic photos requires slightly more processing power, compared to regular photos, but the overall drain is negligible.
Can I use the PANO camera mode in portrait orientation?
While the PANO mode on iPhone 14 Plus is primarily designed for landscape panoramas, you can technically capture vertical panoramas by rotating your phone to portrait orientation. However, keep in mind that the resulting image might not be as wide-angle as a landscape panorama.
For more insights on this article, check out these video tips across our social platforms: